HANDMADE ULTRA LARGE FORMAT CAMERA
KLARISA 2020

PREPARING TO START
After starting to work in a large format (4x5), I wanted to work with picture formats that I could exhibit directly. The technology and materials are the same, and the shooting is the same(?), but you need an ULTRA-LARGE format CAMERA for that kind of shooting. I looked at the ads and immediately concluded that buying a large camera was out of the question.
Since I've been working in and around the workshop all my life, it was logical that I try to make my own camera.
I didn't even have all the necessary tools, considering that I worked more in metal than wood, but I still went on an adventure with tools that belonged more to the hobby than professional tools.
I had no choice, so the decision was easy.
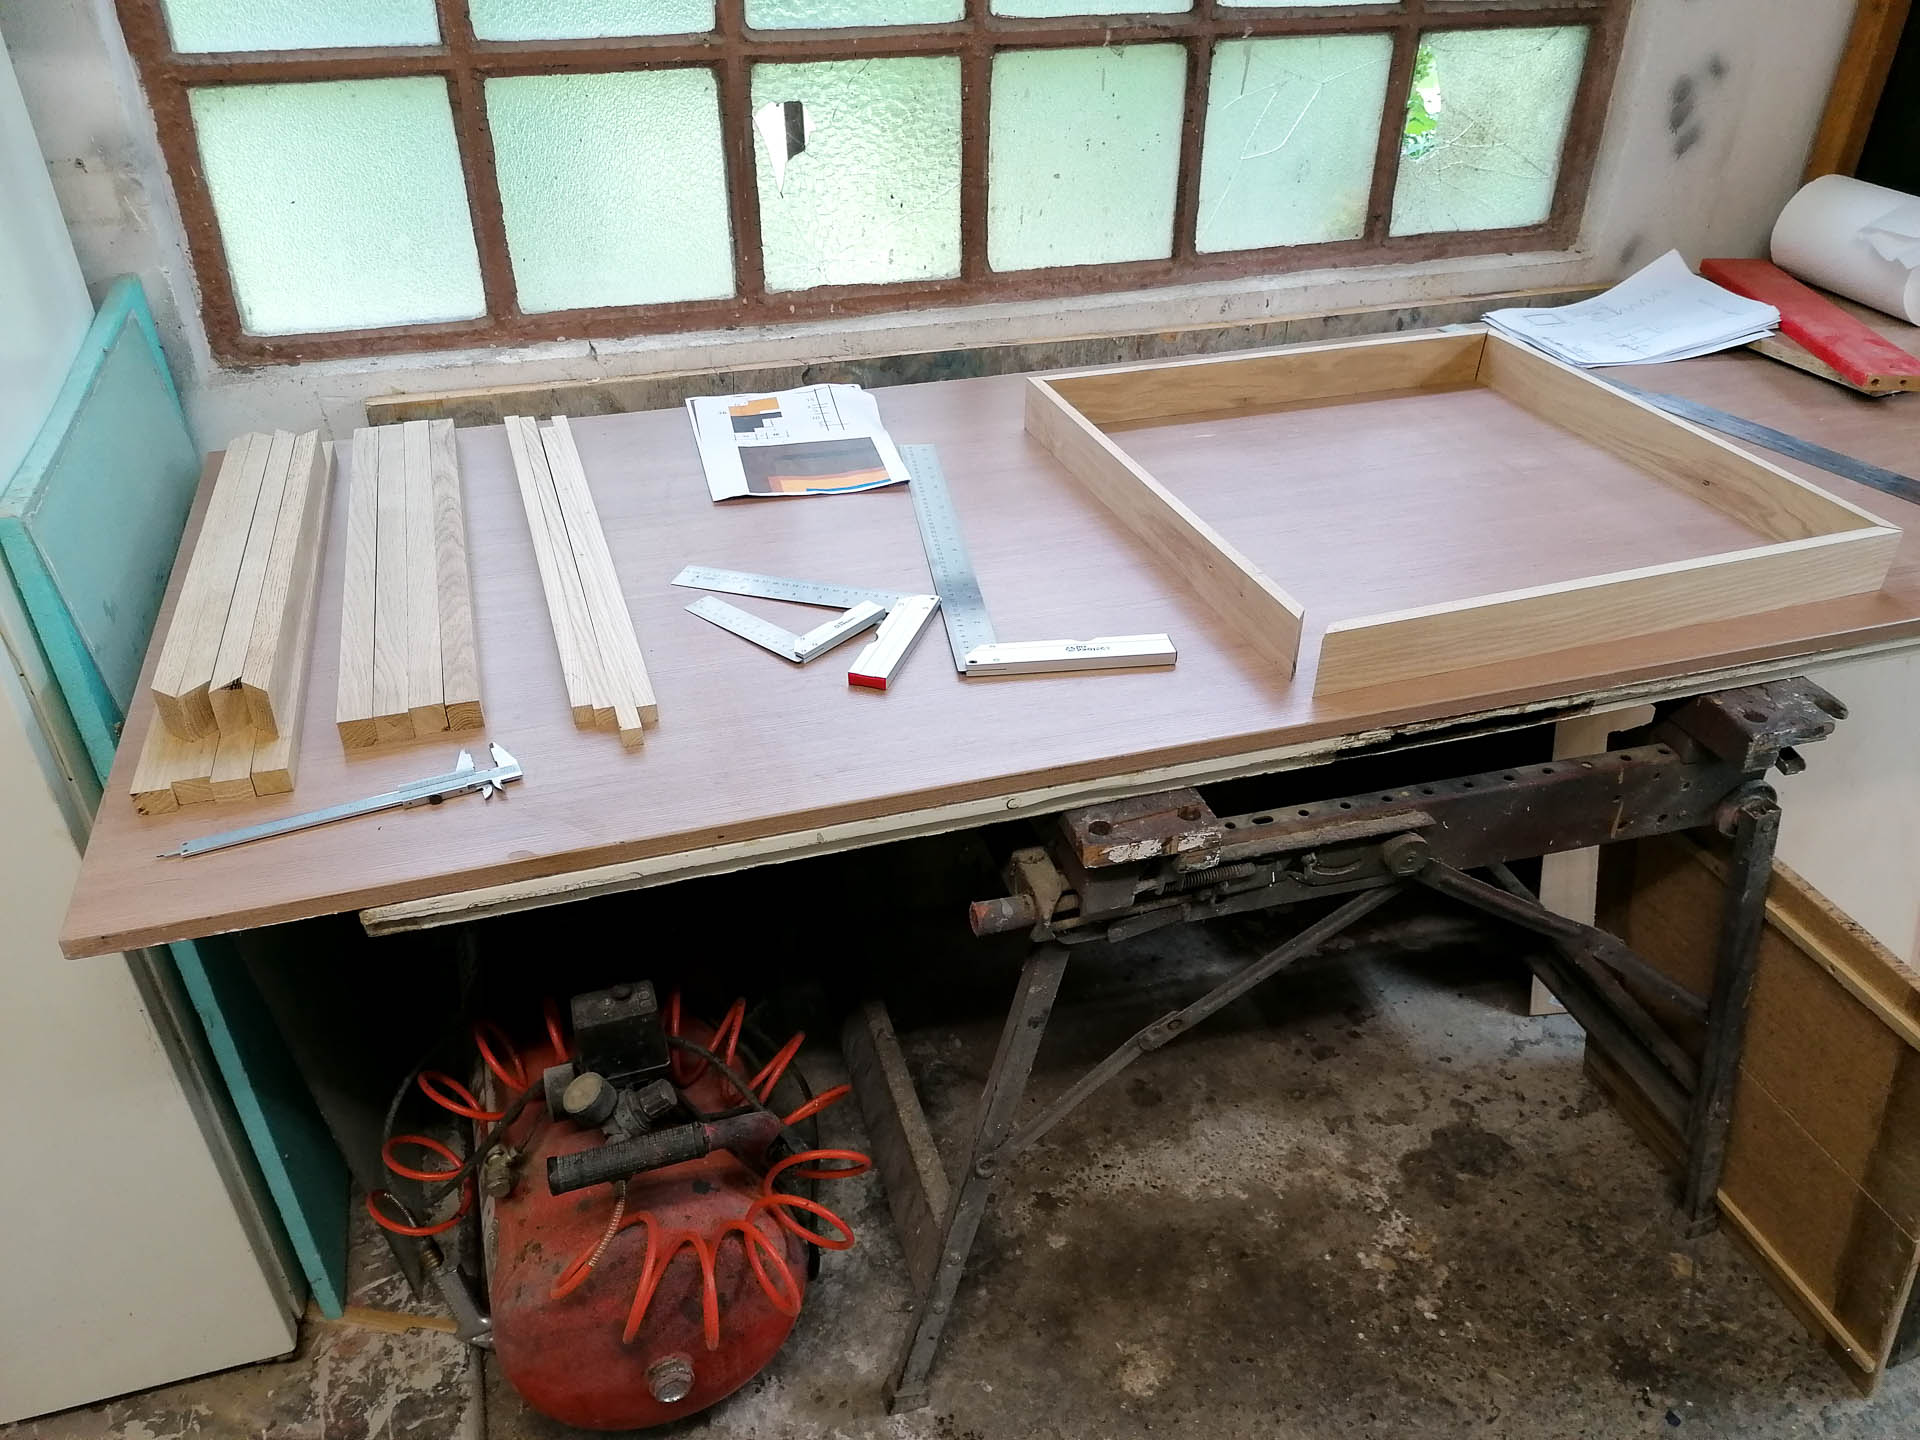
Of the material that would be suitable, I only had massive old oak frames for the shop window, 50-year-old oak that was well stored and healthy.
The idea was for the output format to be 40x50cm and only for the collodion cassette.
After viewing hundreds of photos of large-format cameras from various manufacturers, I found the CHAMONIX cameras to be the most appealing.
That was a foundation for further work.
Drawing, redrawing, and constructing according to the materials took some time, and the camera's final shape slowly began to emerge.
I conducted several simulations of the shape and size of the front and rear standards to make a final decision.
BEGINNING FROM THE END
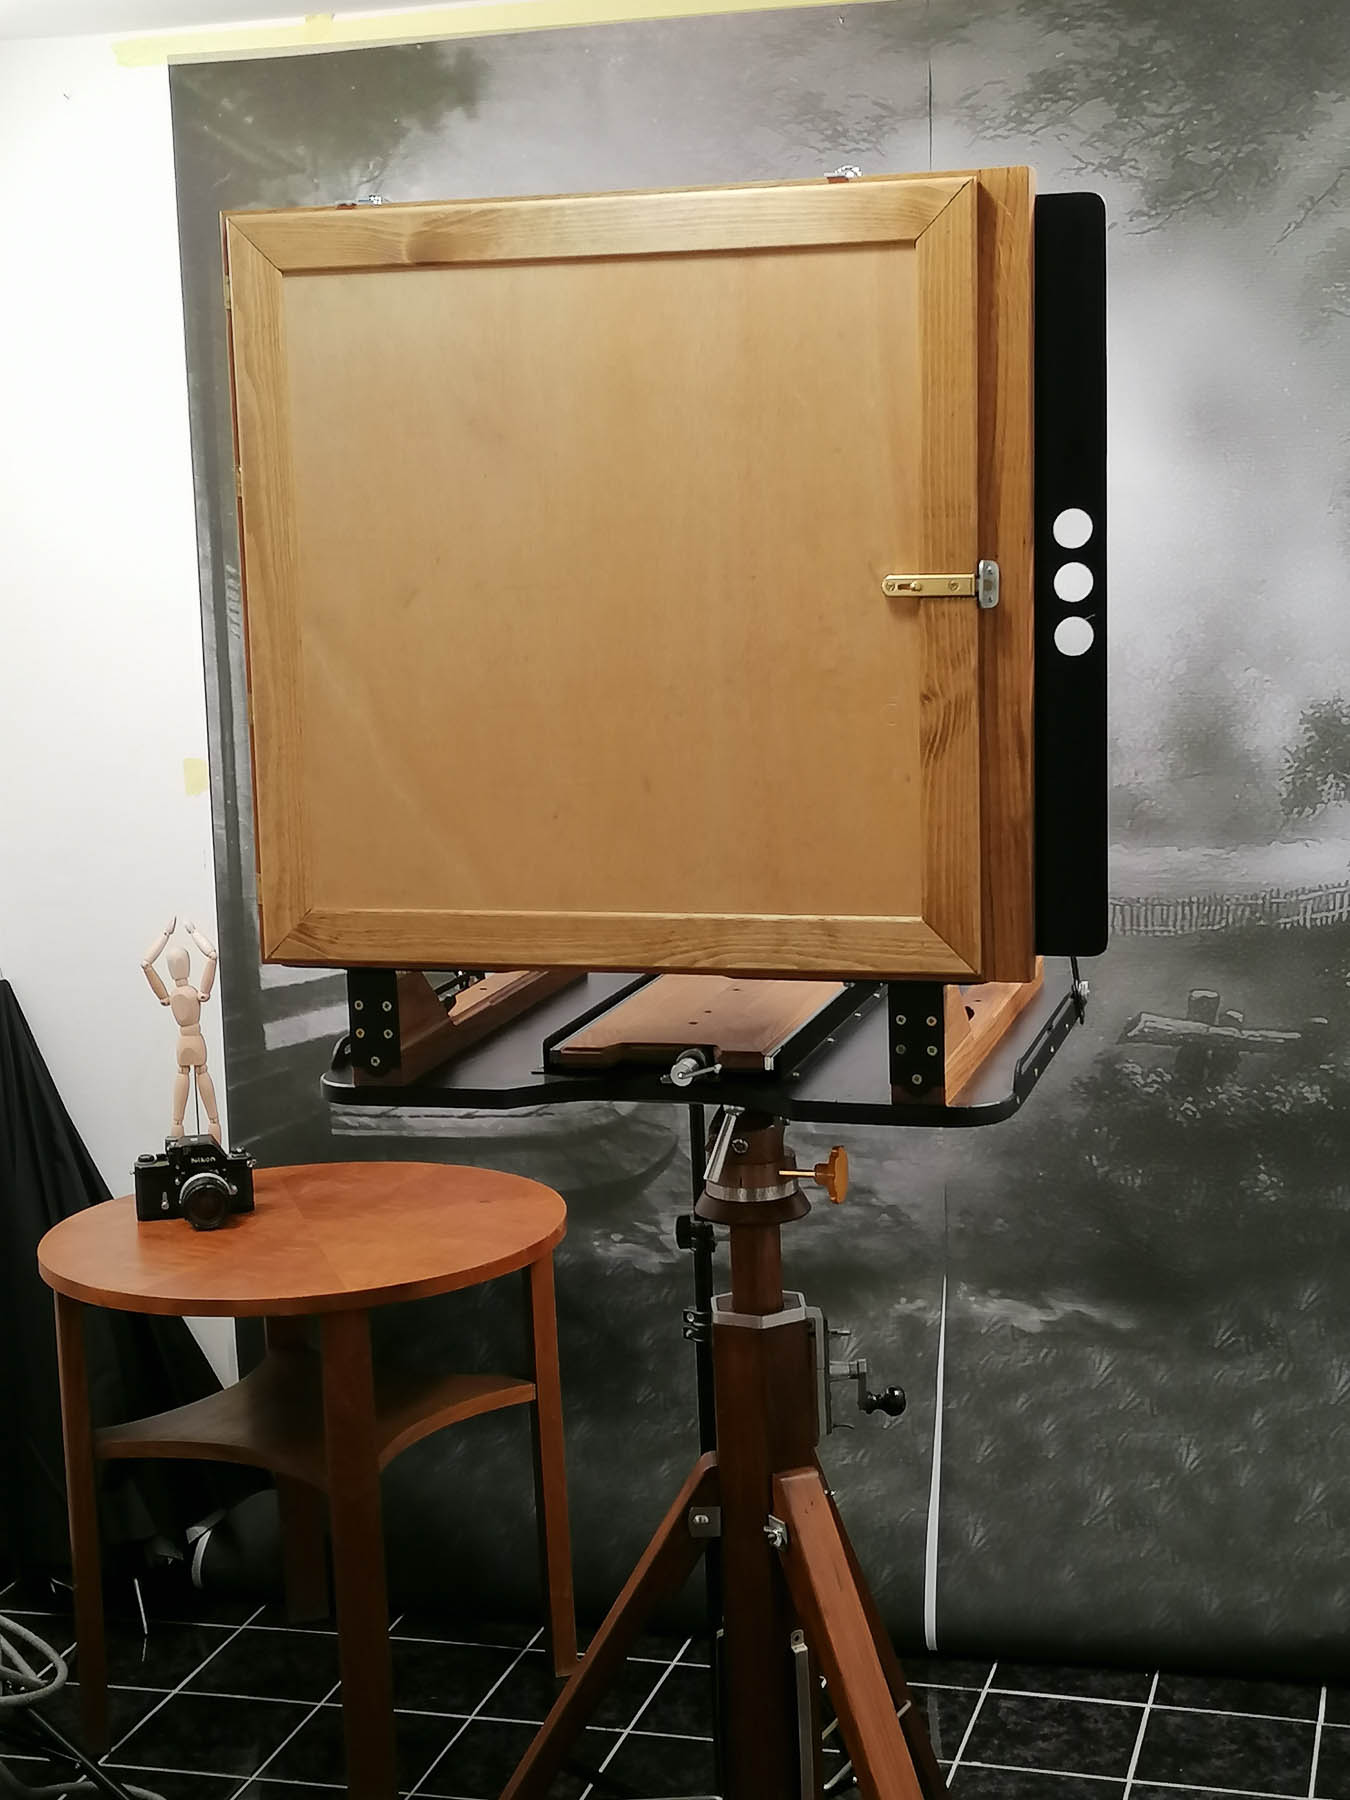
To make sure that there will be no surprises, I started the work from the BACK STANDARD AND THE CASSETTE.
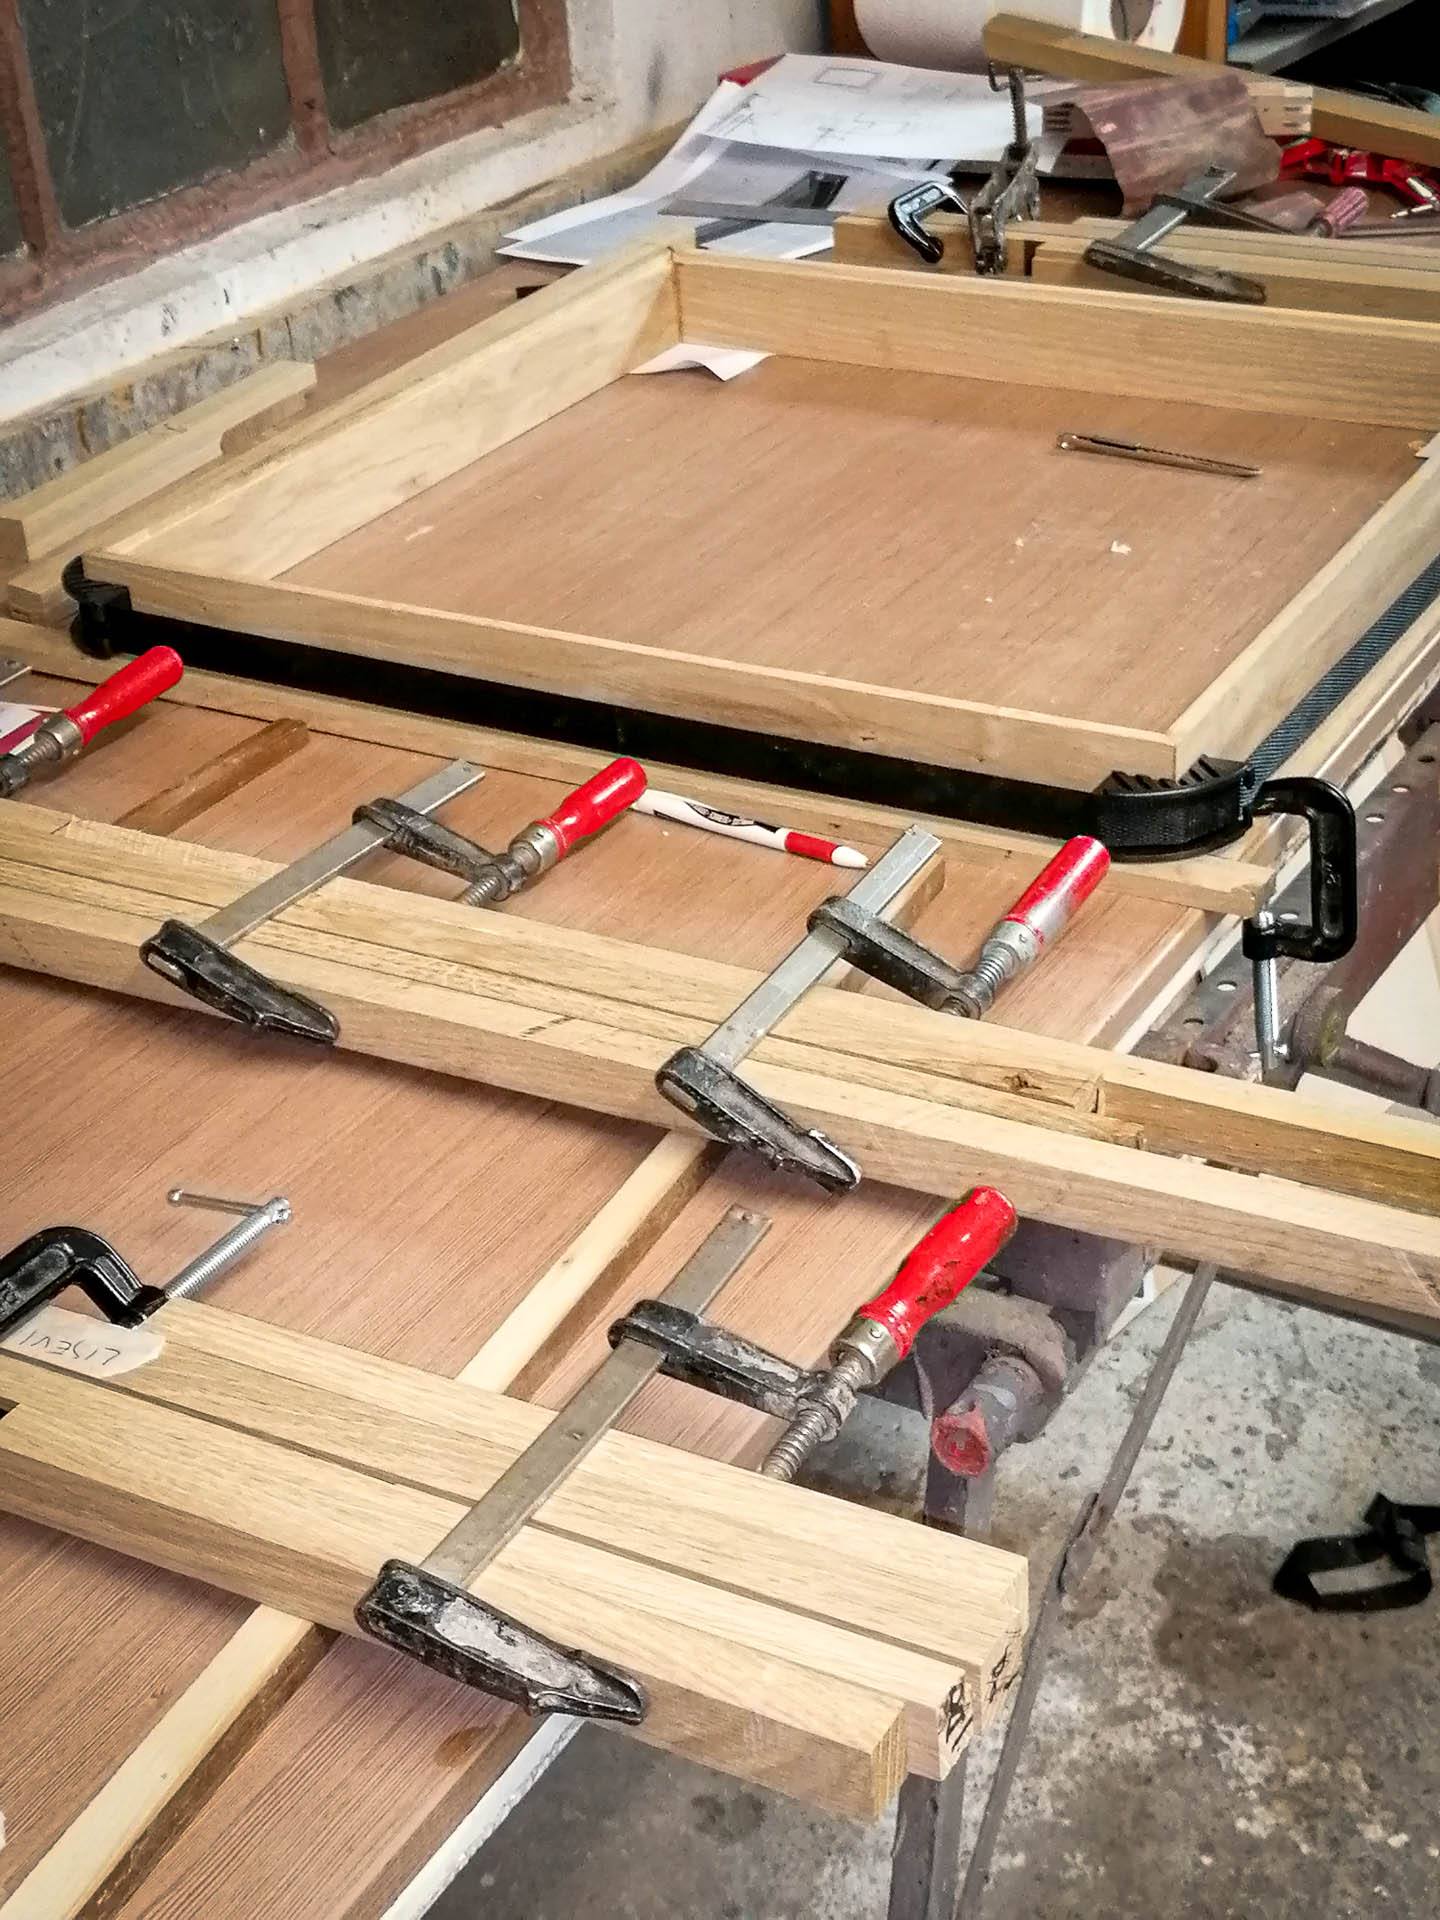
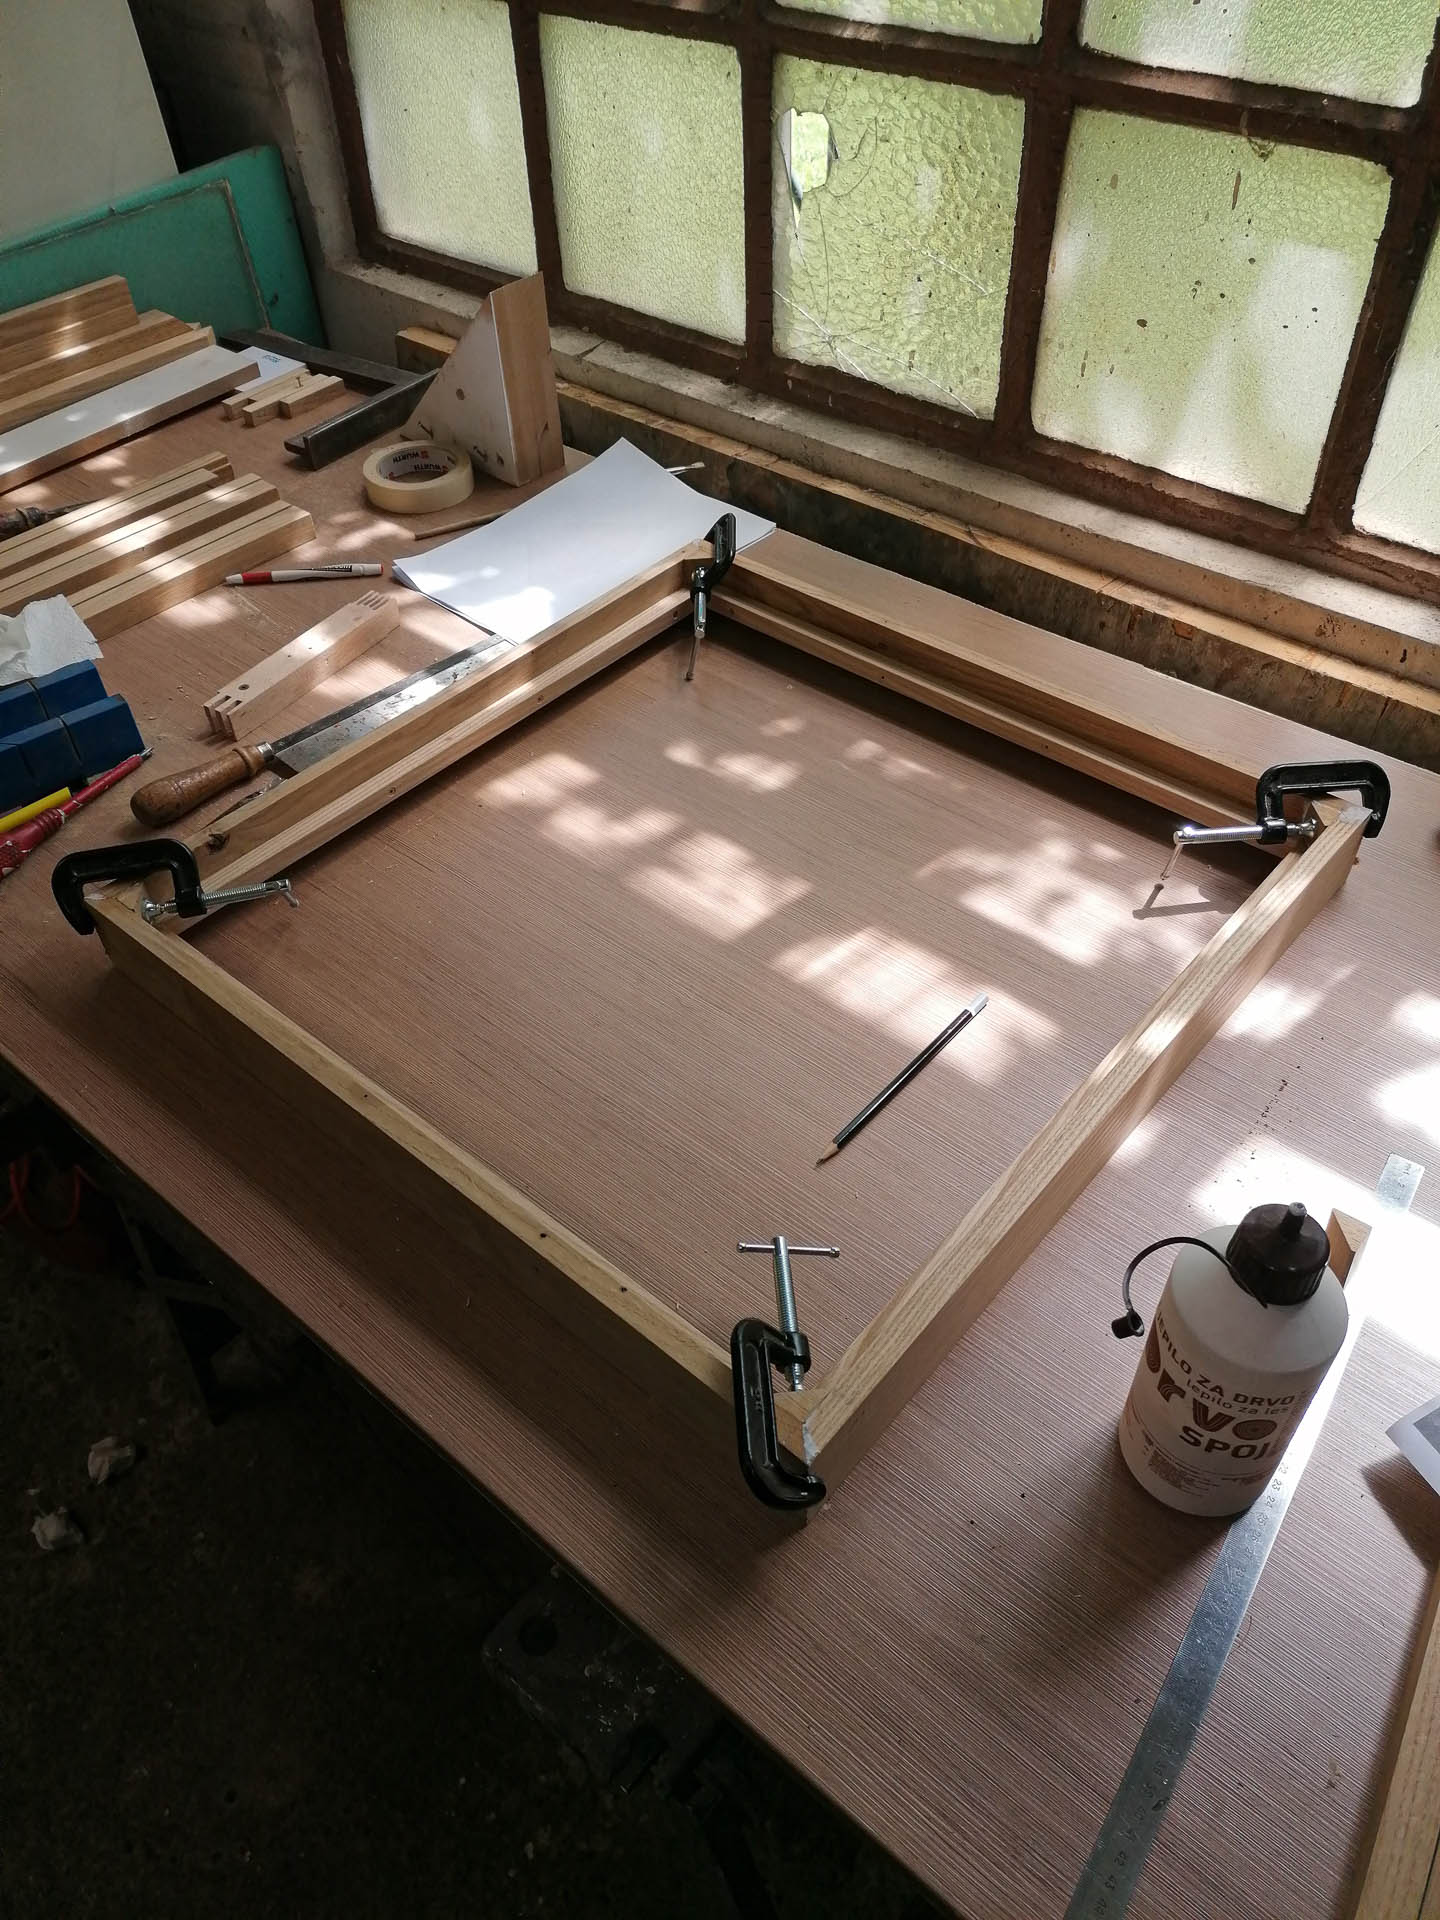
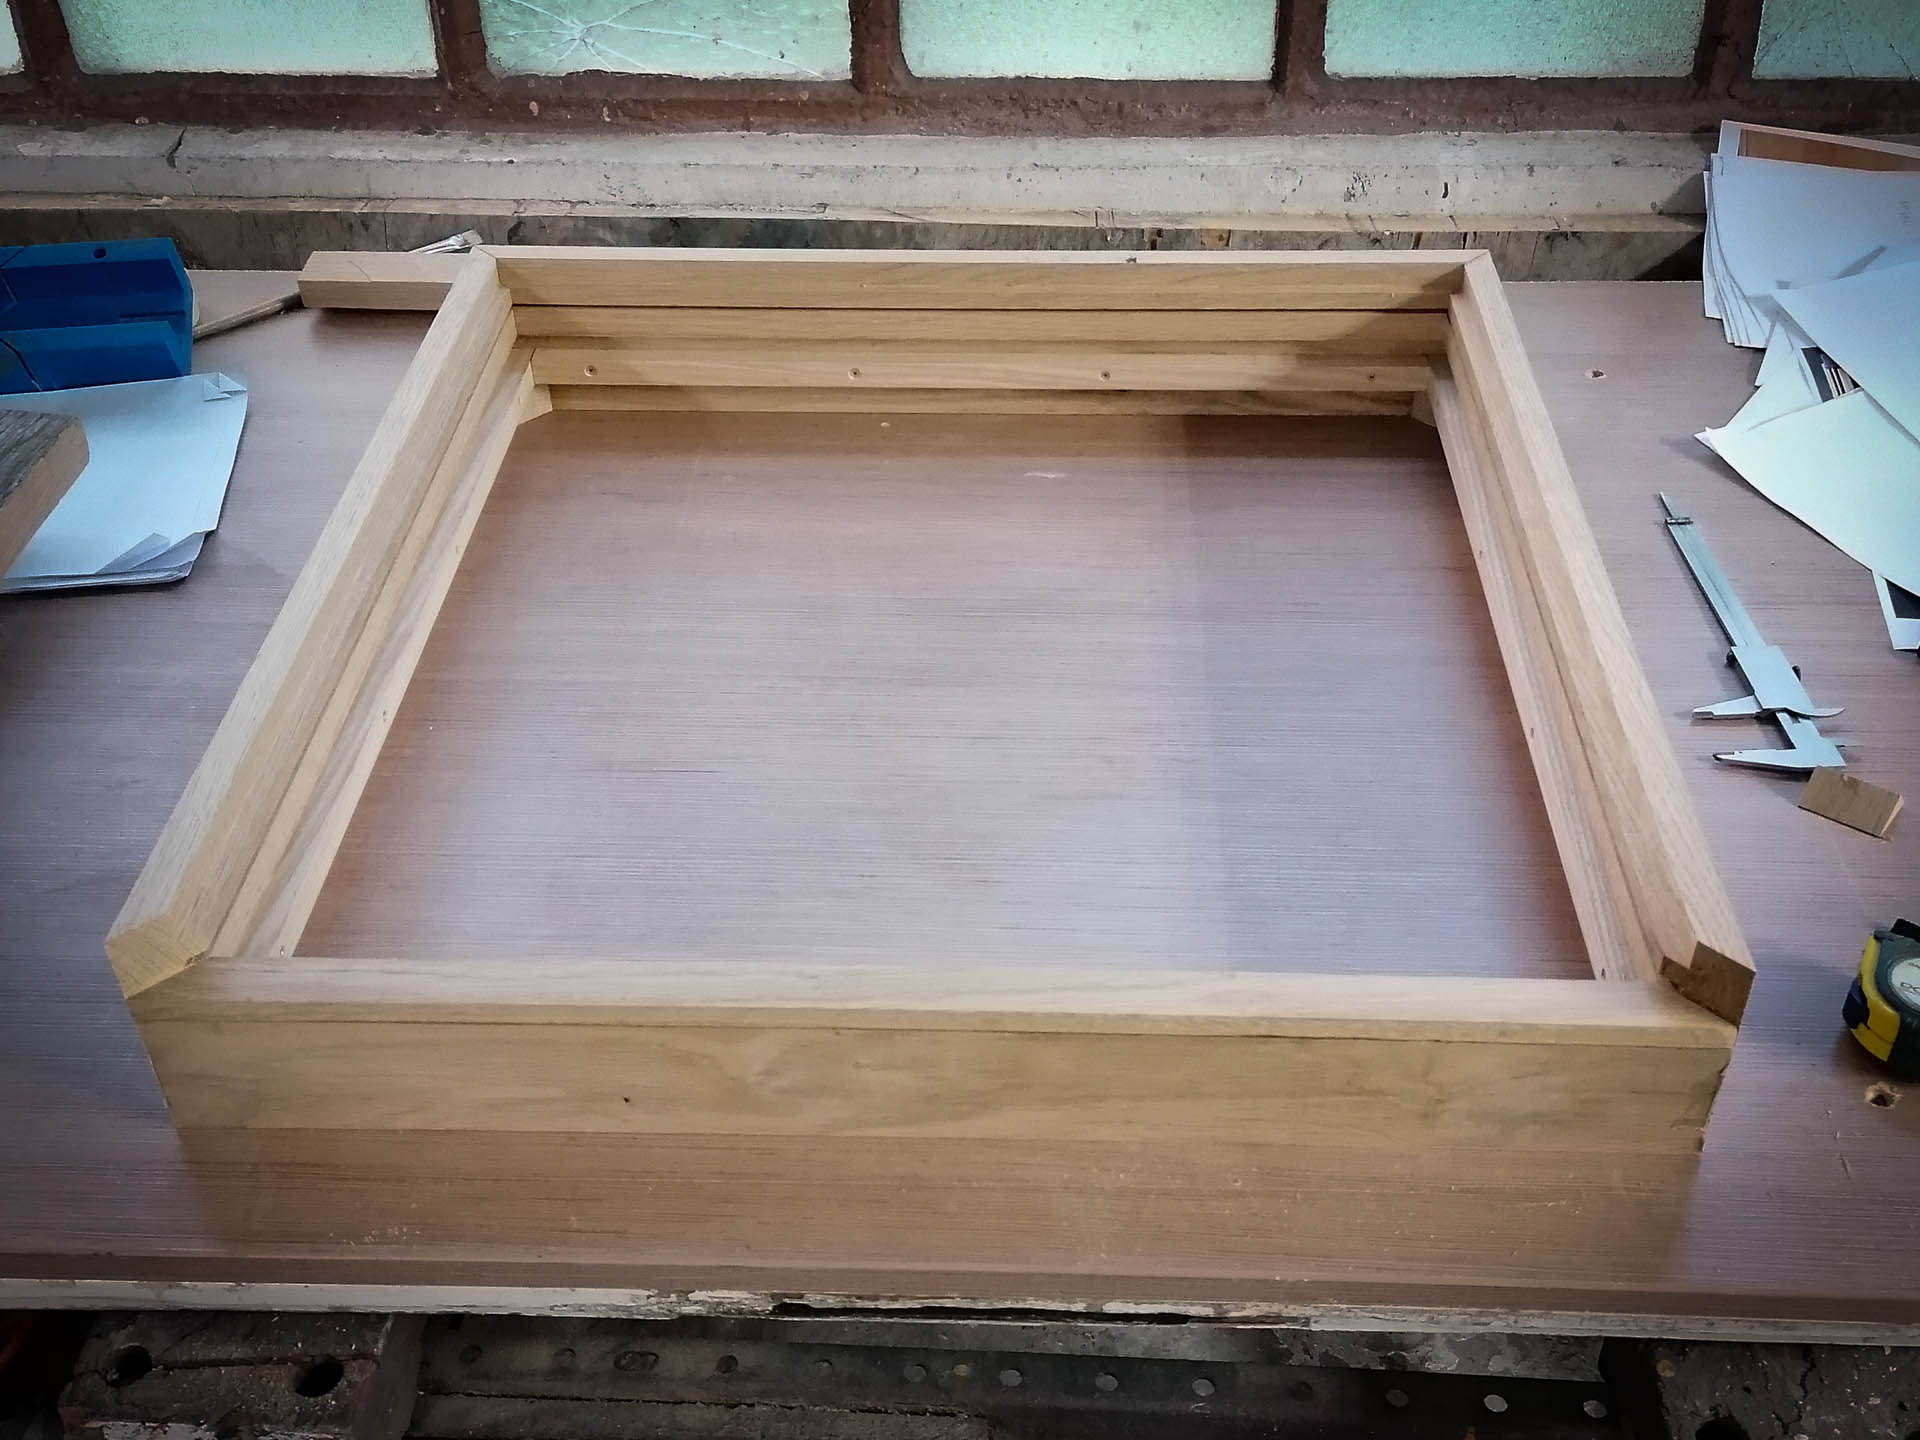
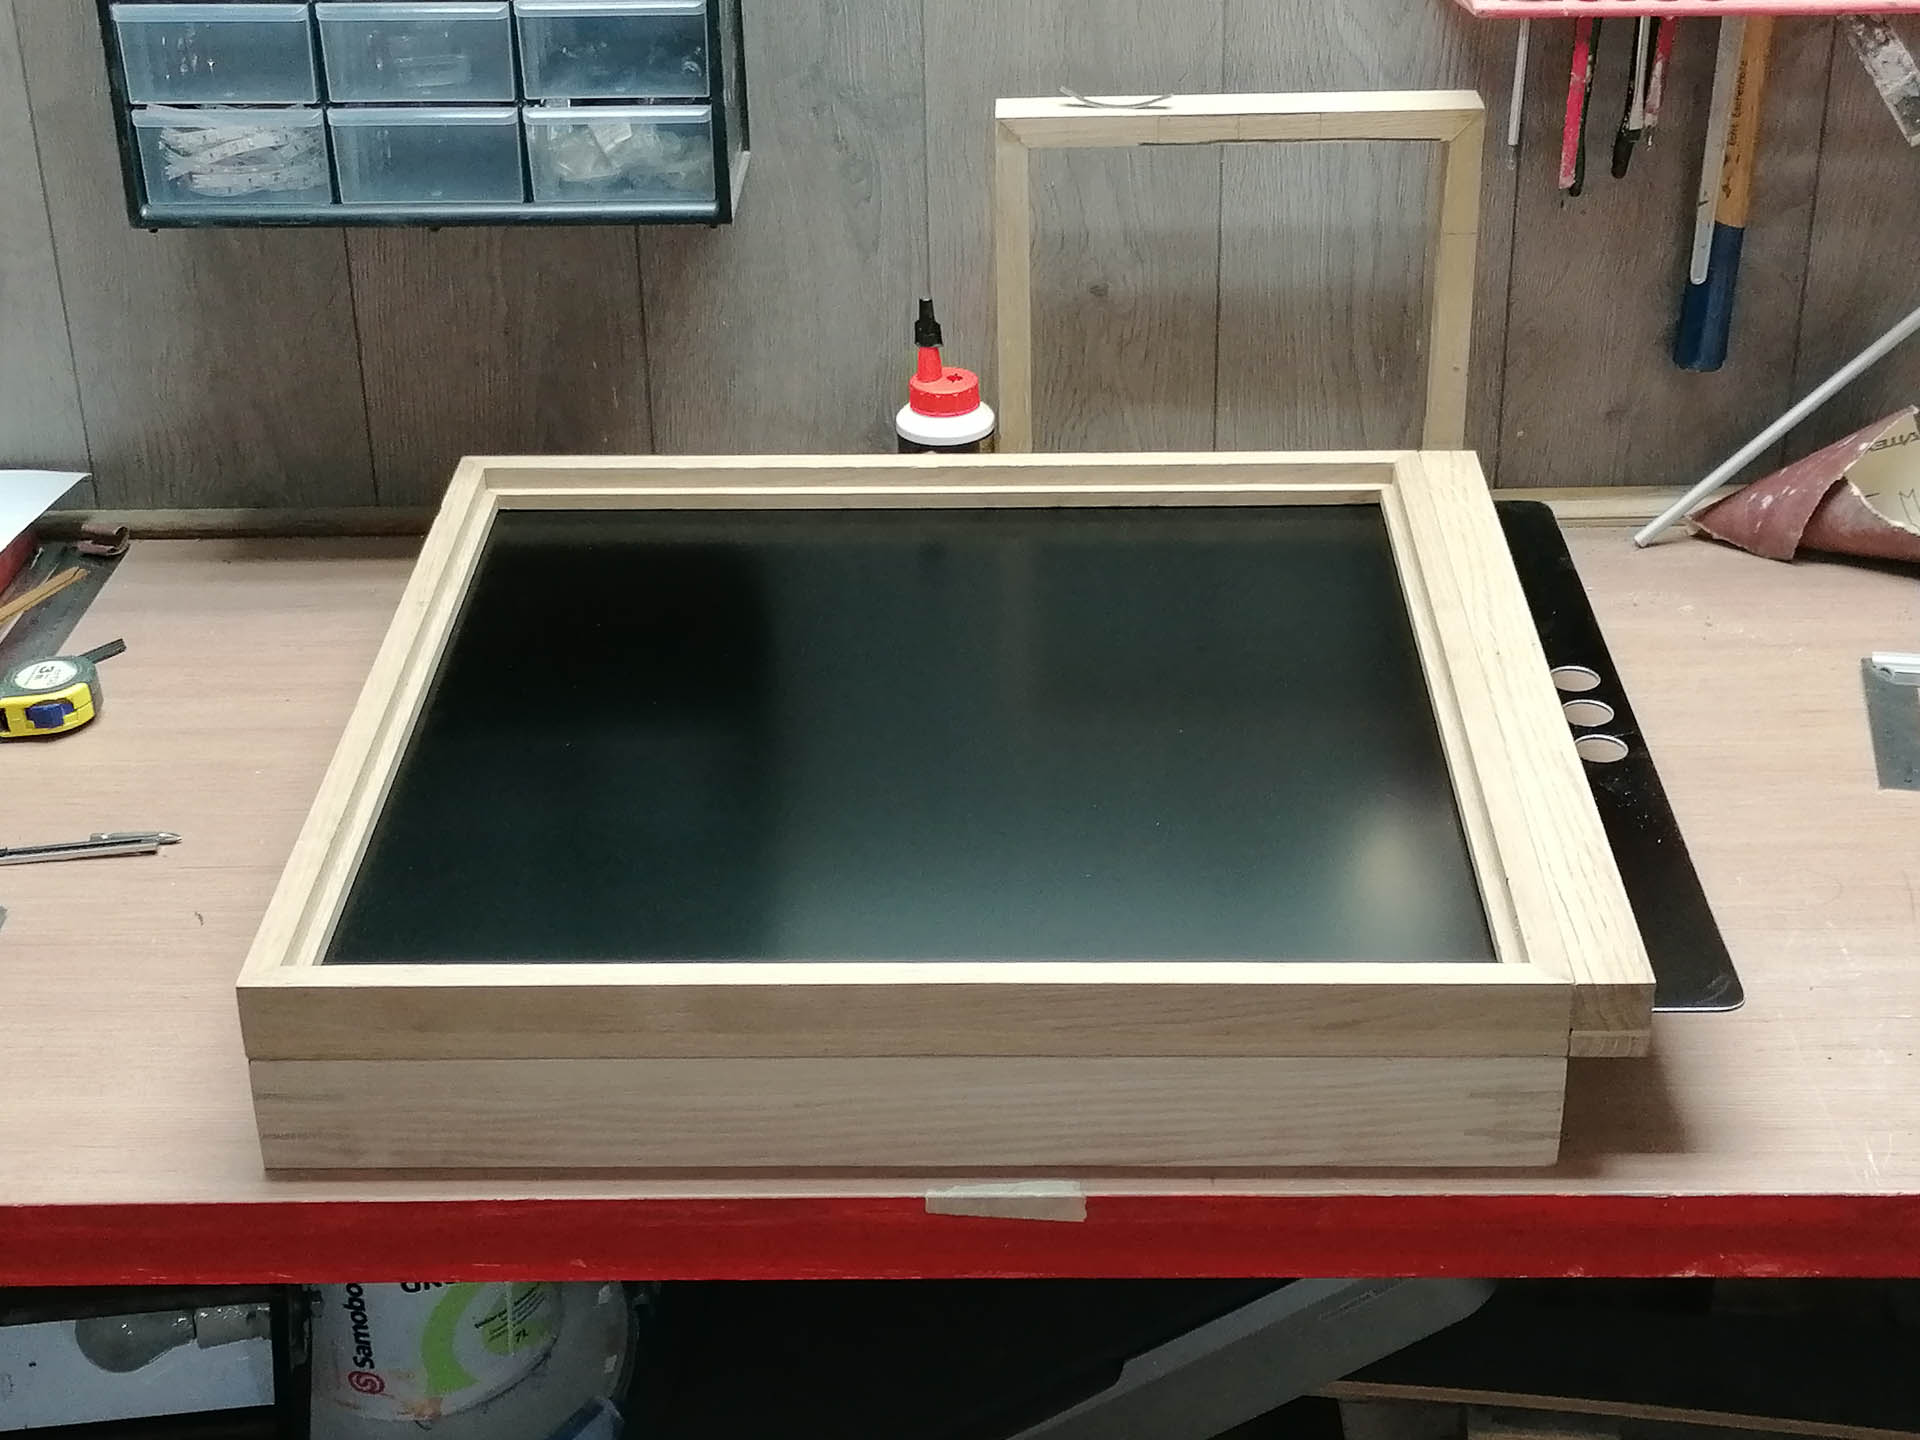
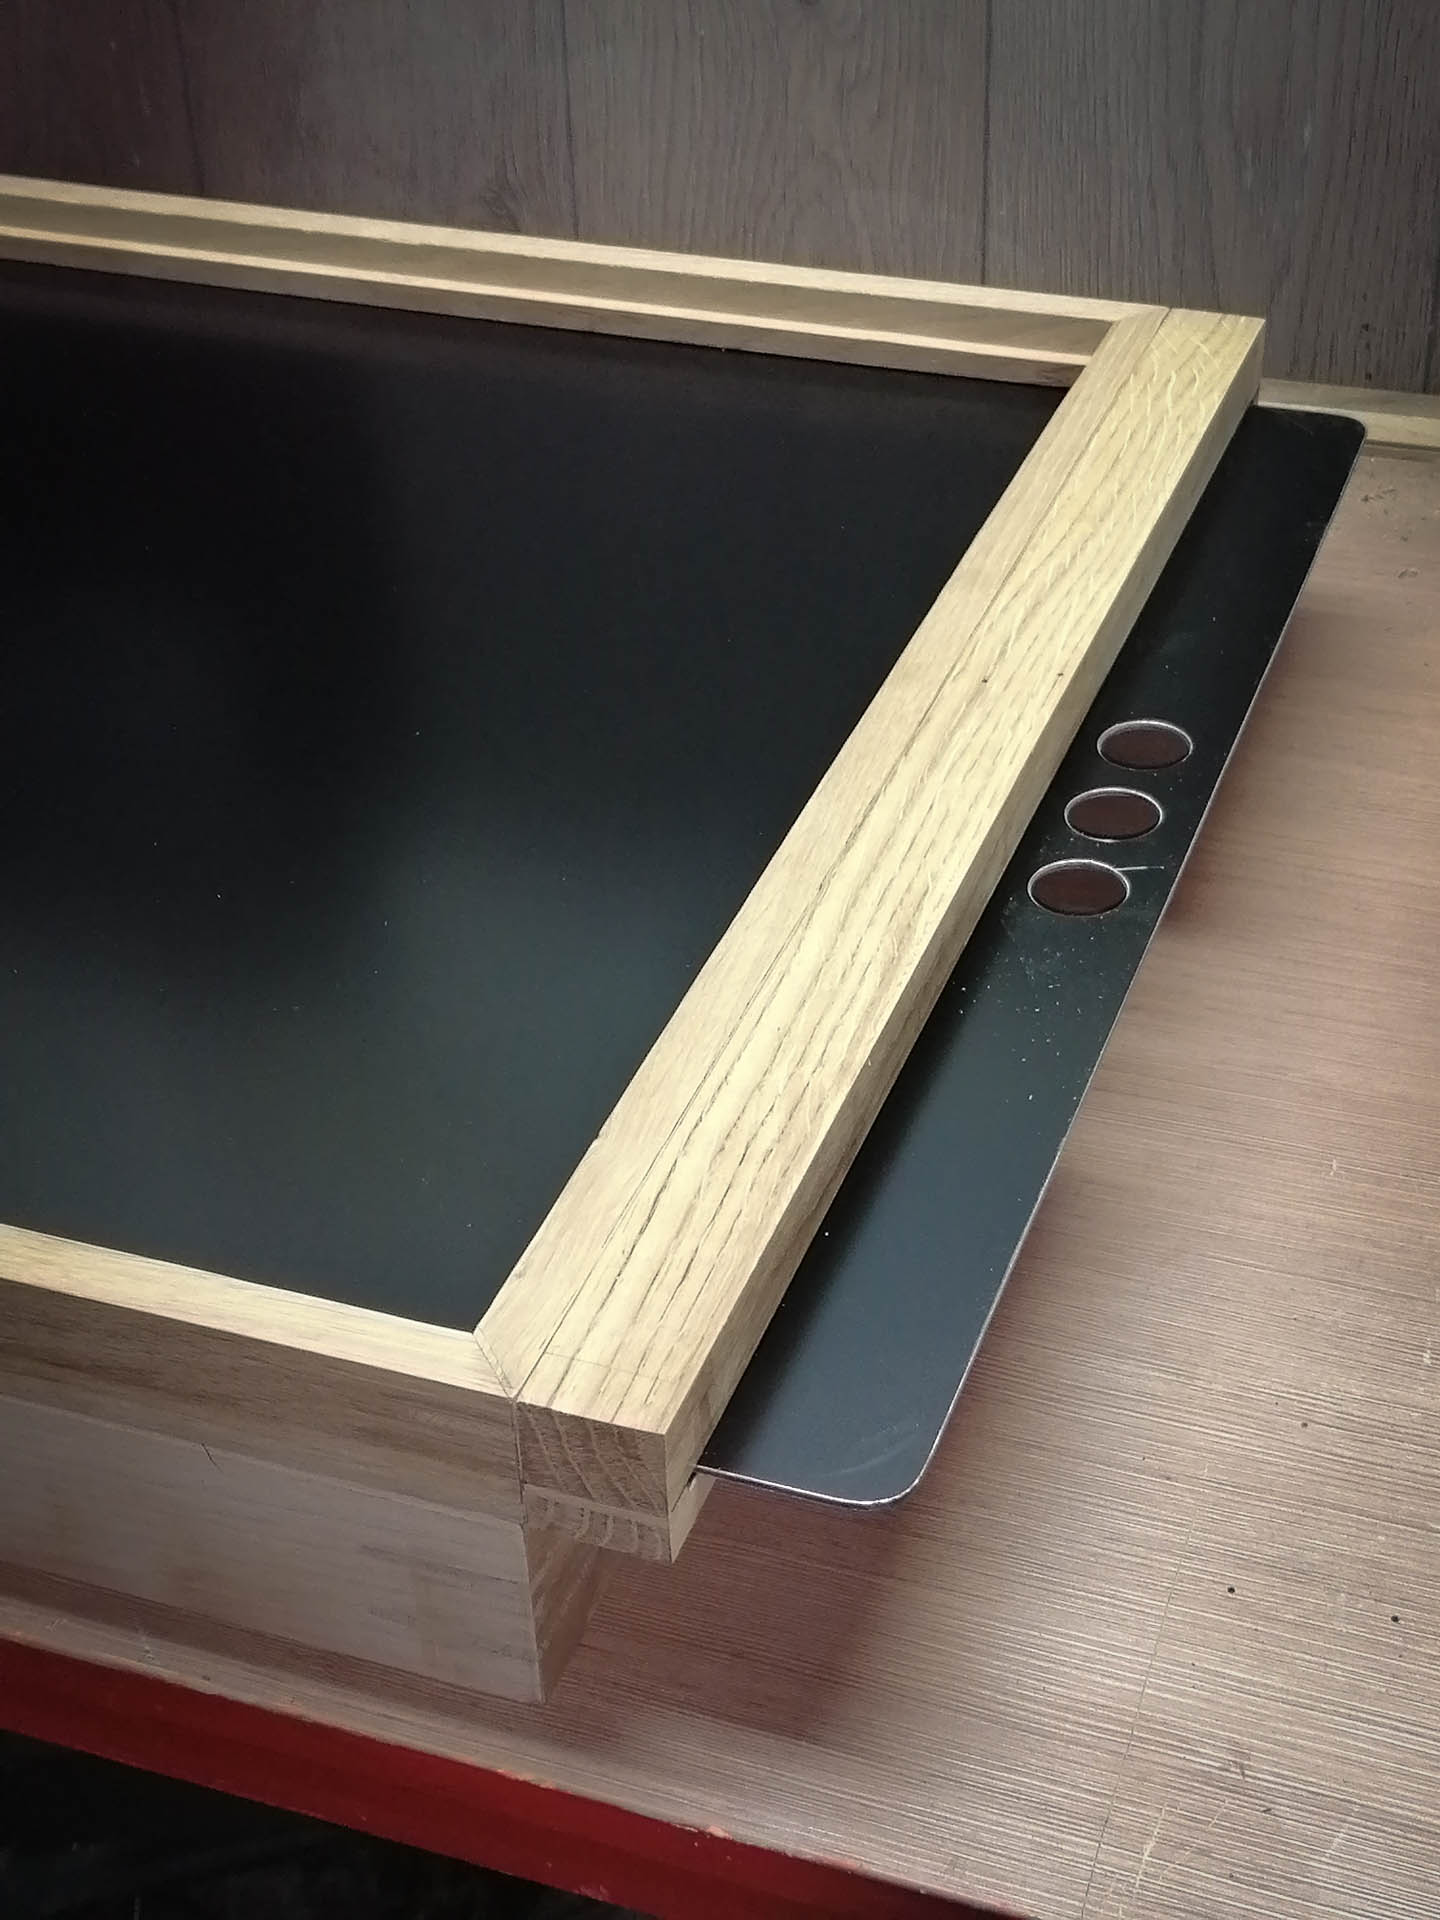
The back standard is cut from oak and planed and cut into sections. I started assembling from the frame of the rear standard (56 cm x 56 cm), which serves to accept the cassette. I also cut the parts for the cassette and checked the dimensions to ensure the cassette and the back standard matched. I glued everything and reinforced the corners.
After everything was assembled, a sensitive part of the cassette remained, specifically the light stopper, which prevents light from entering the inside of the cassette.
The slides are cut, and the cassette is assembled
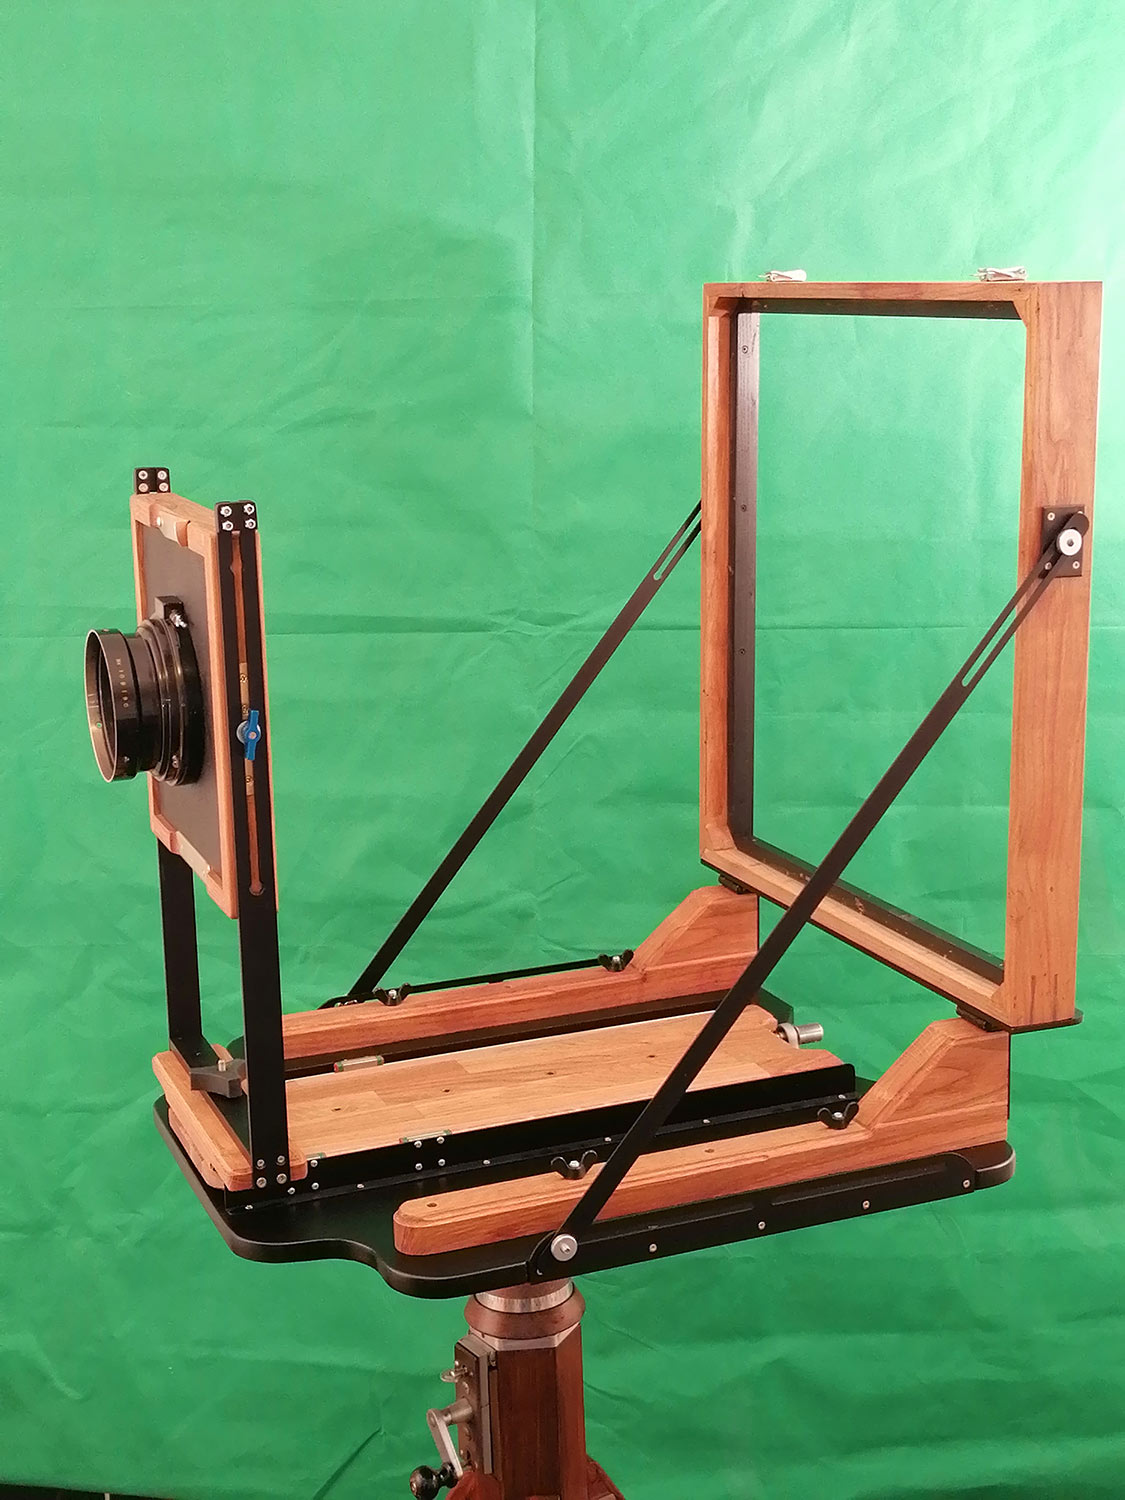
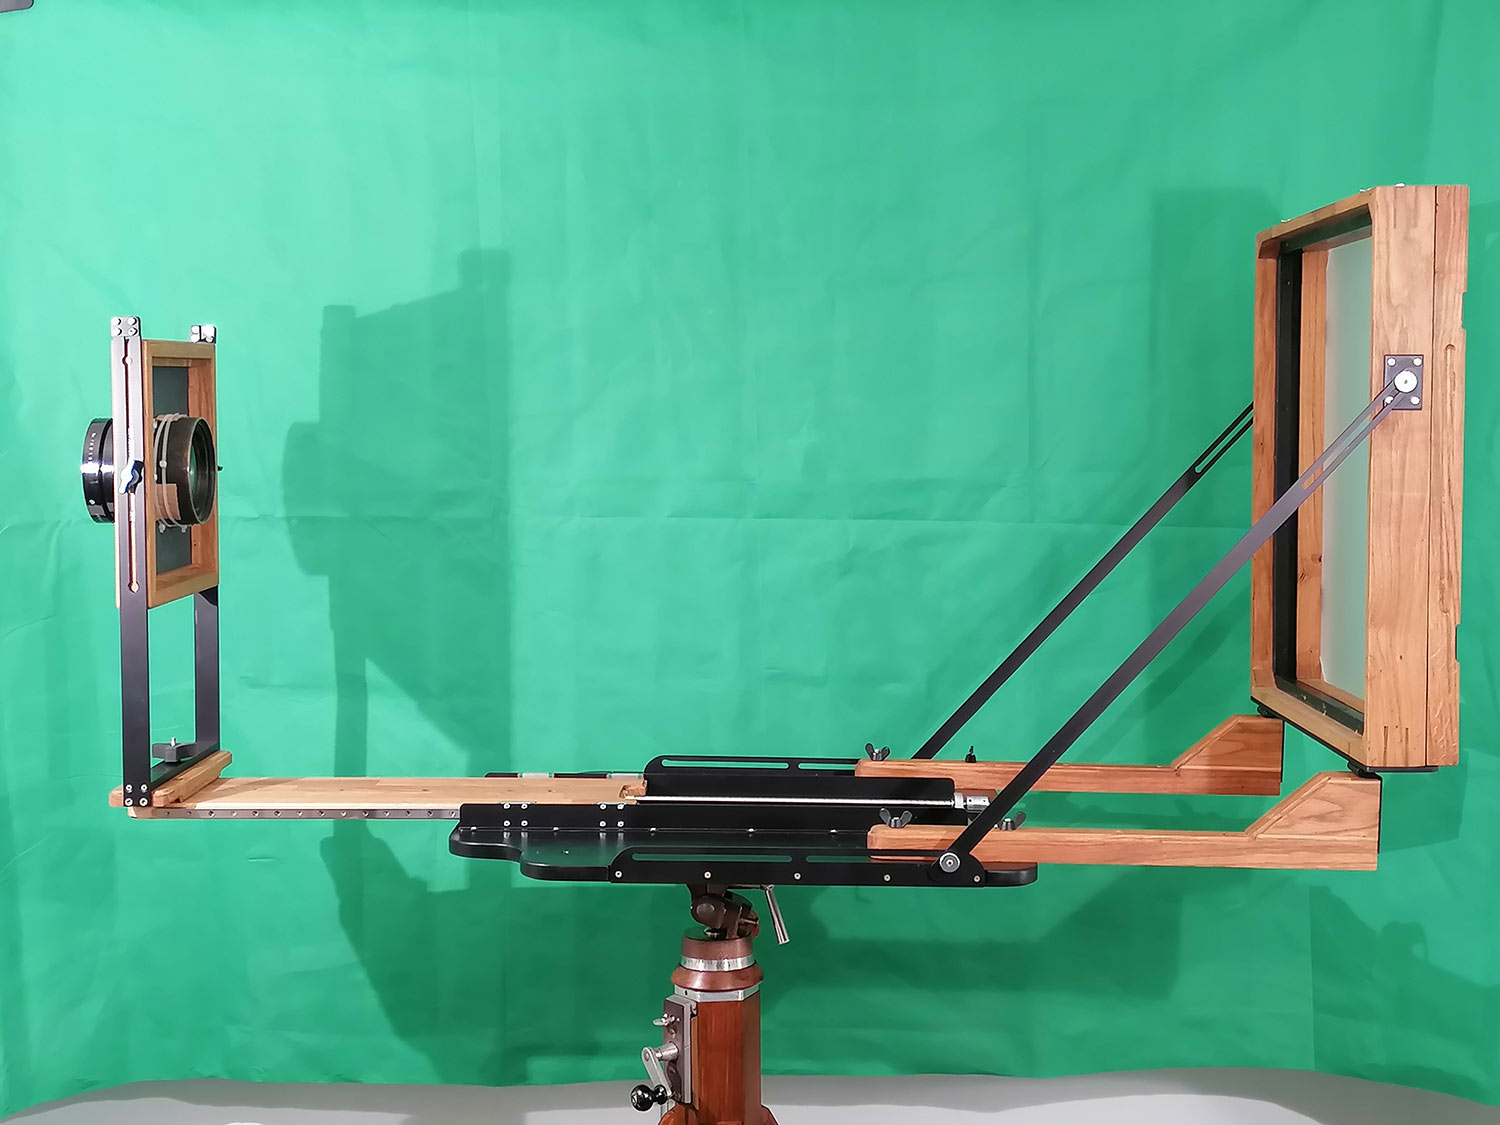
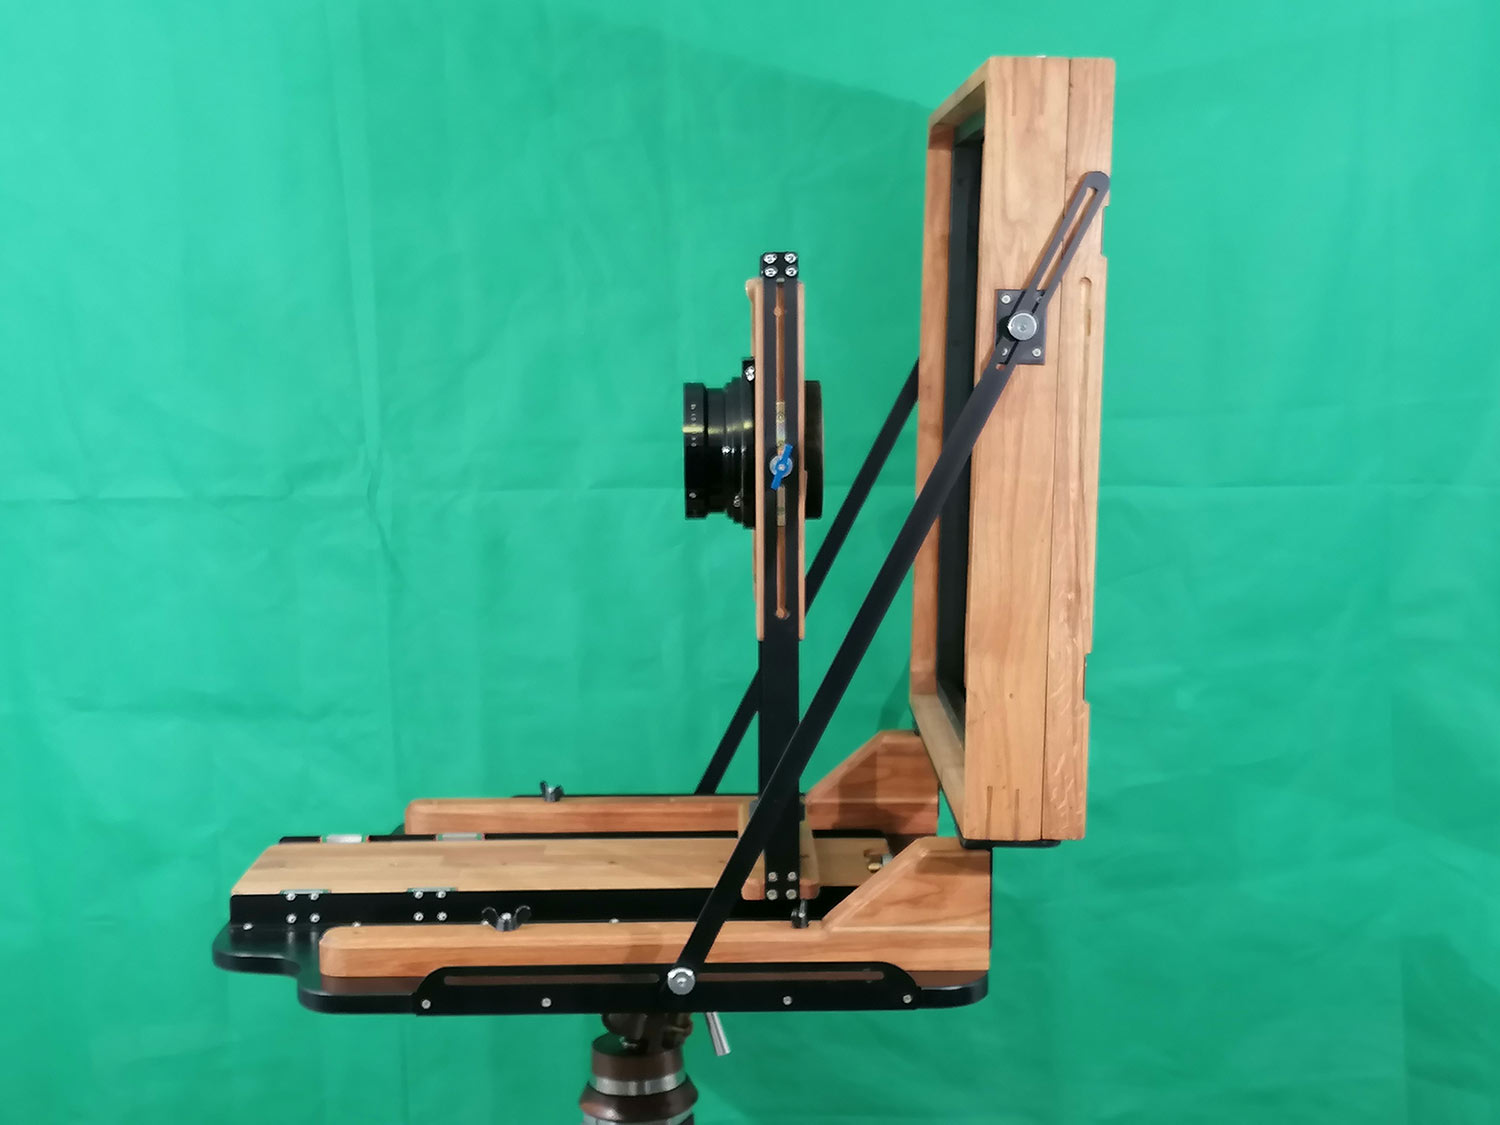
FRONT STANDARD
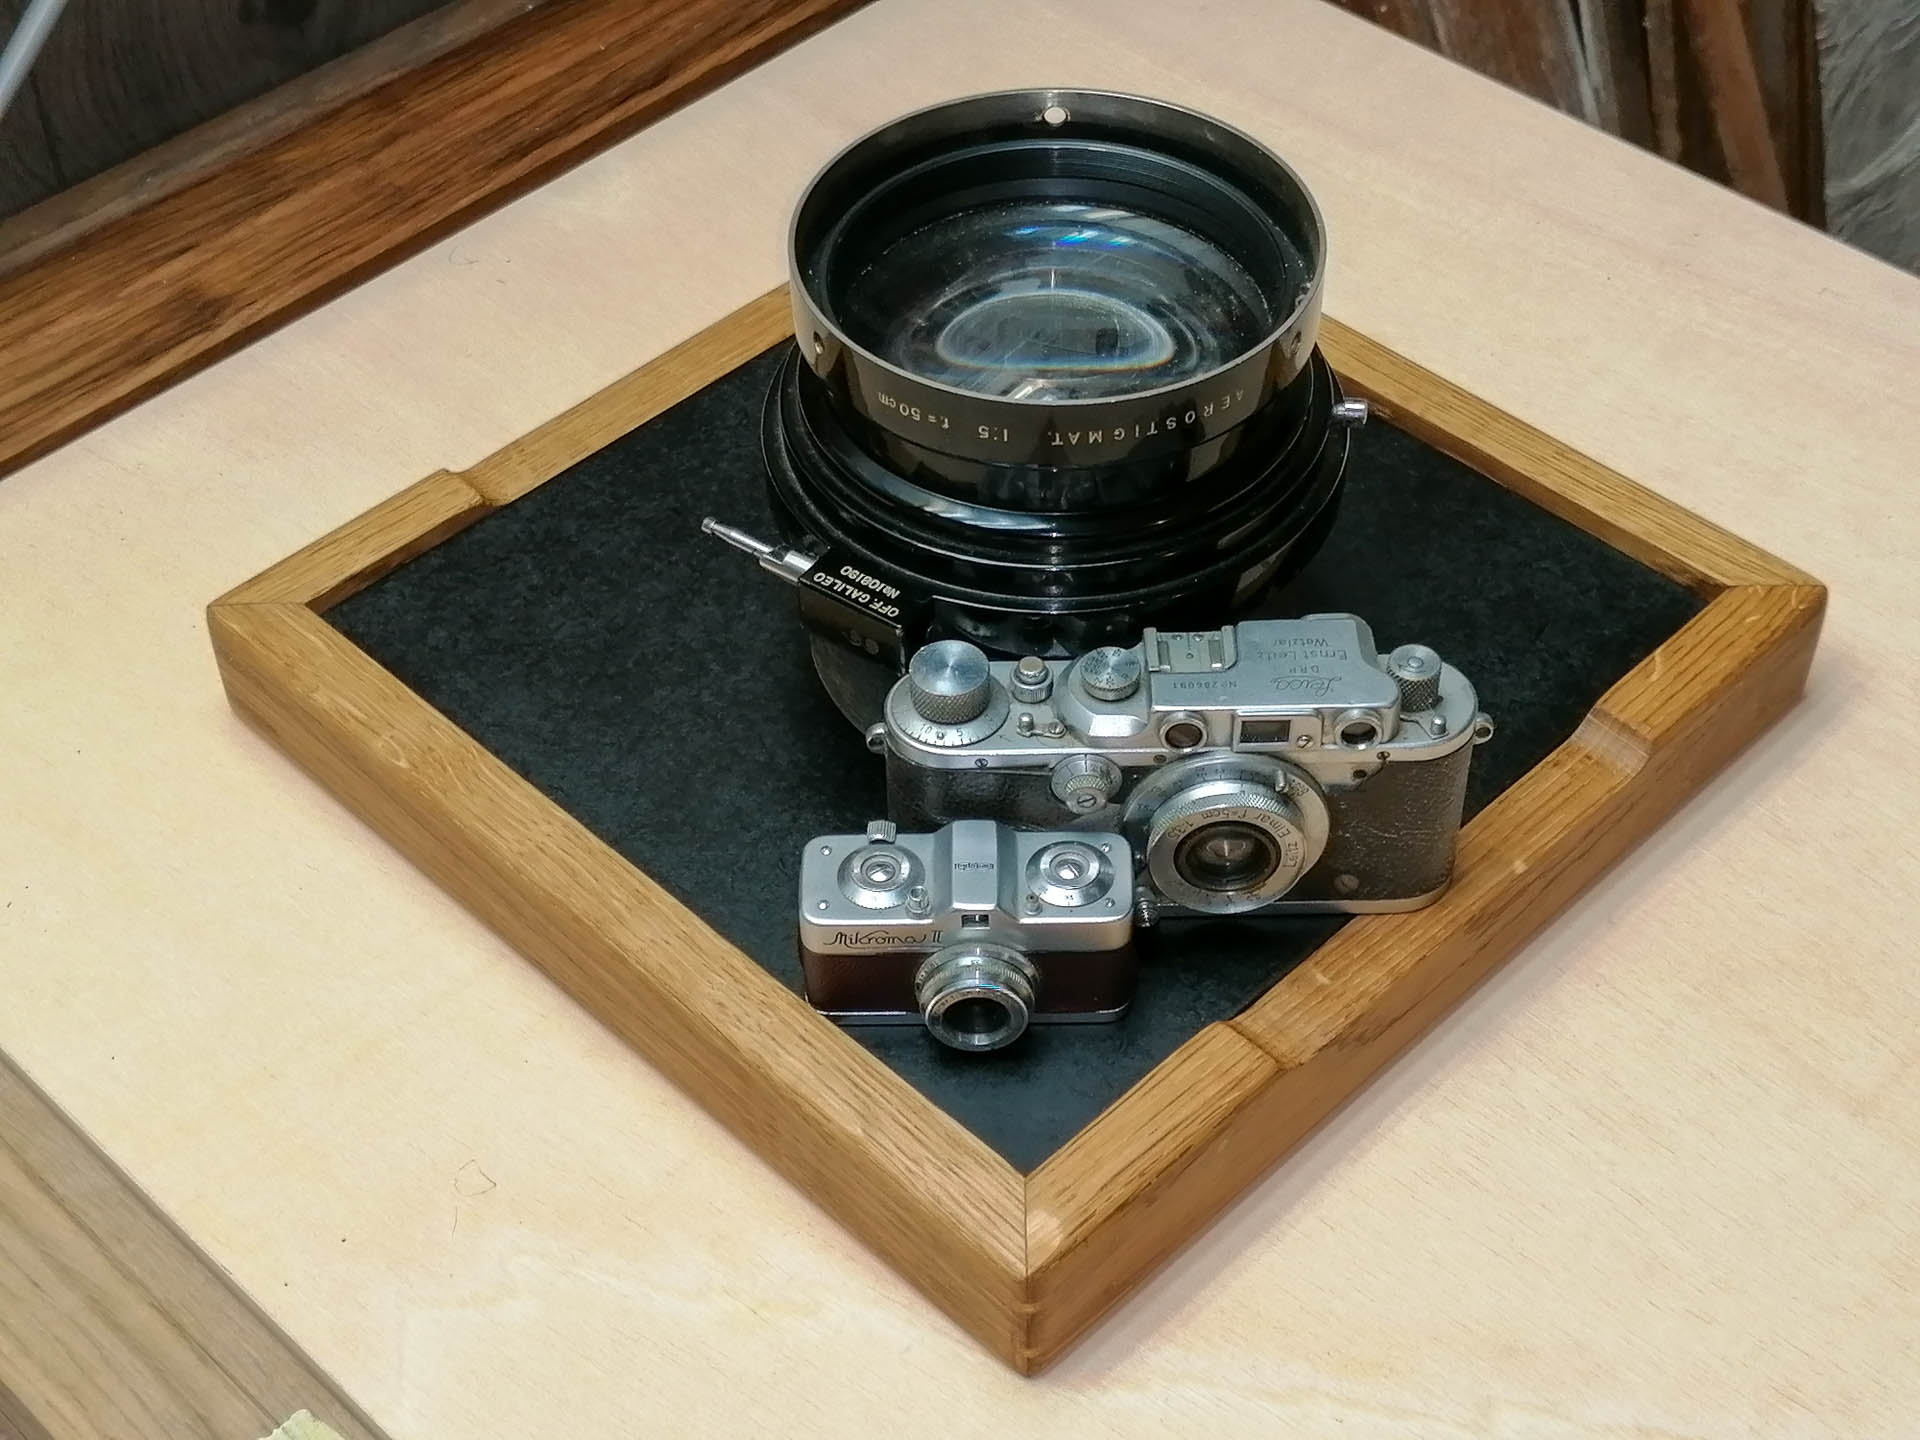
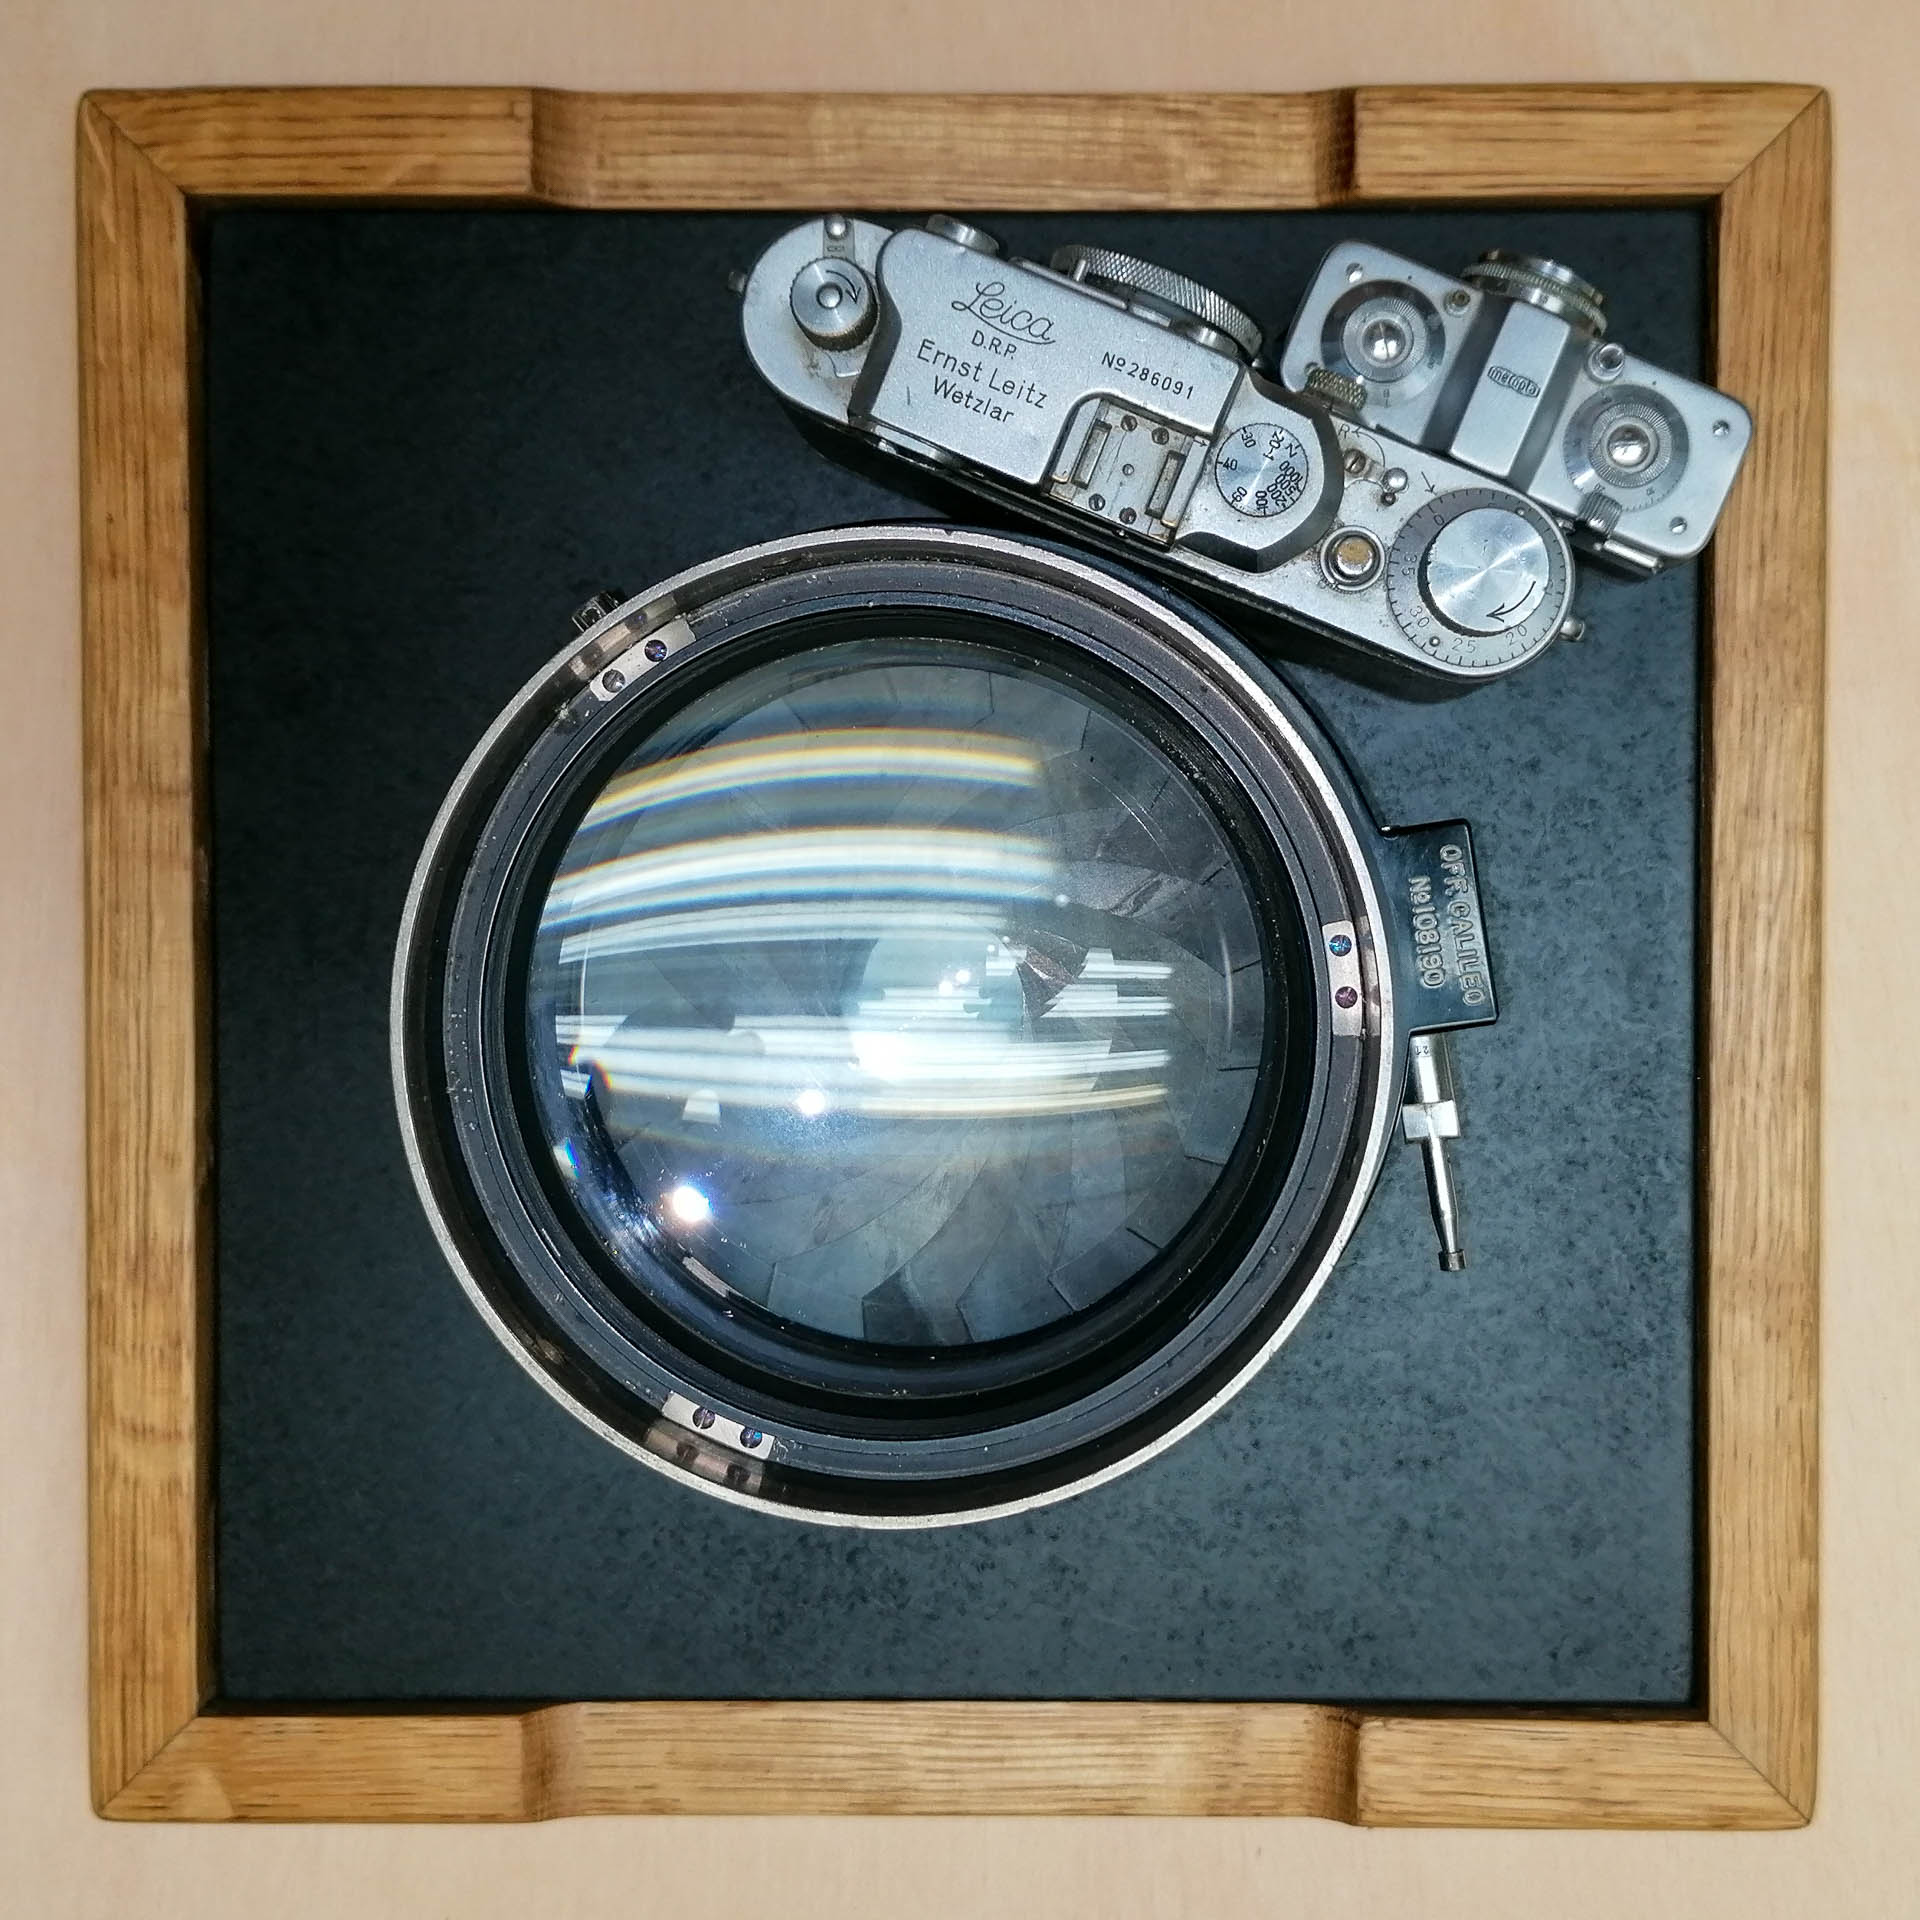
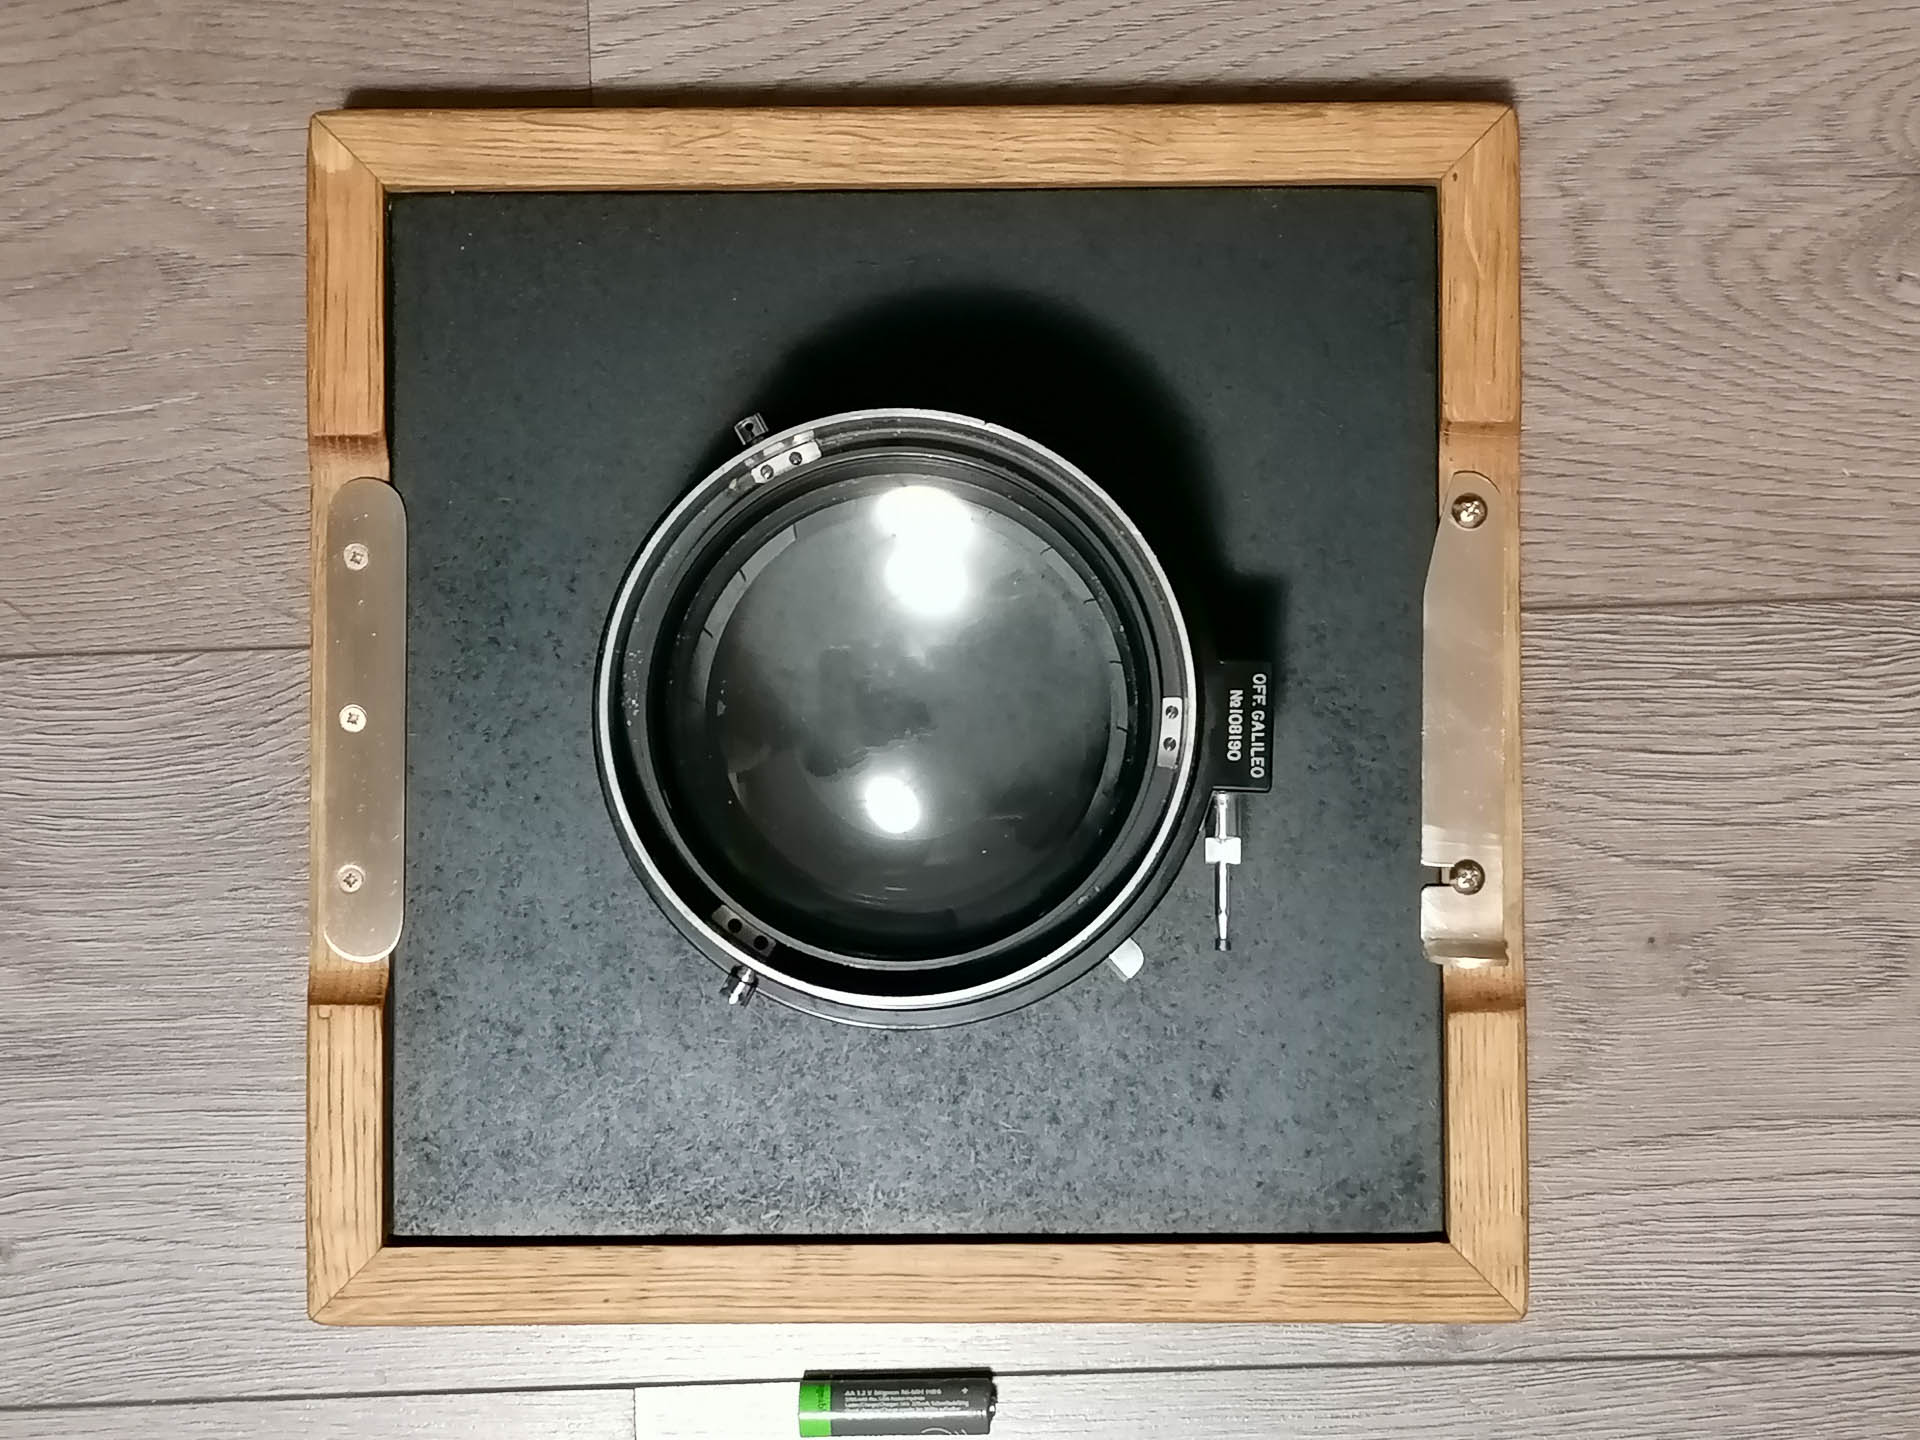
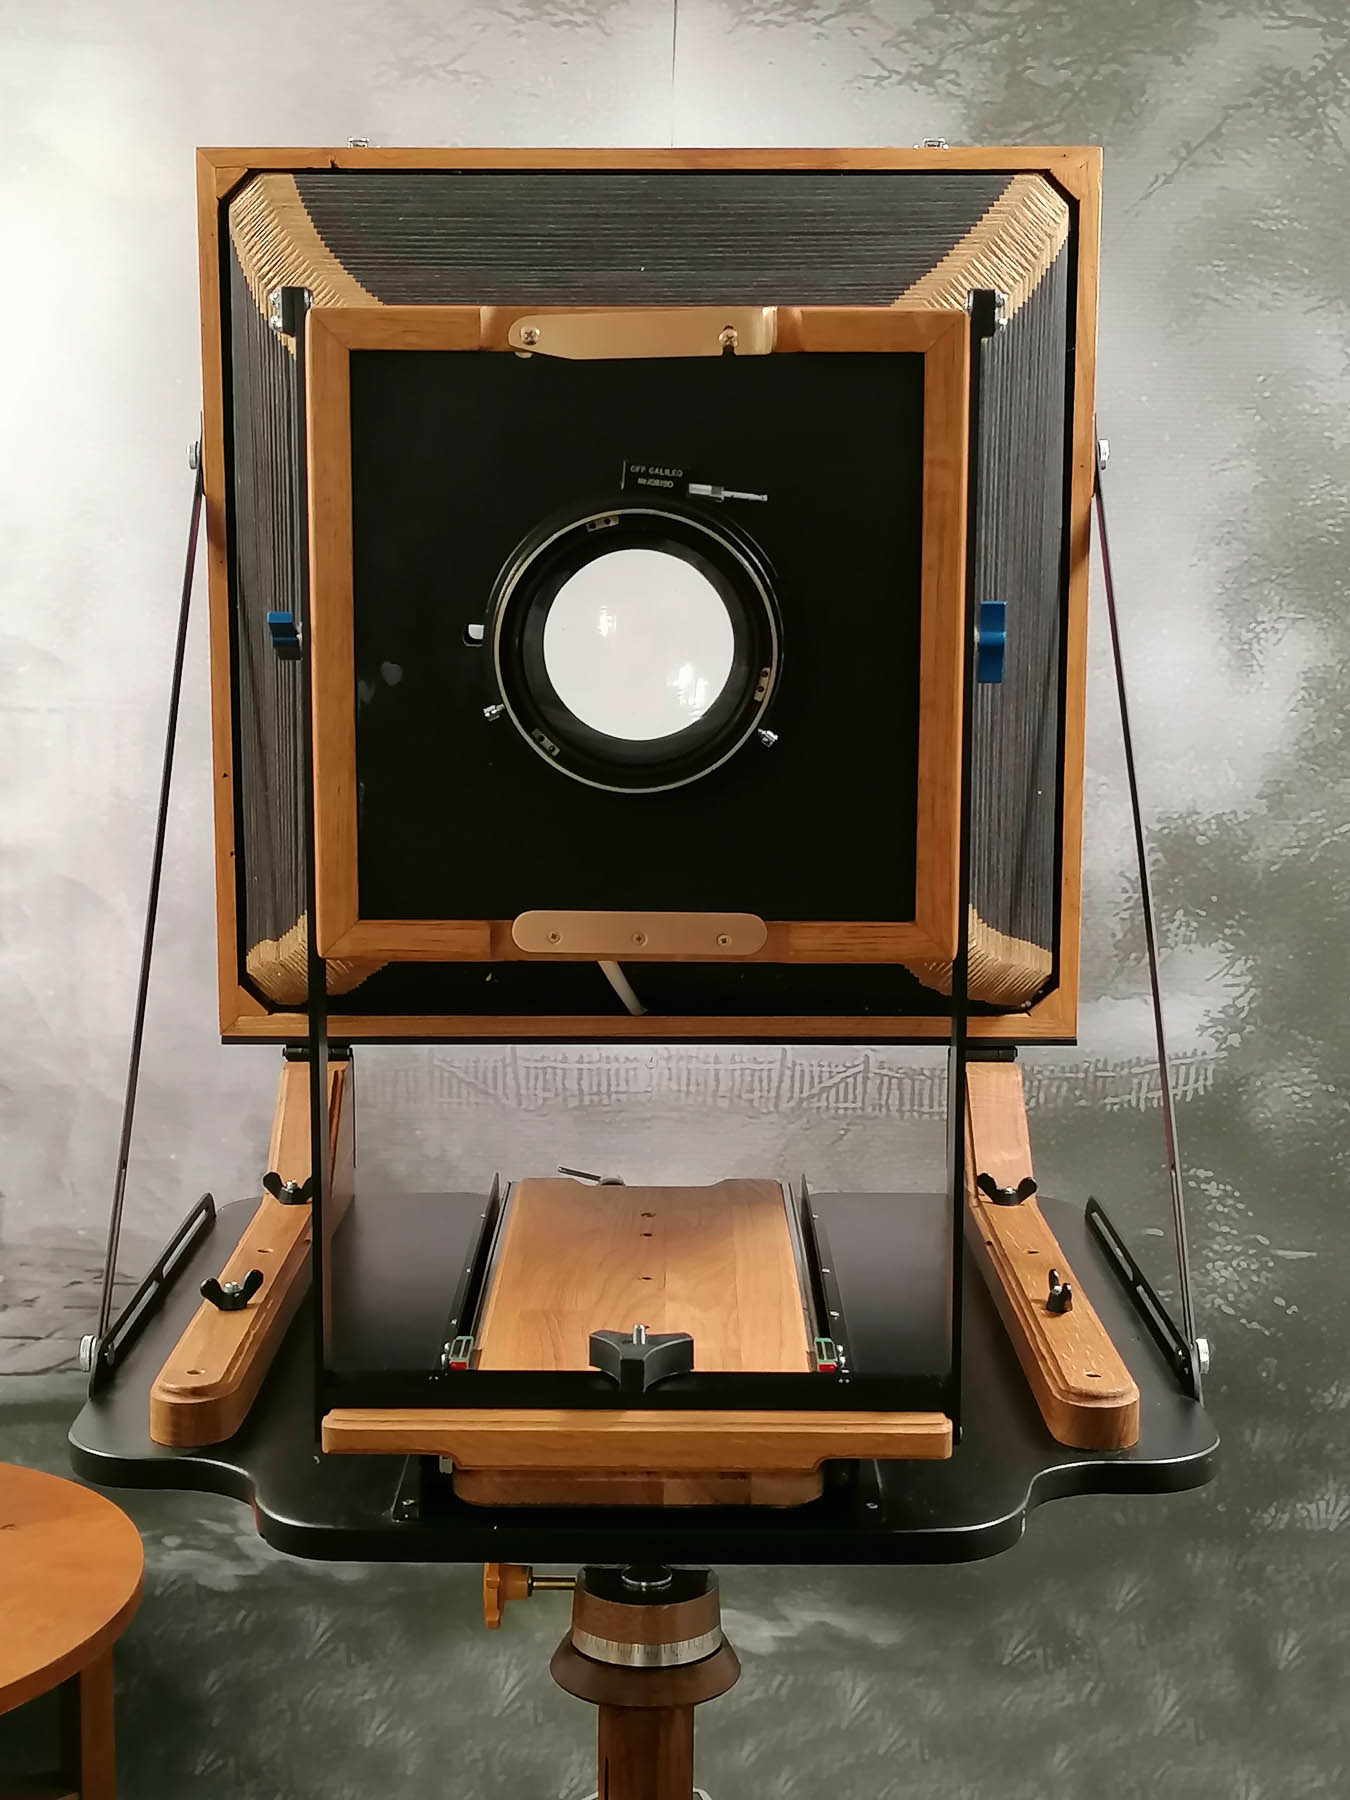
The front standard is for a lensboard of 25x25 cm. The frame is also made from oak, and the lensboard is from mediapan. Stoppers are made of brass. You can see that even the smallest part of the camera is bigger than an ordinary 4x5-inch format camera. The lens is not the right one for dimension perception because it has a focal length of 500mm and an aperture of f/5, which is massive.
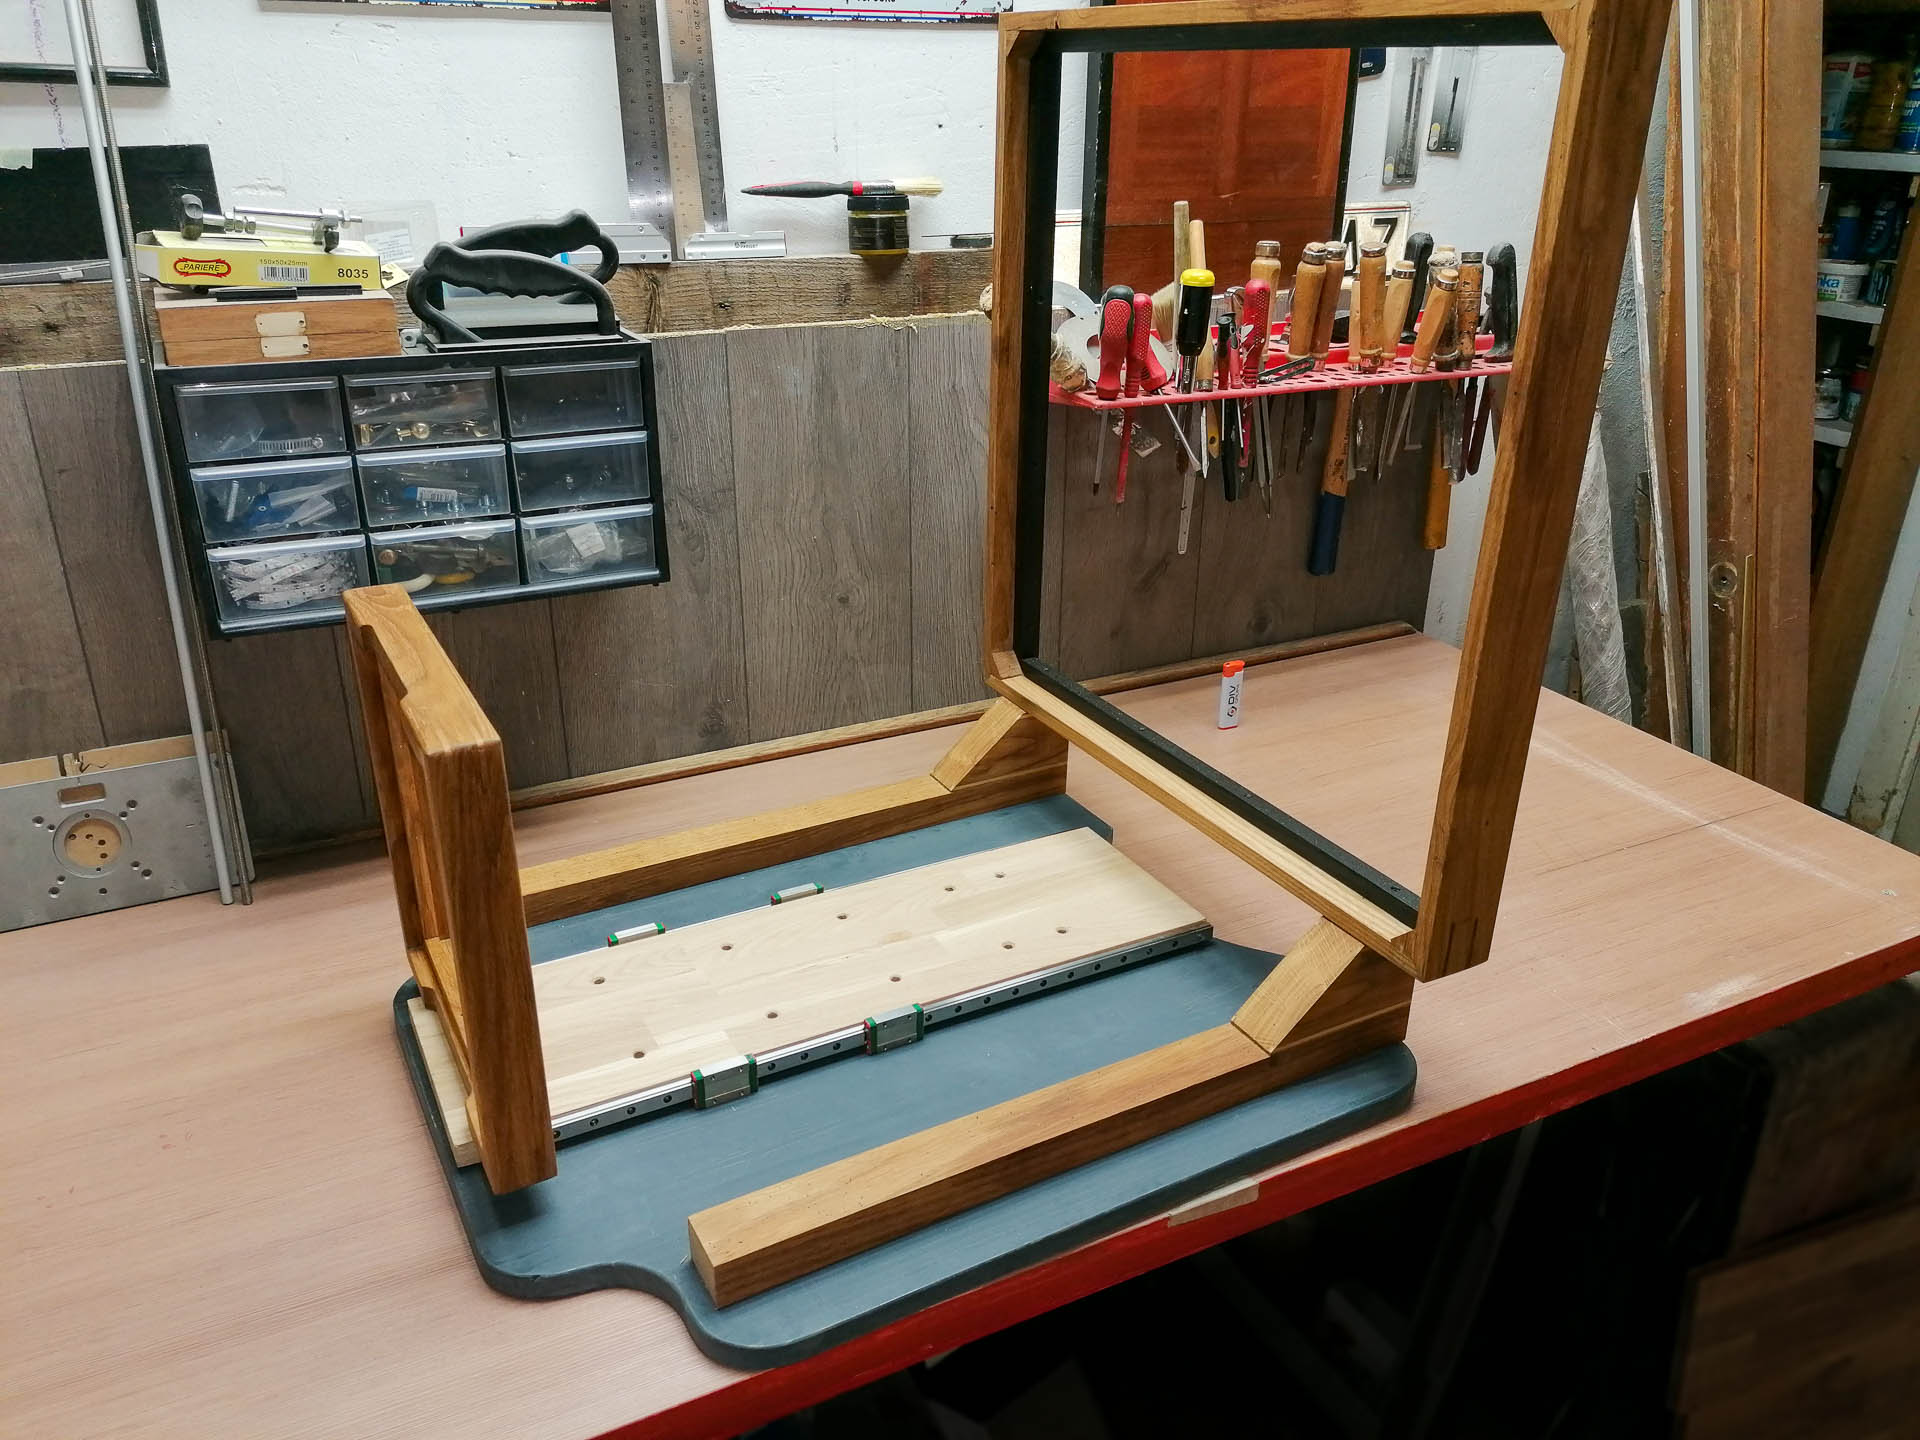
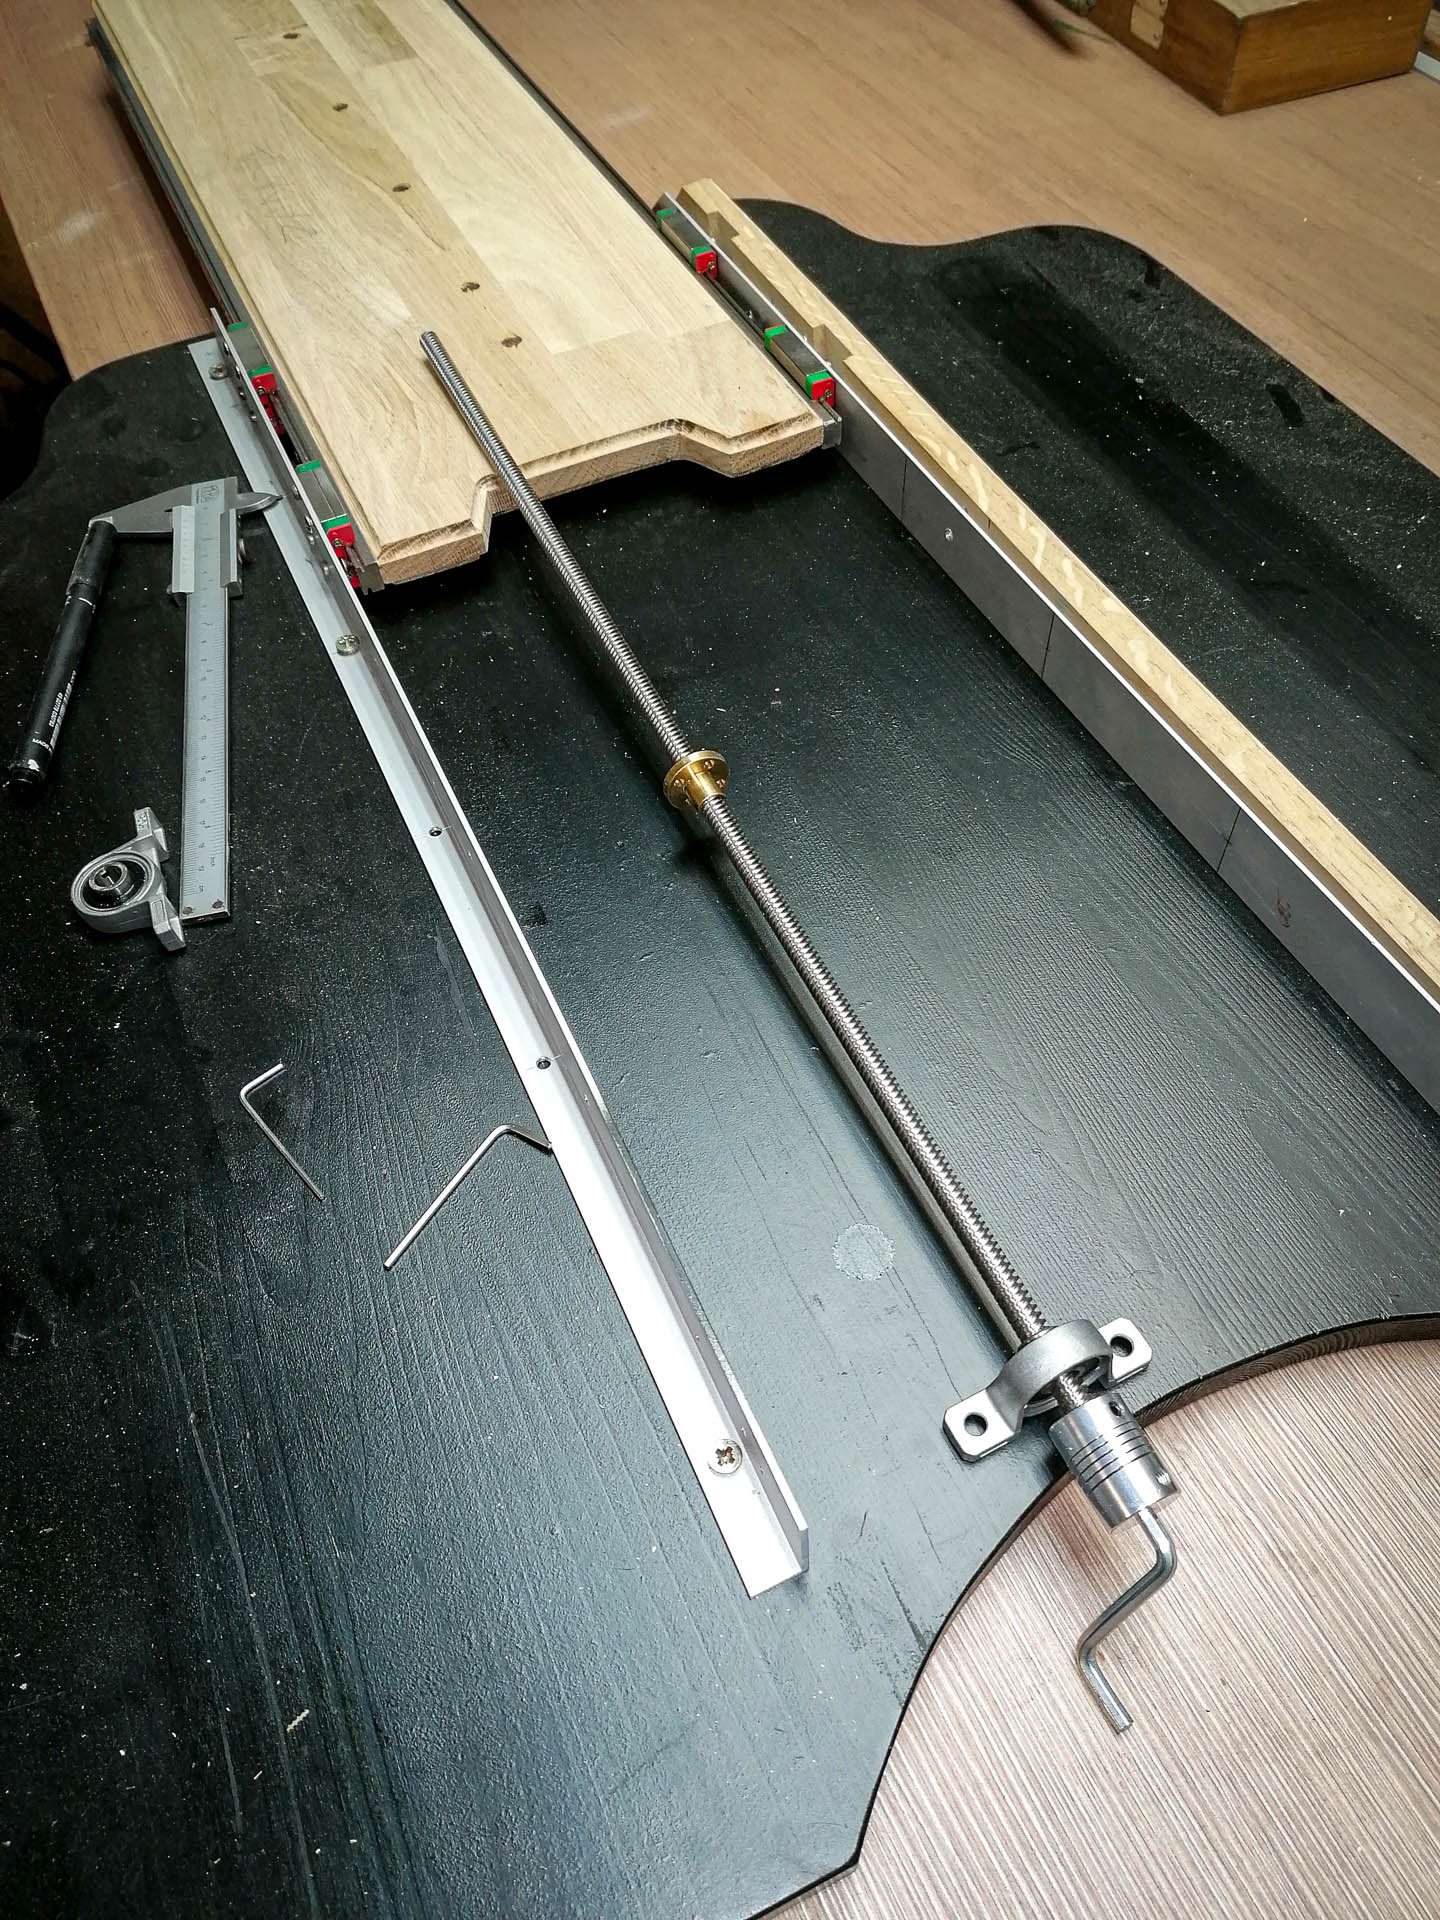
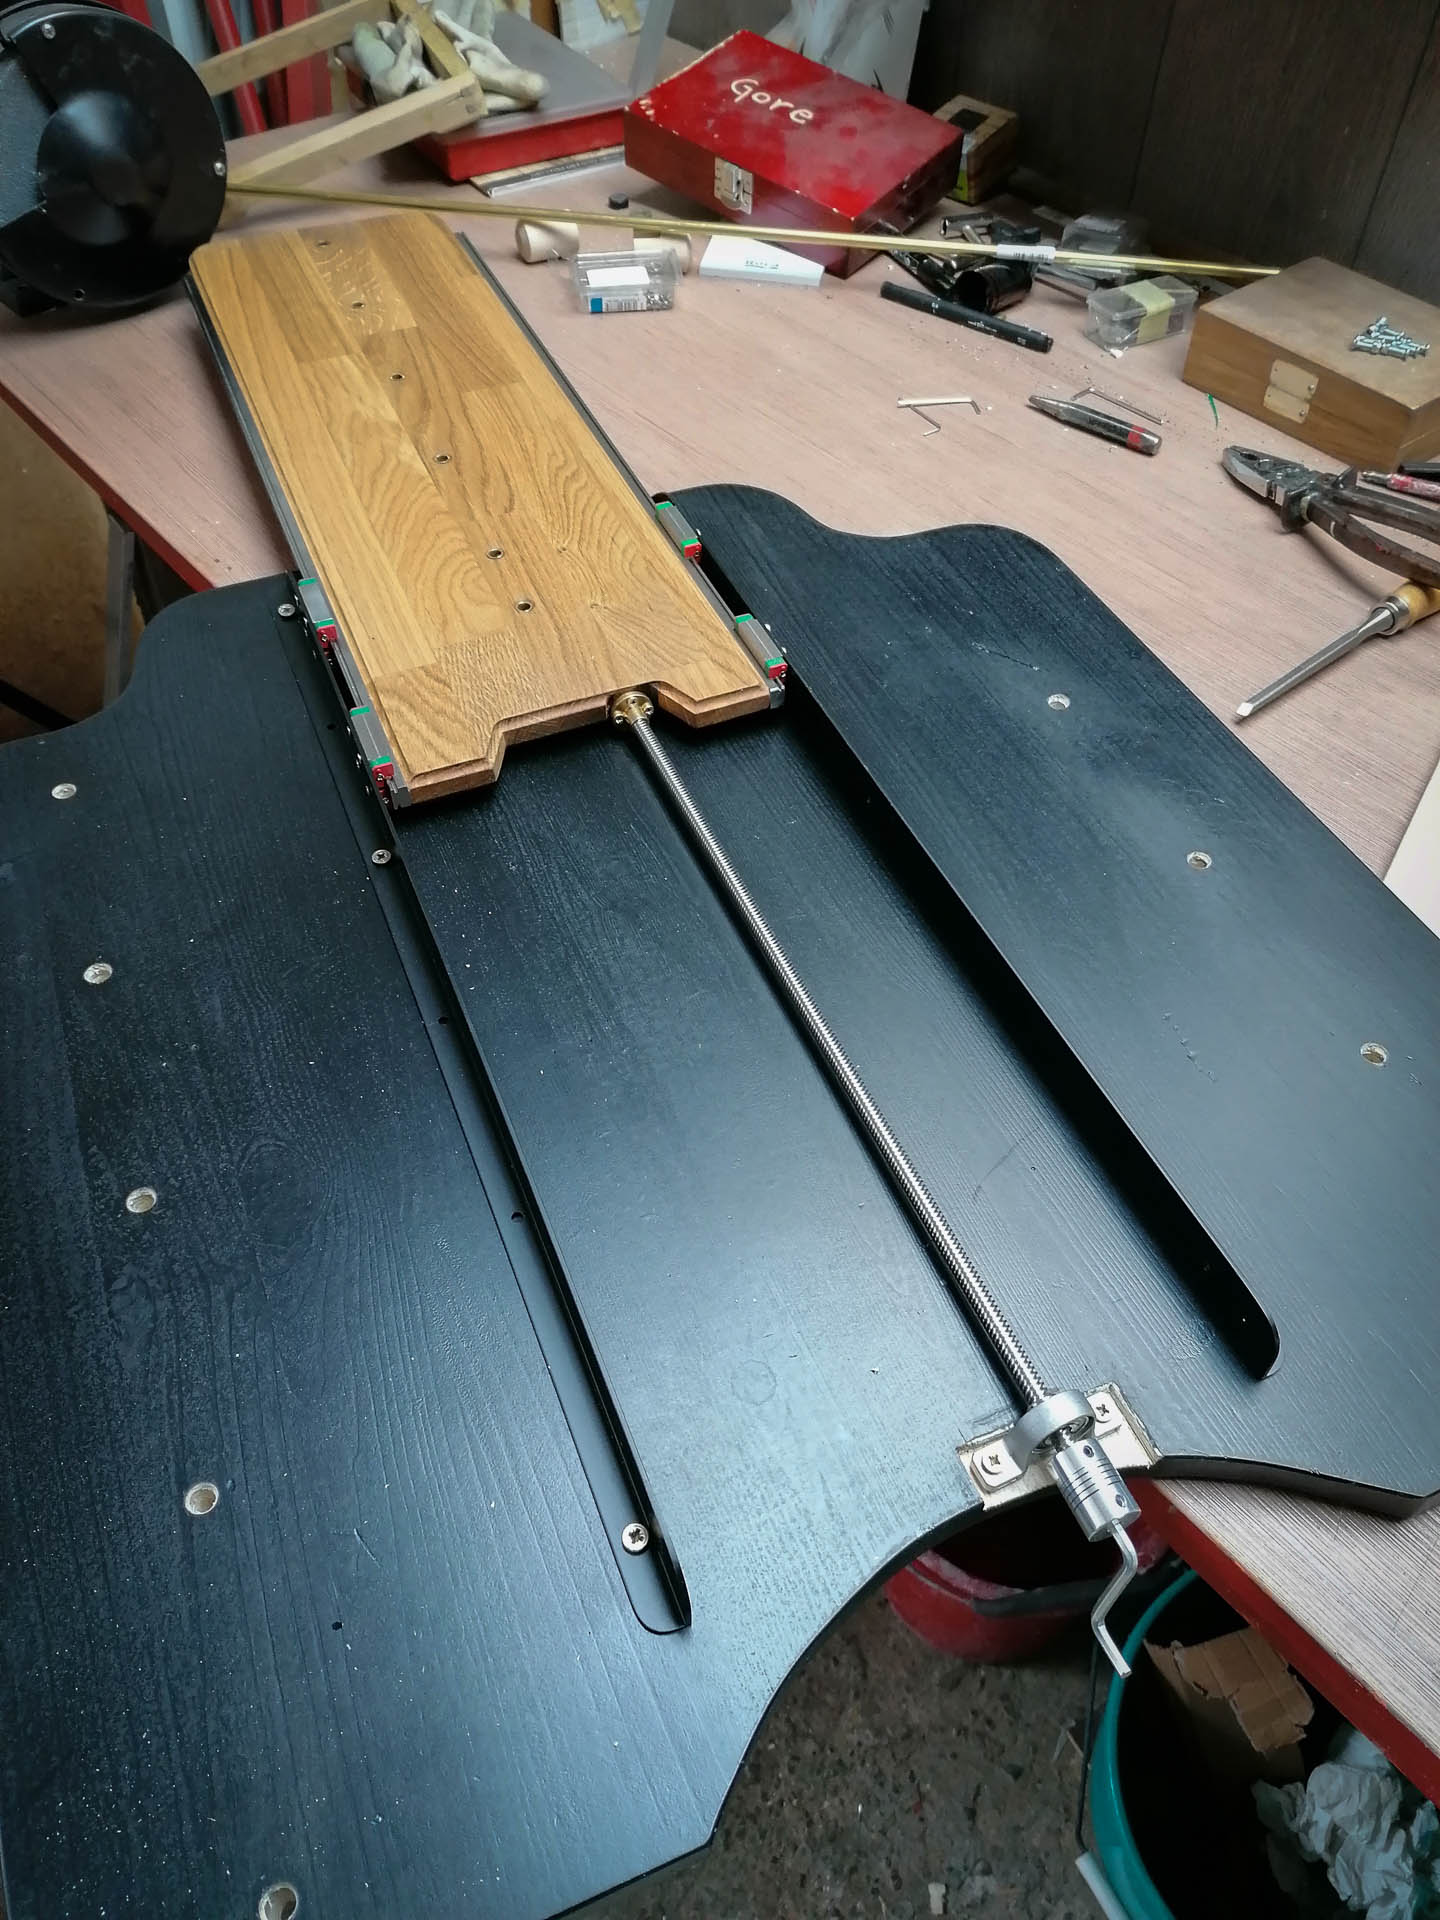
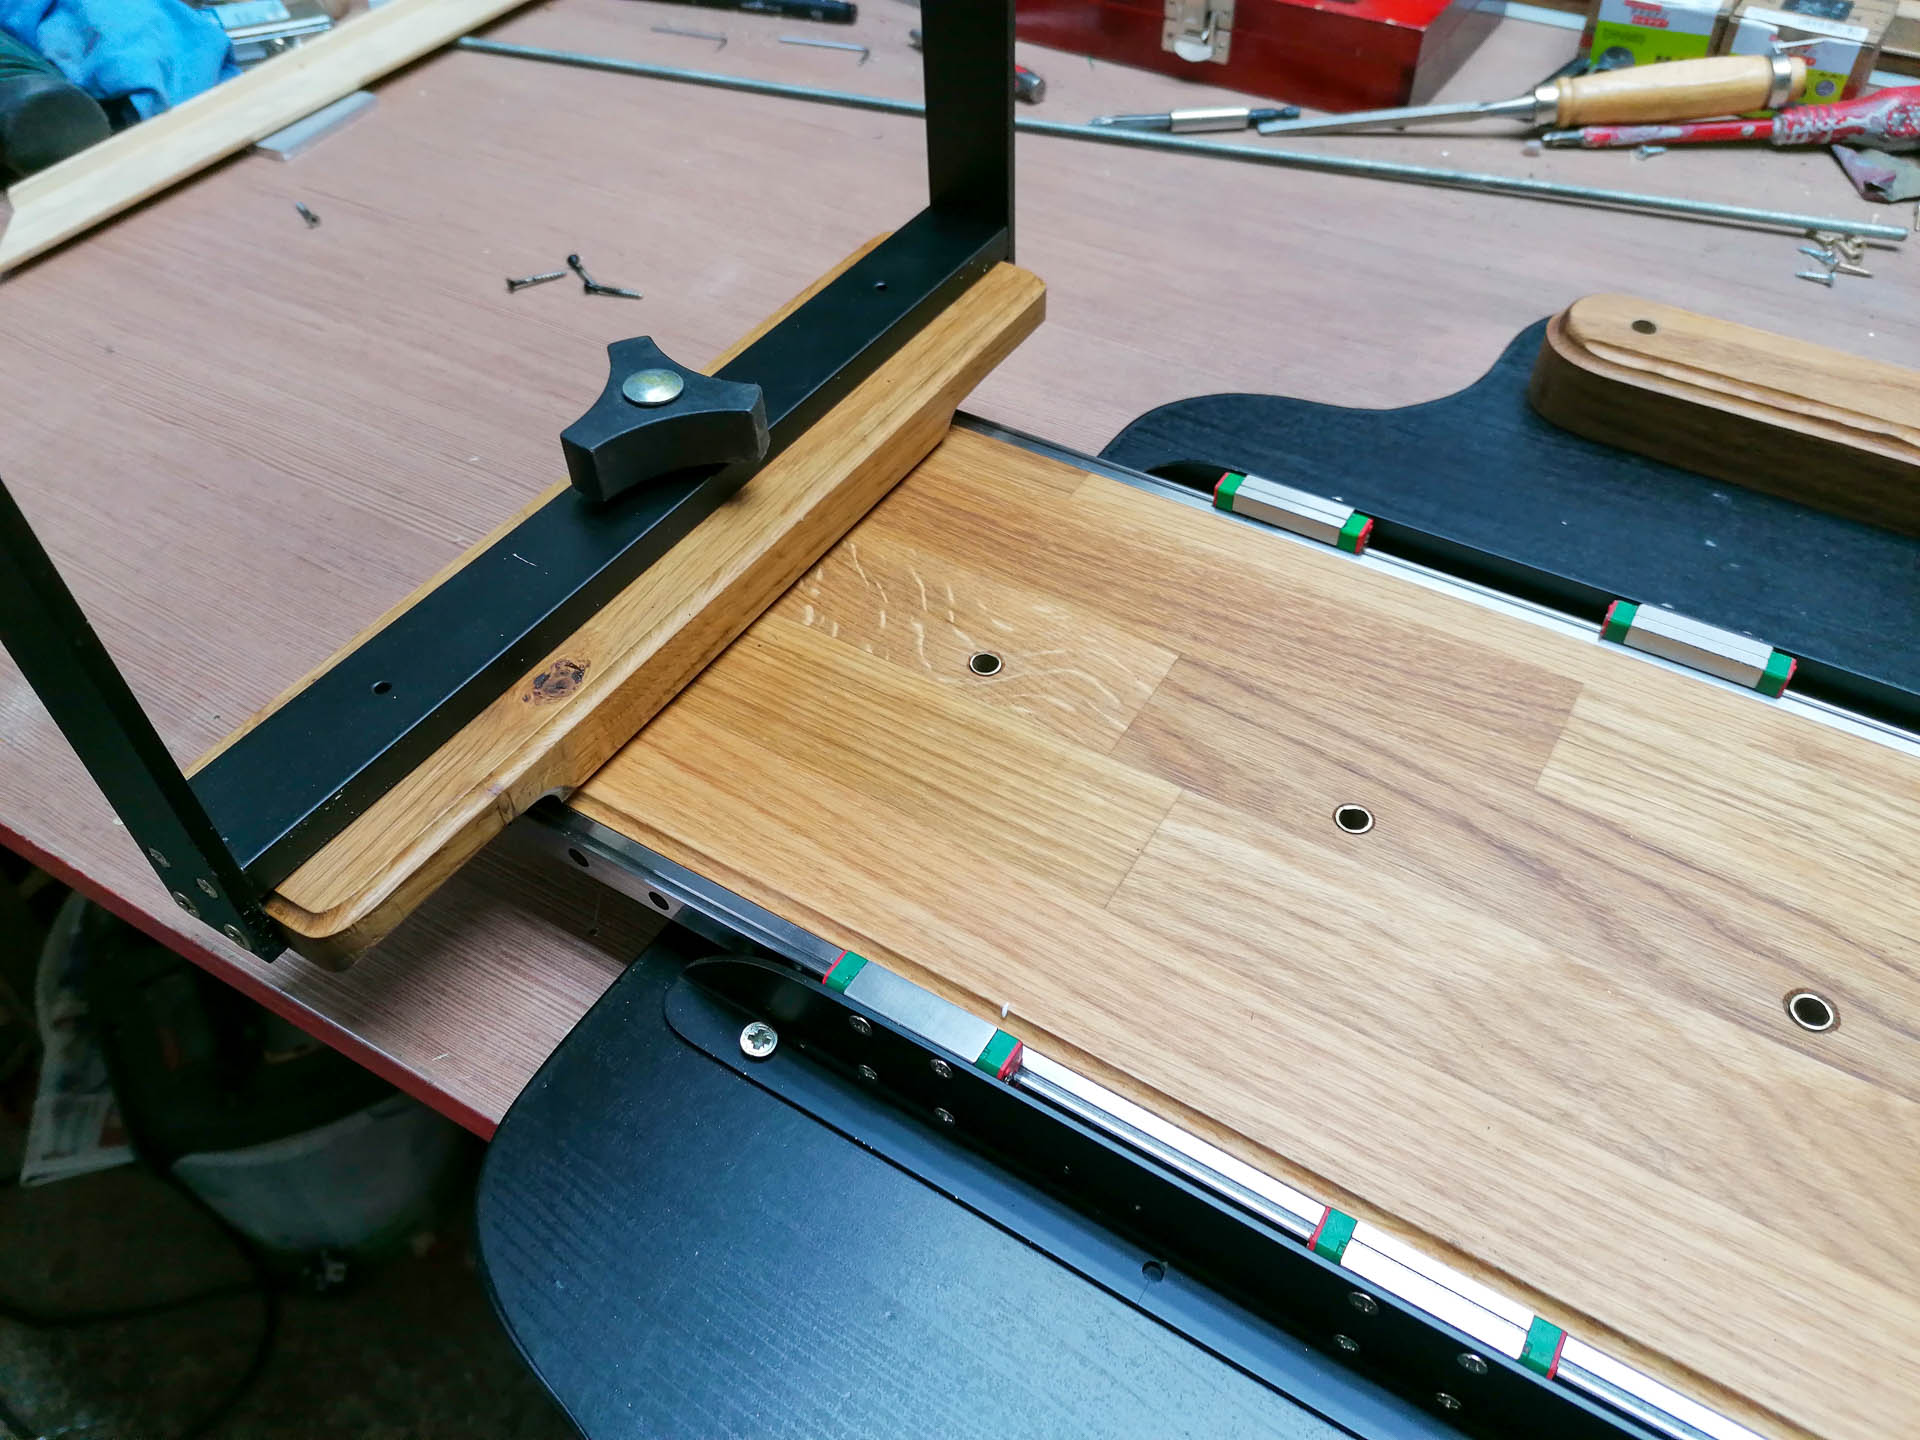
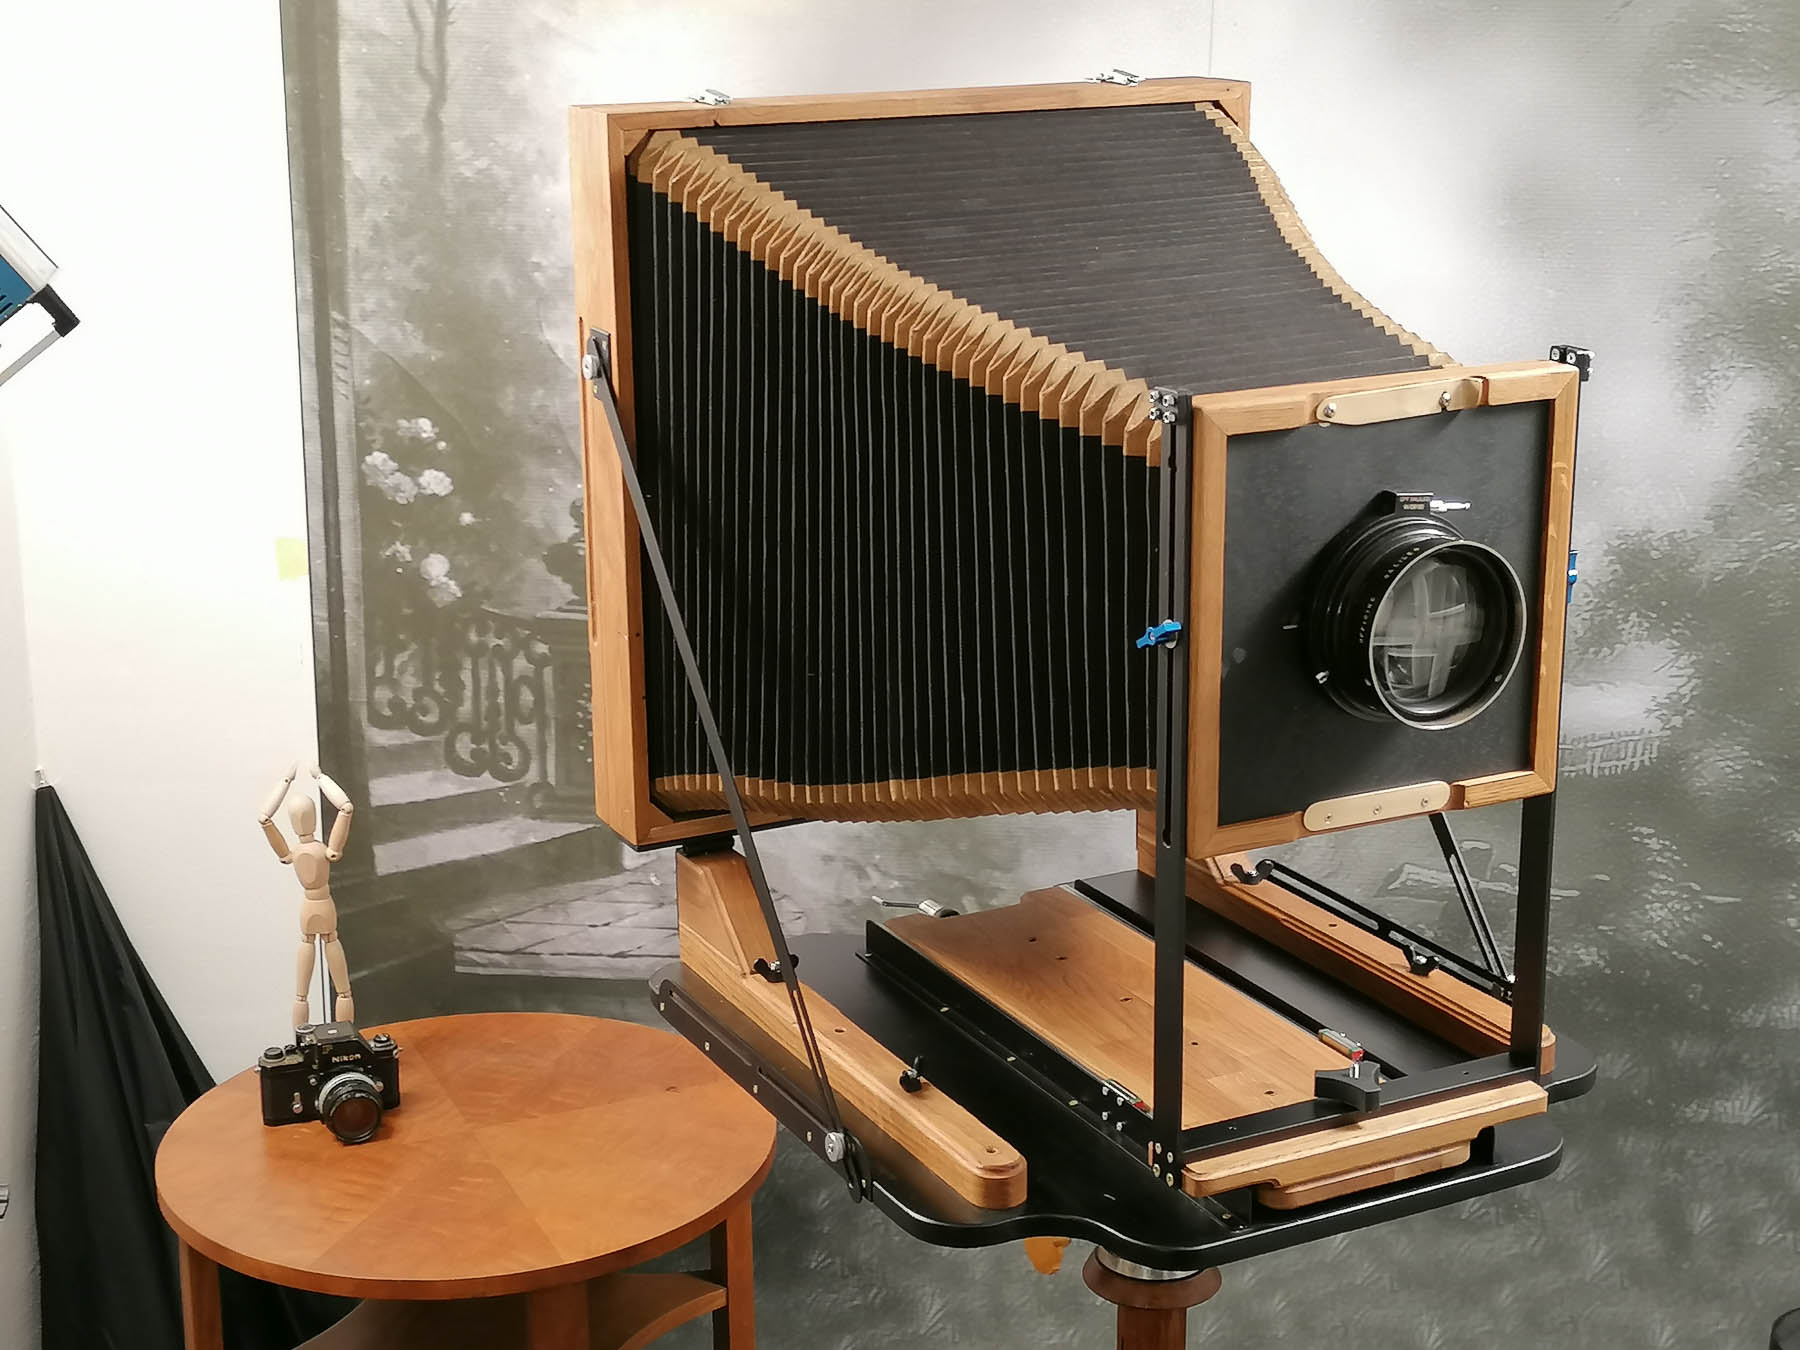
MECHANIC & BASE PLATE SLIDERS
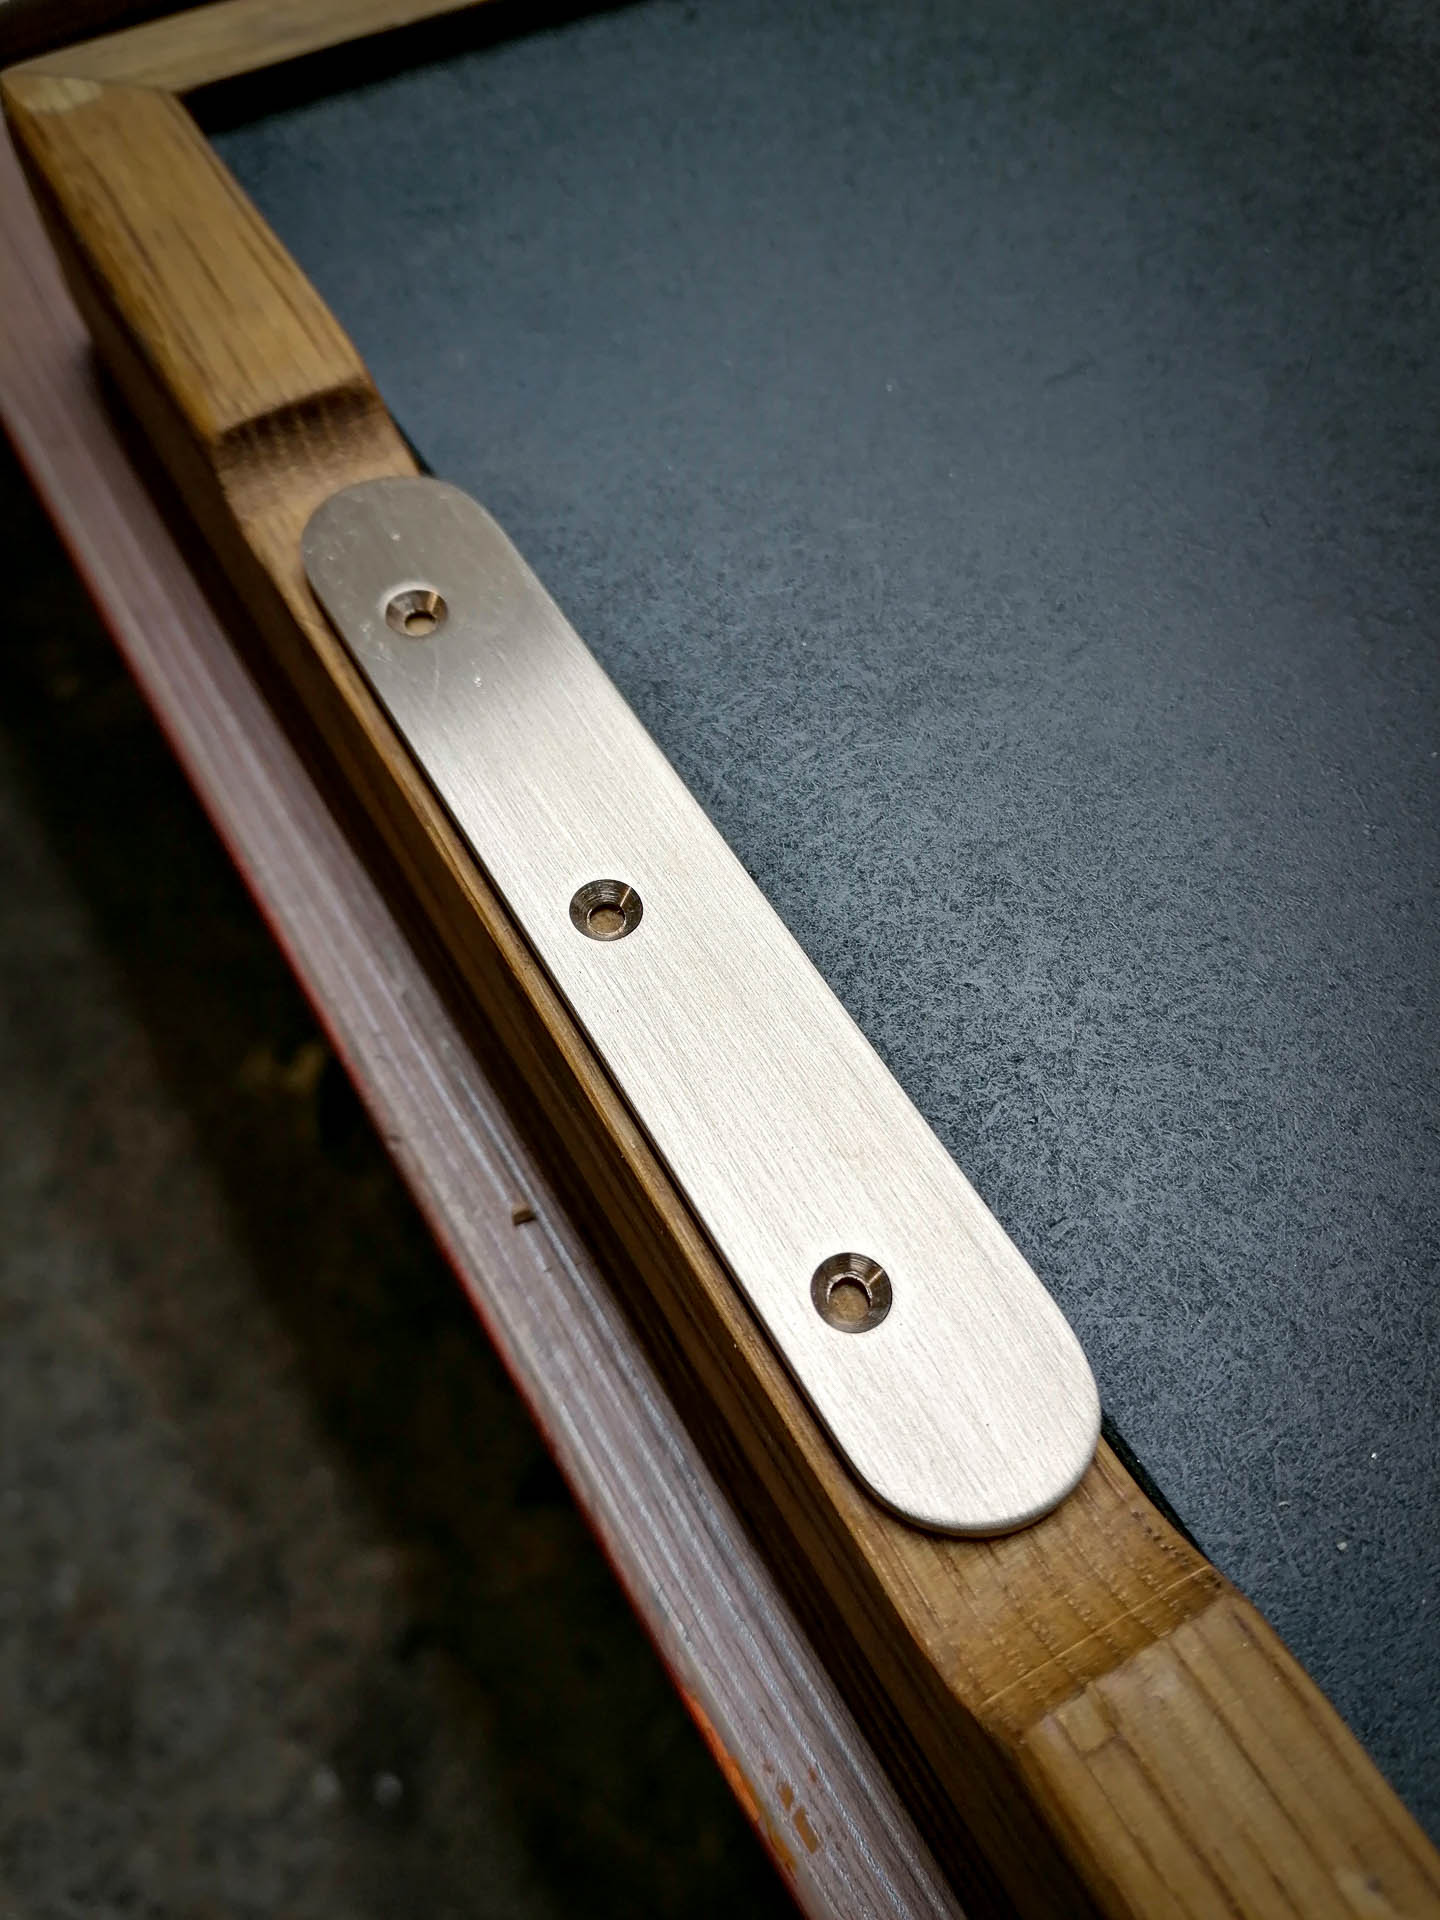
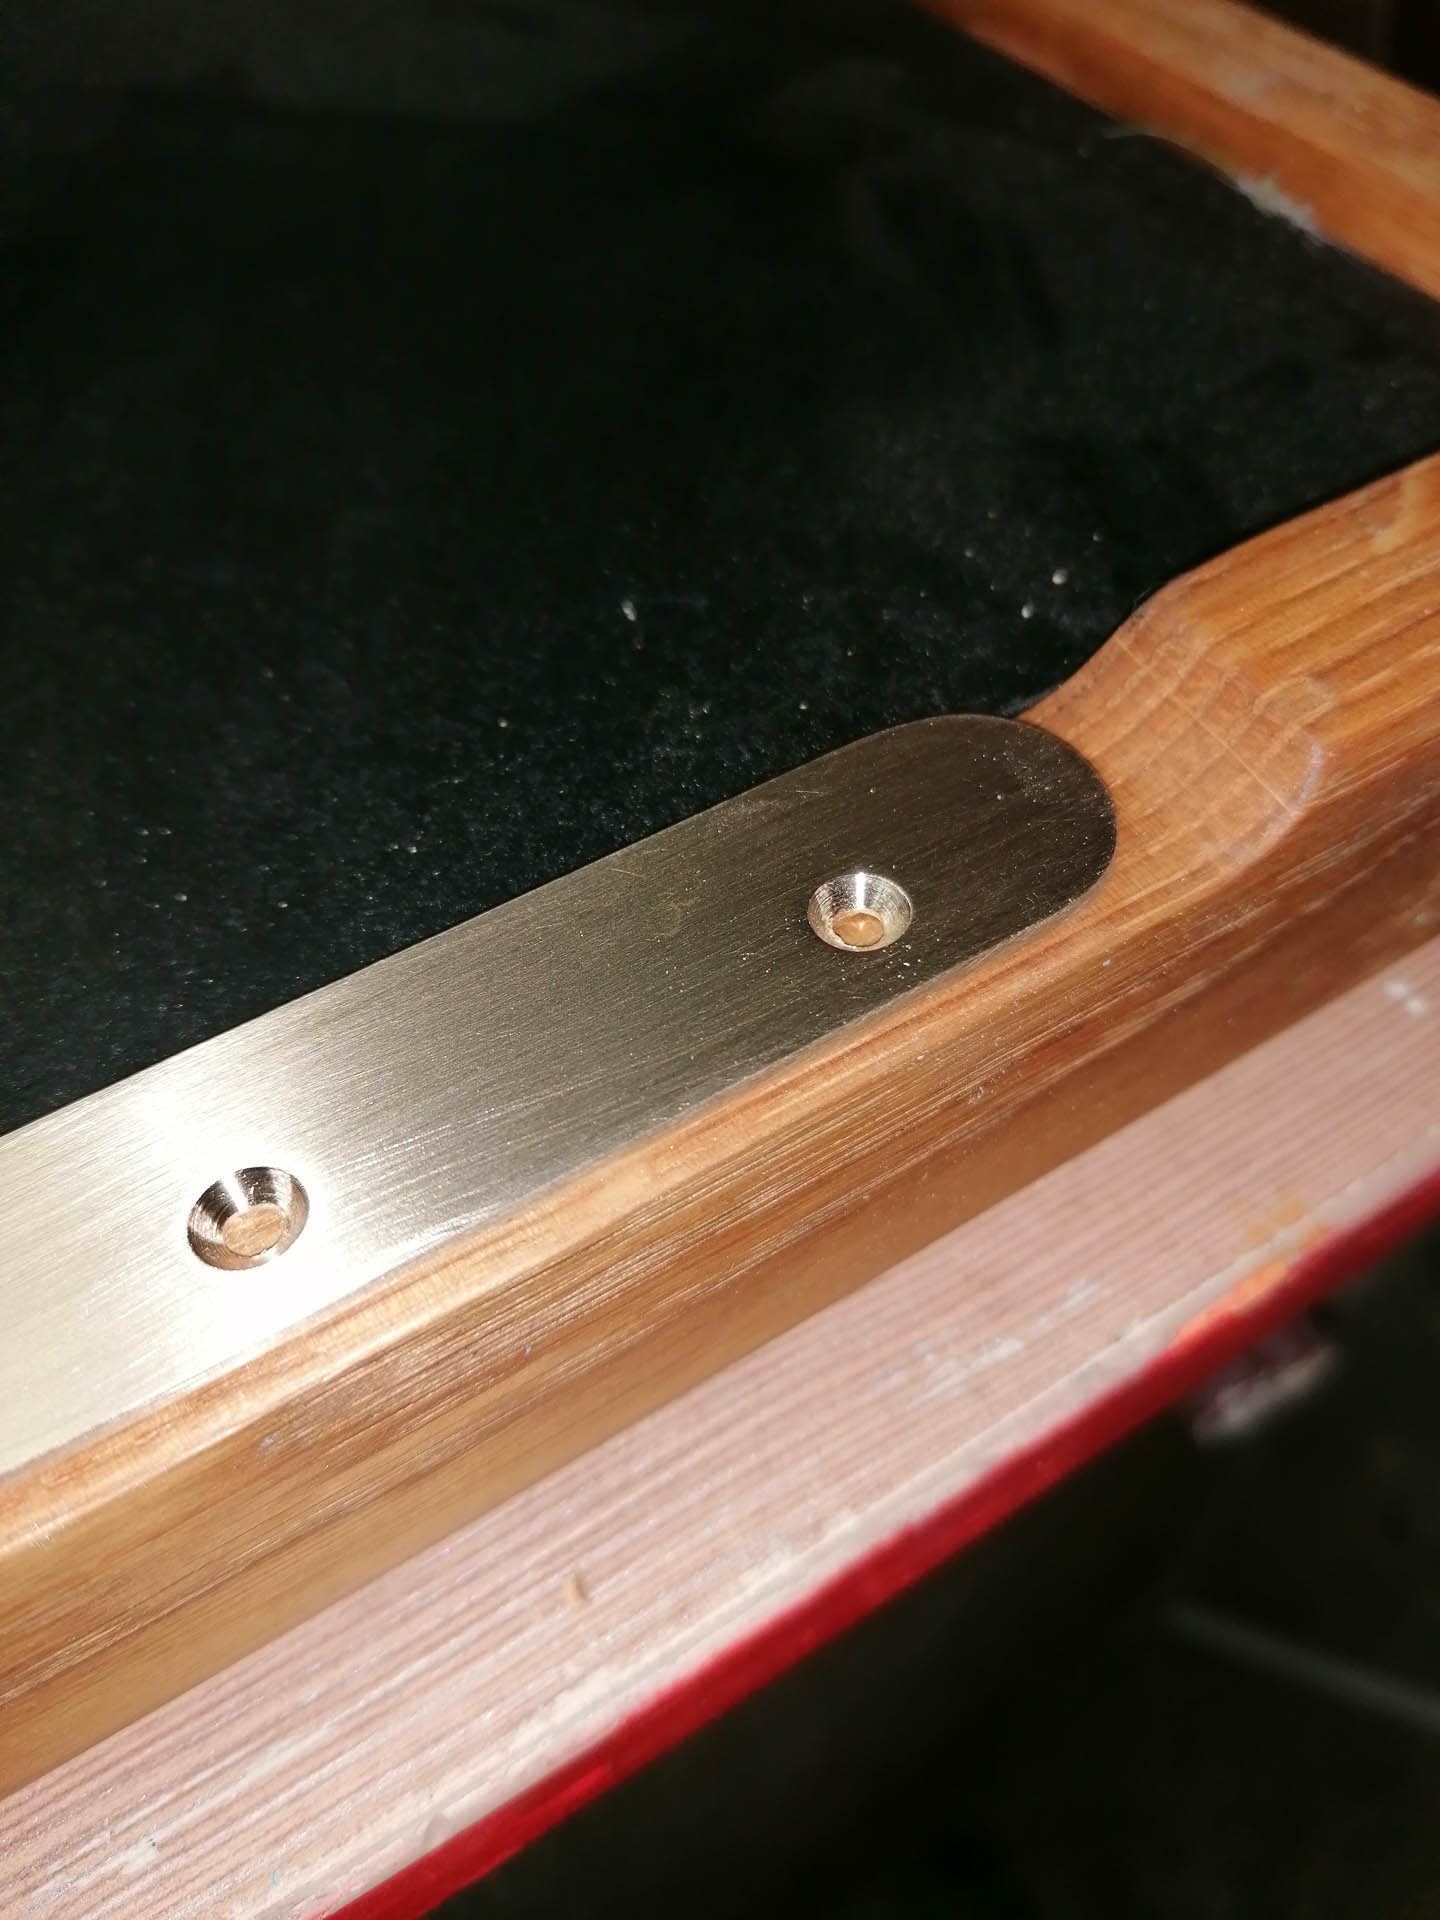
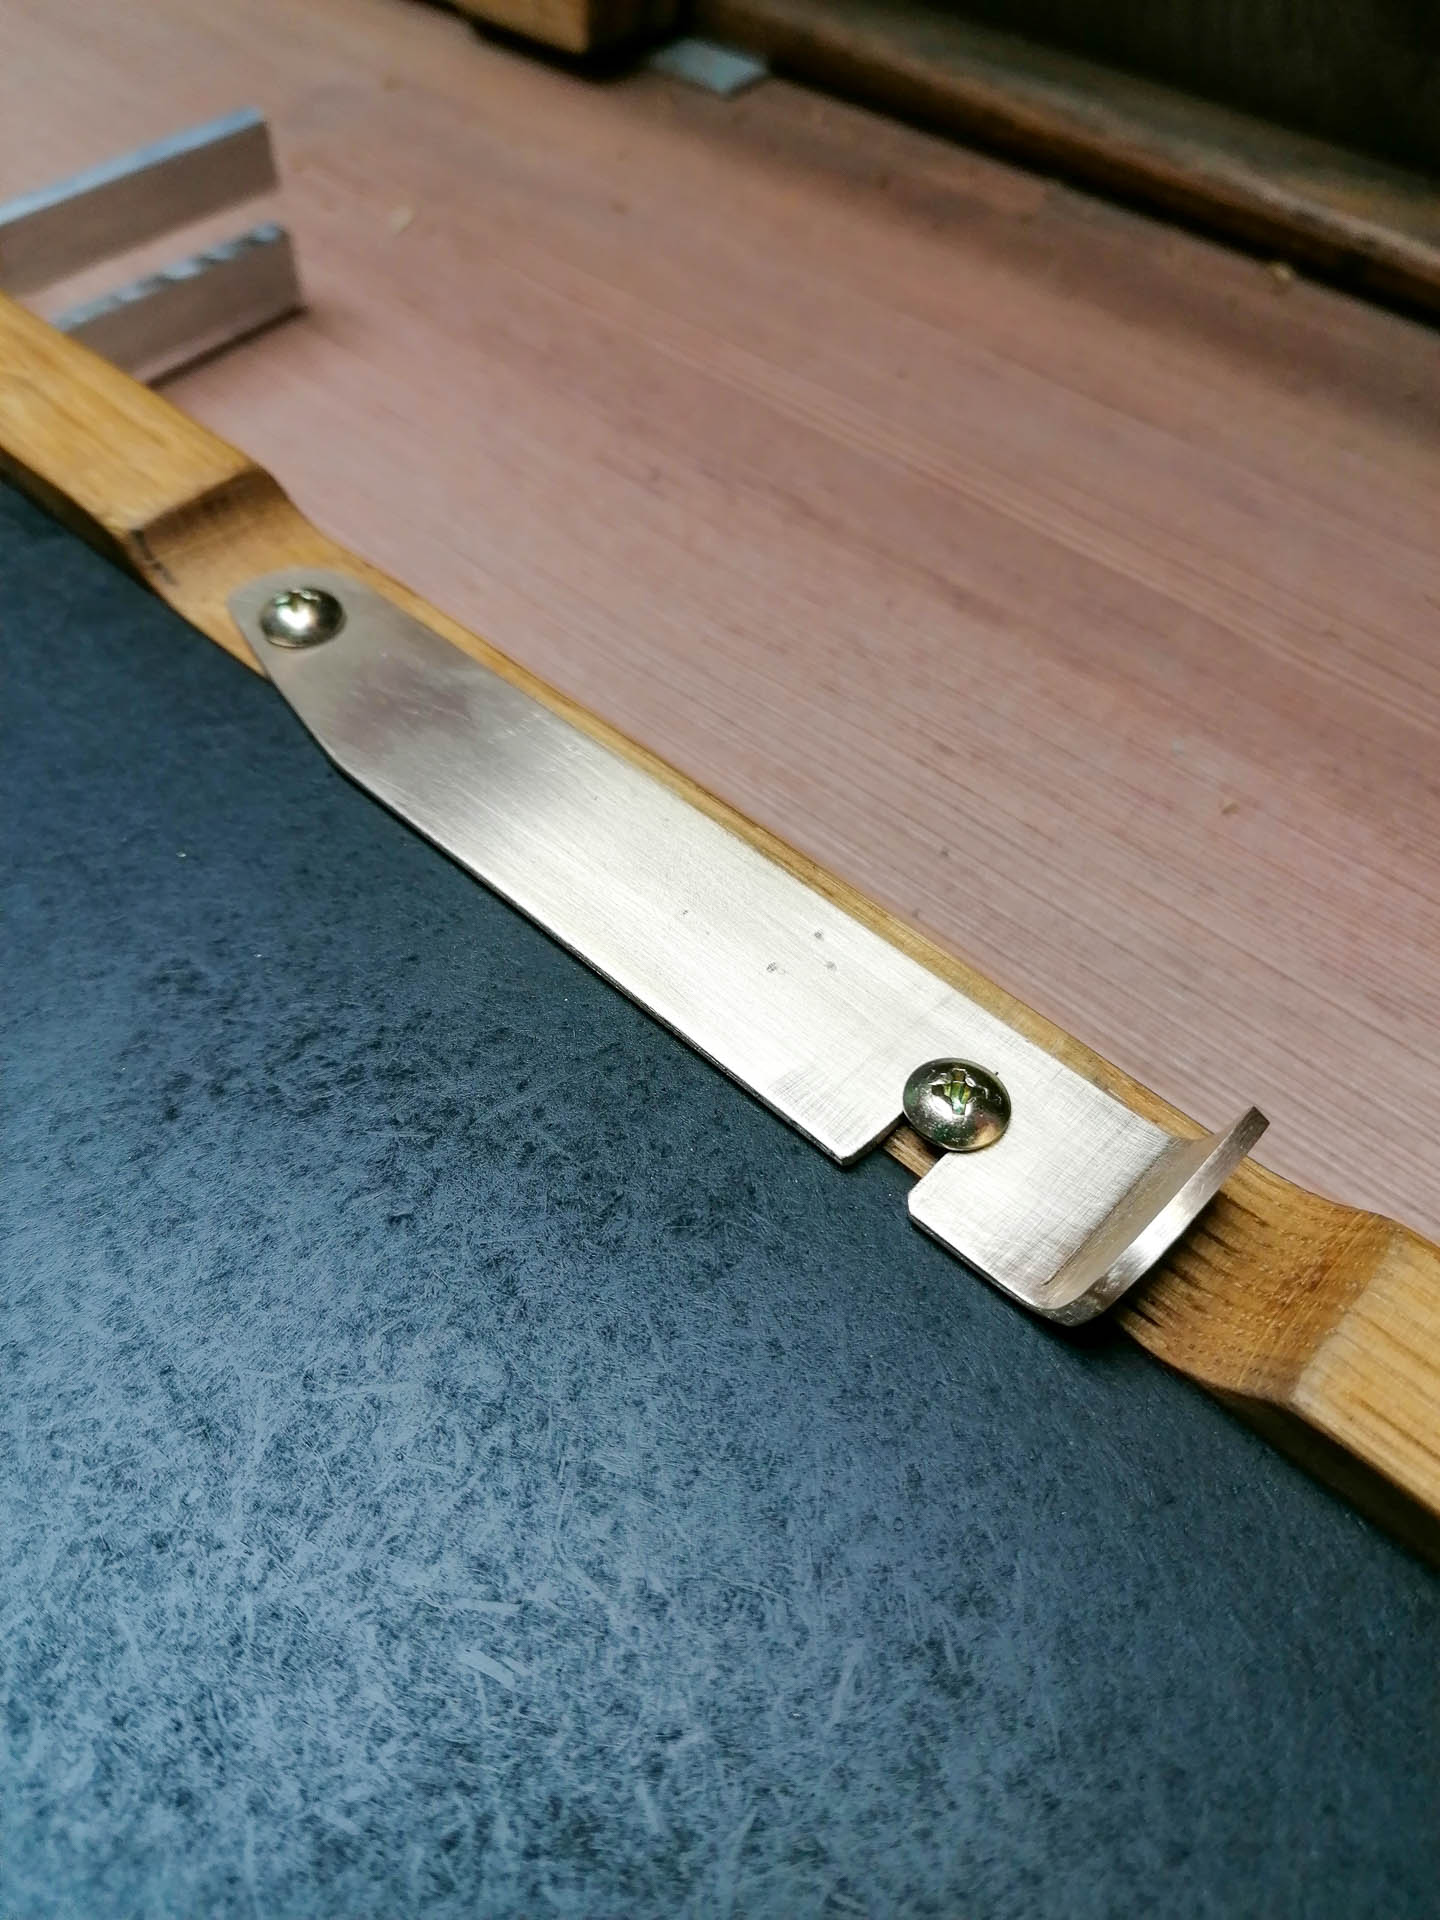
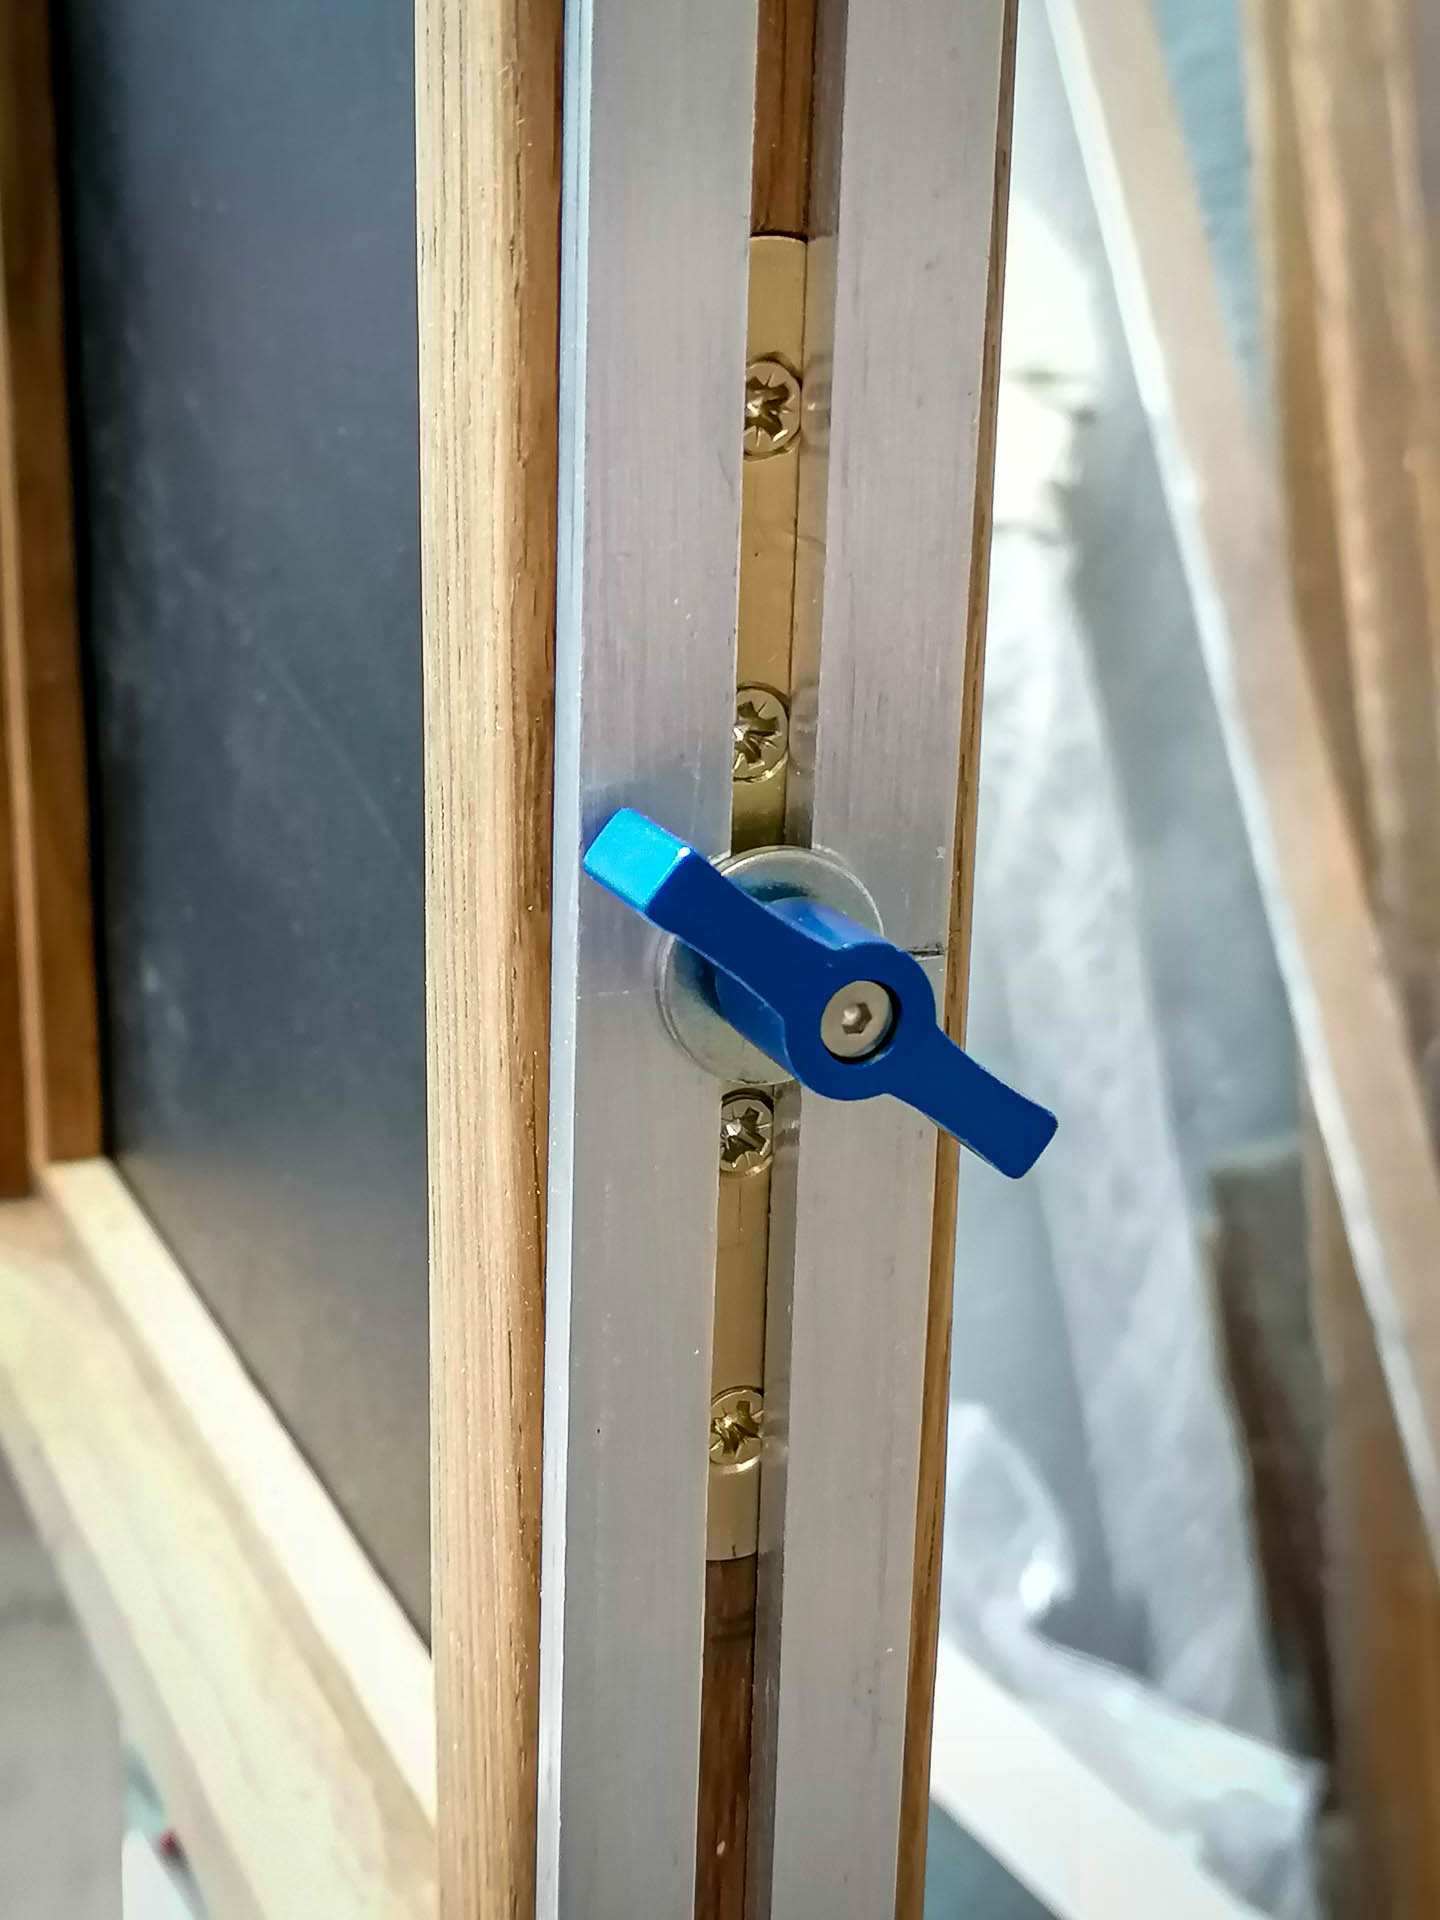
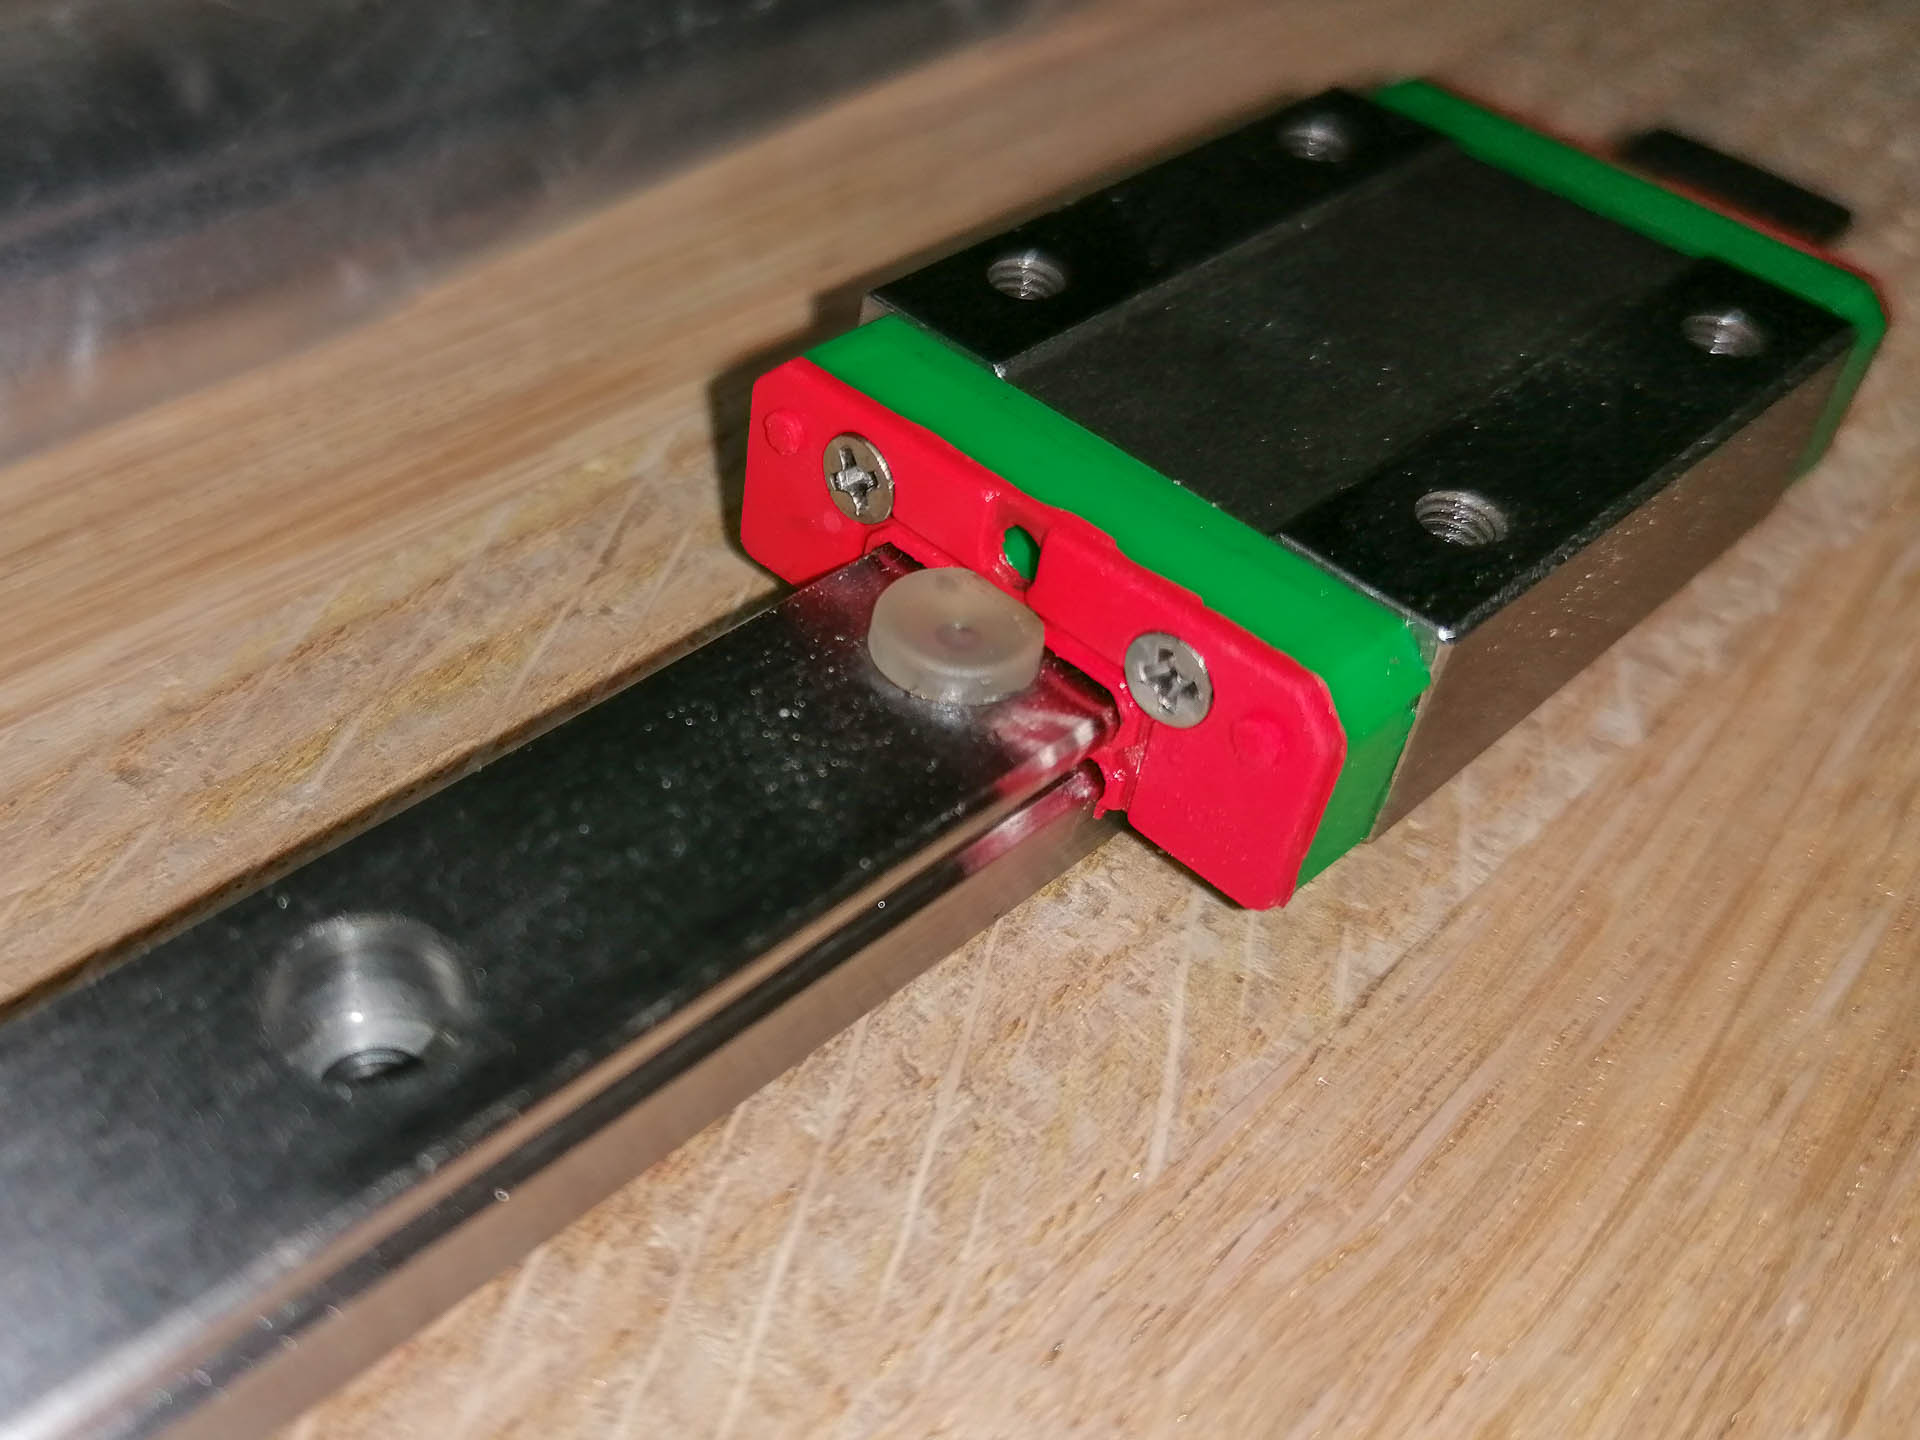
The base plate is cut from lighter but stronger wood. The sliding plate of the front standard is made of oak for strength. The side slides and the screw for precise sharpening are made of steel (CNC parts). The hinges of the latest standard are also metal. Aluminum "L" profiles are installed as guide holders for the front standard and extend the entire length of the base plate to increase strength.
All metal parts are finally anodized in black.
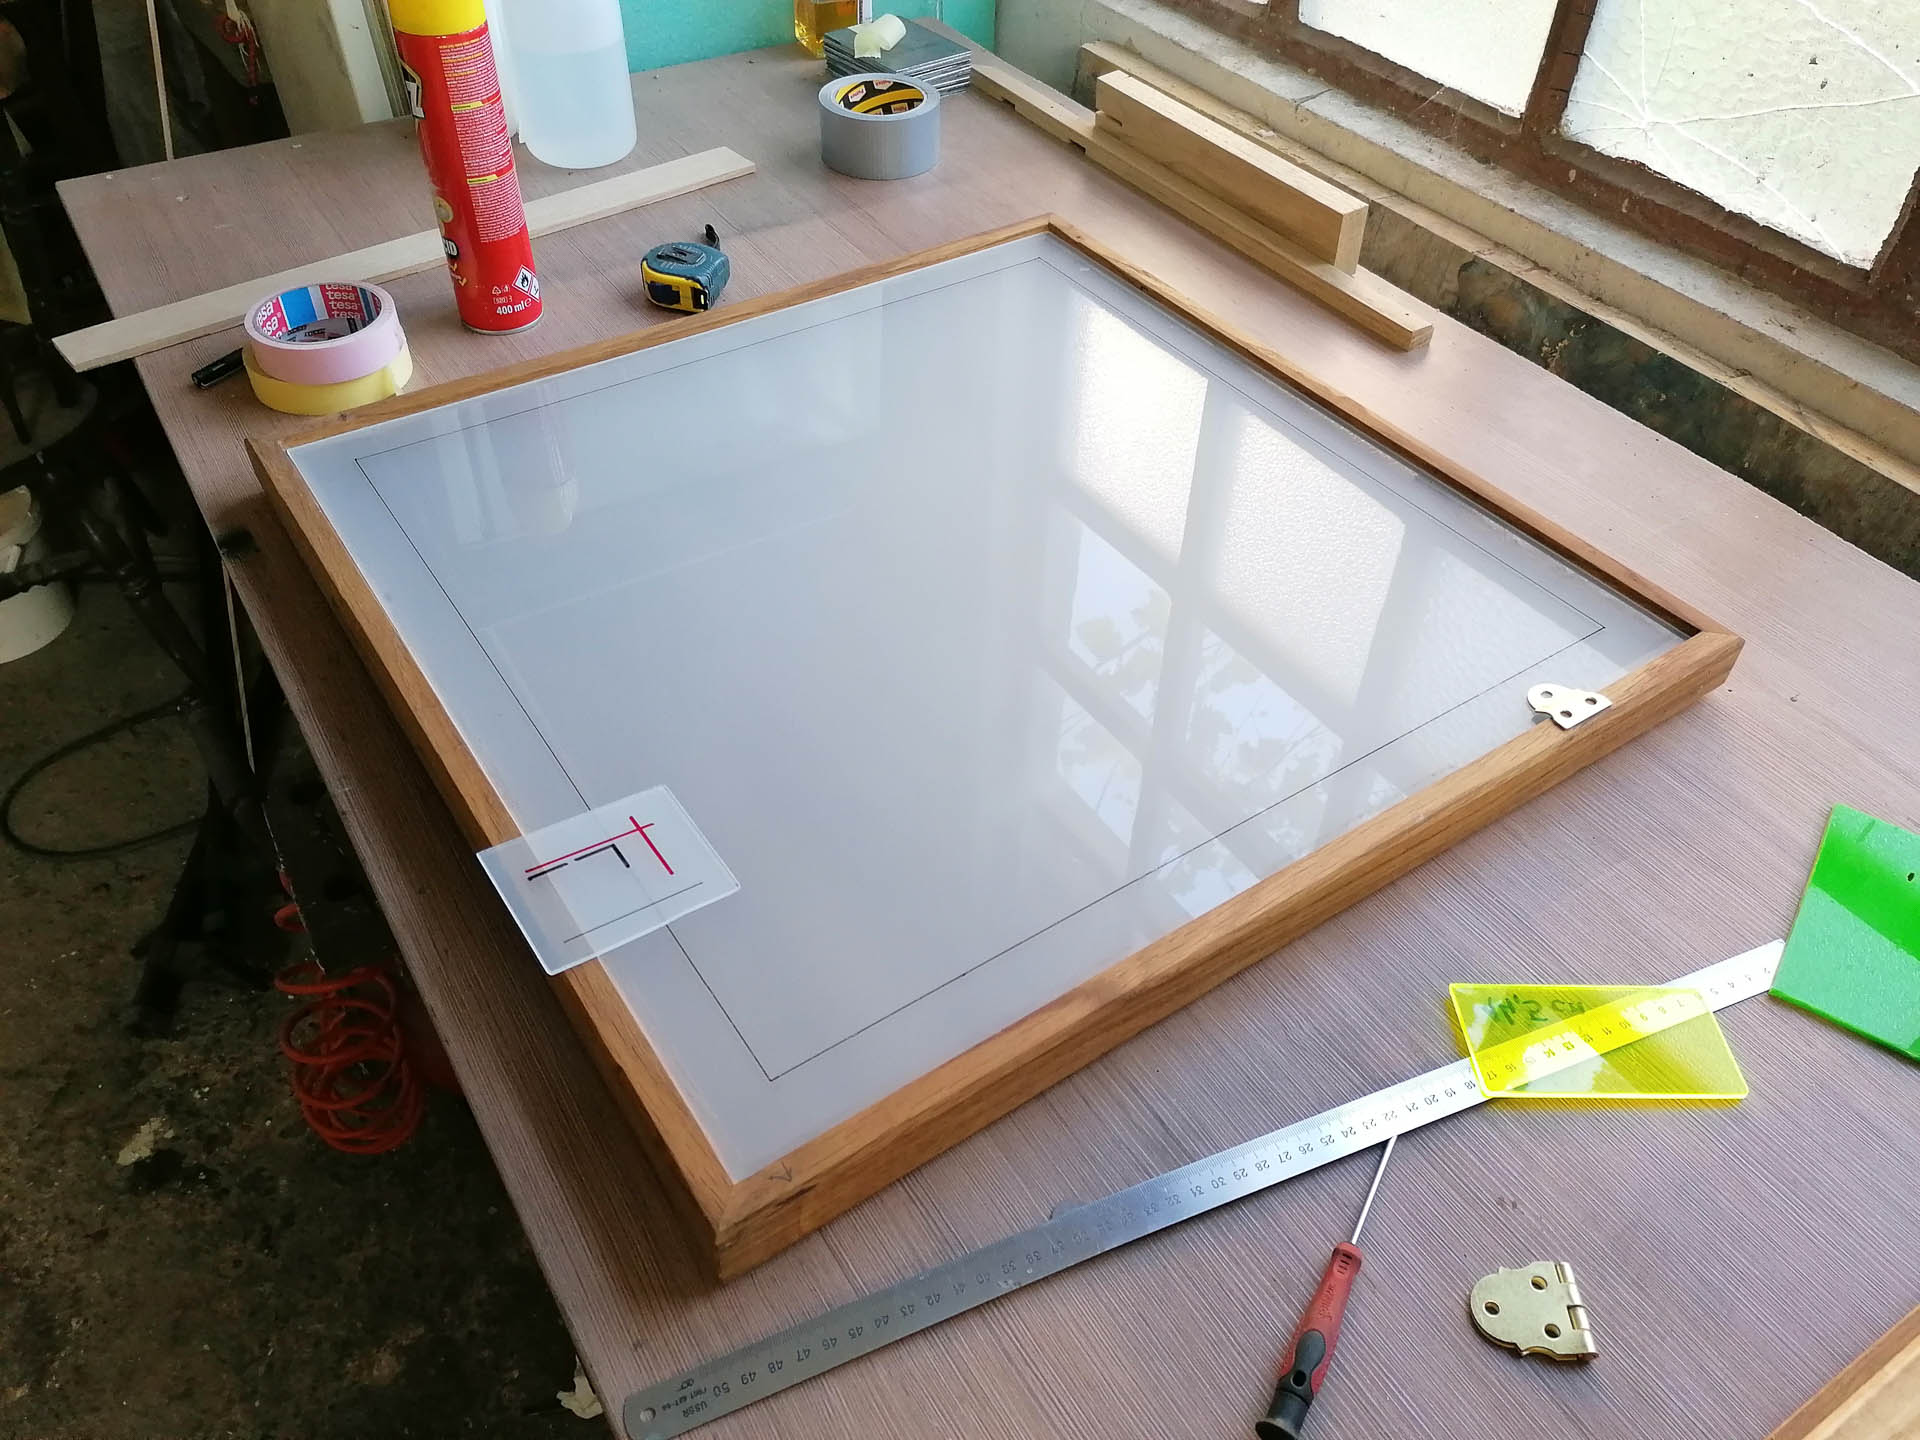
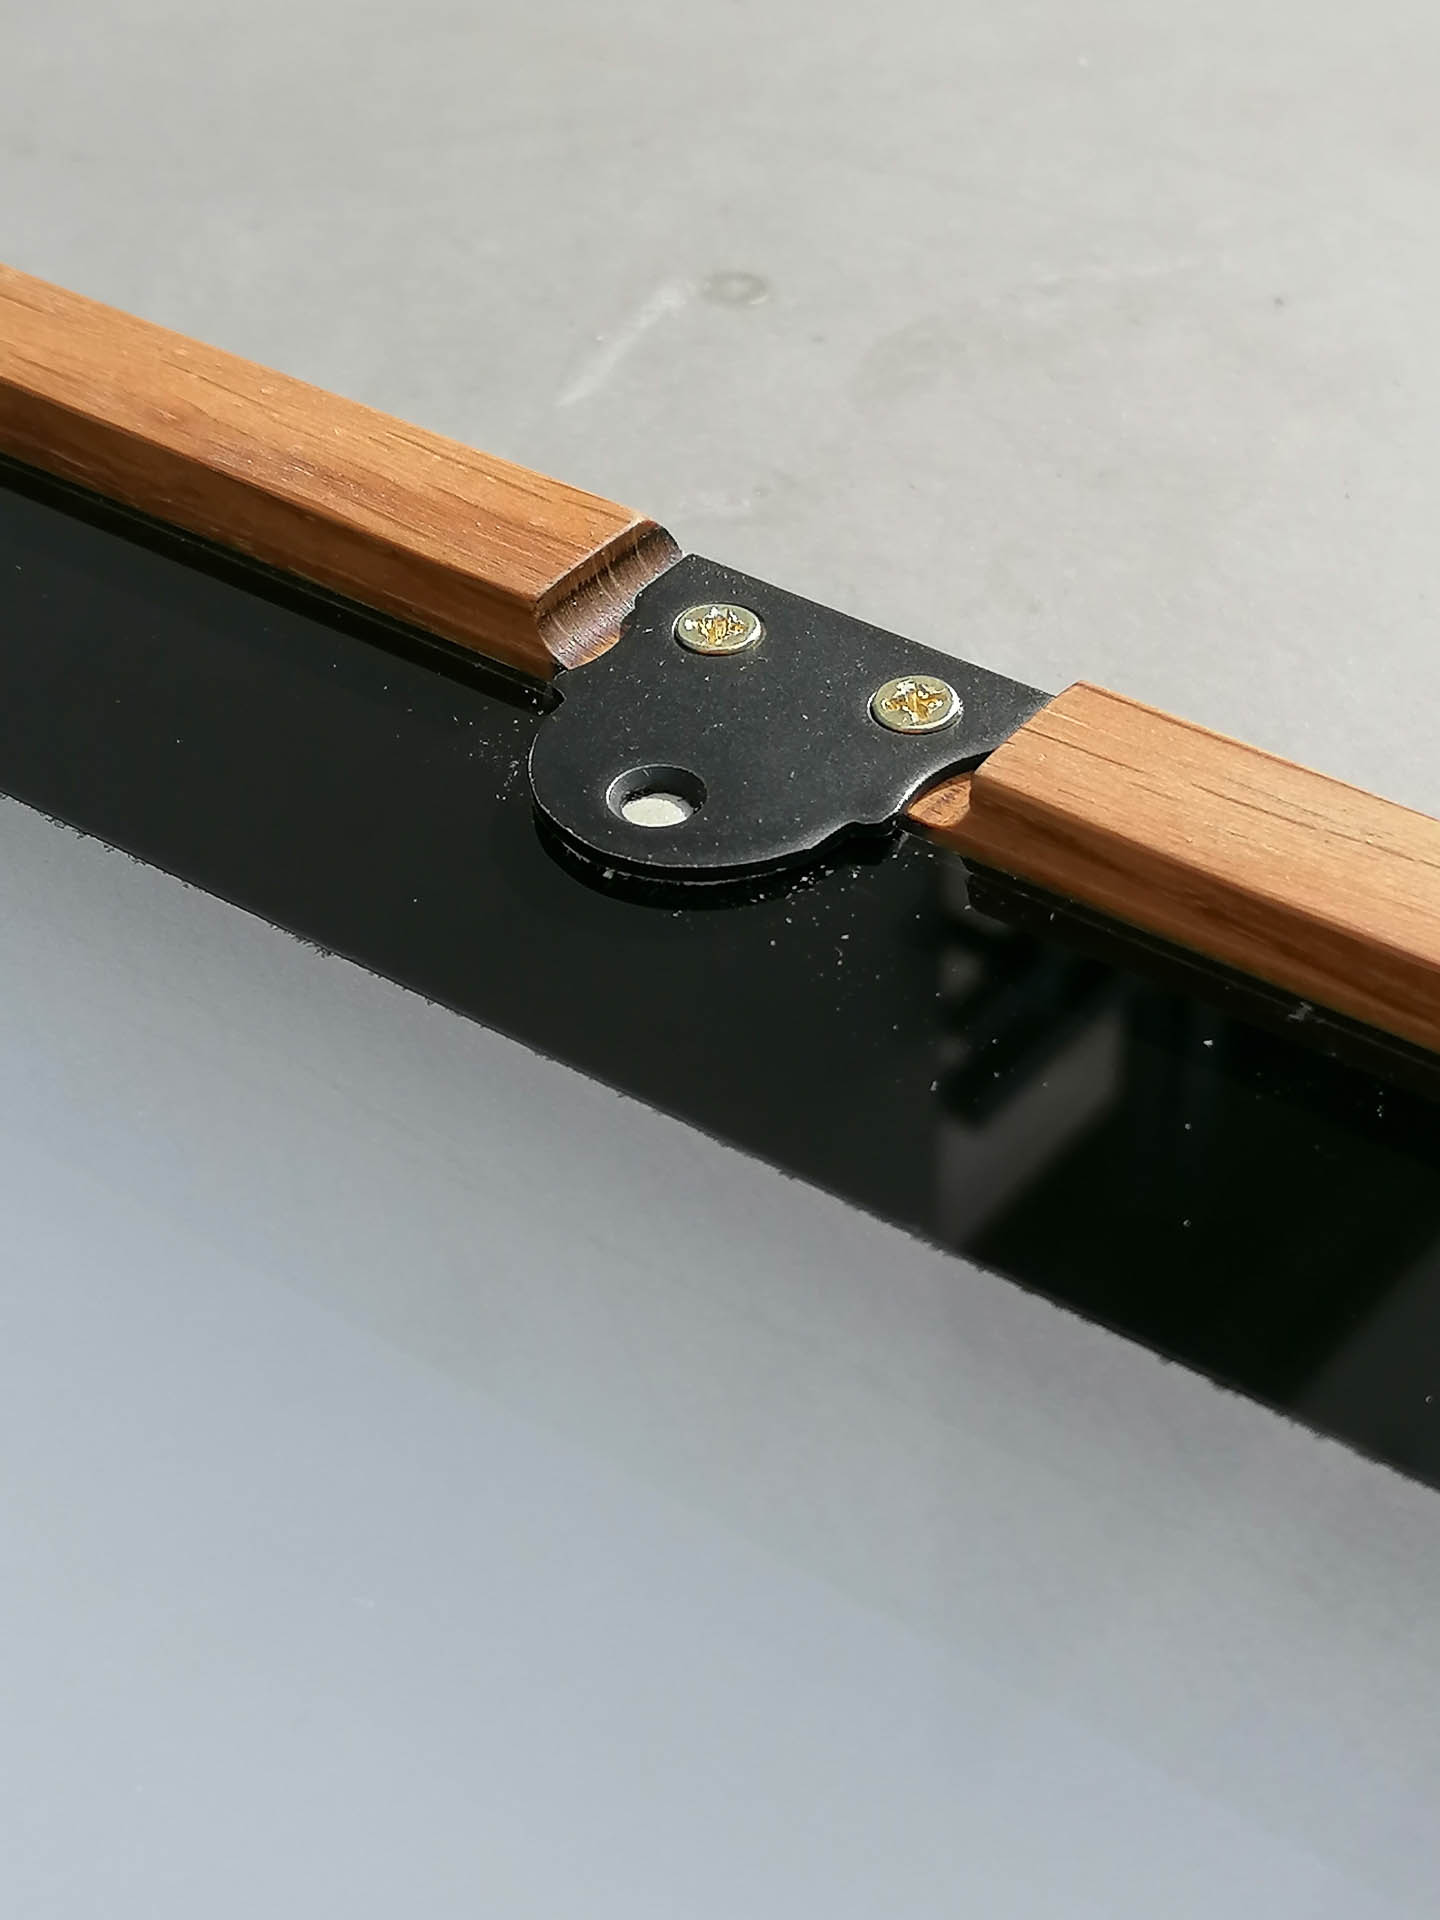
FOCUSING SCREEN
A few hours of grinding finally clouded the glass enough to call it sharpening glass.
One little note: while you are grinding the glass and it is wet, you cannot judge the quality of the matte surface. The glass must be dry to consider opacity.
After finishing the sharpening of the glass, I blackened the edges and installed brackets to secure the glass in place. Under the metal part is a thin plate made of soft plastic, designed to prevent the glass from breaking in the event of impact or sudden temperature changes.
ASEMBLING & MECHANICAL TESTING
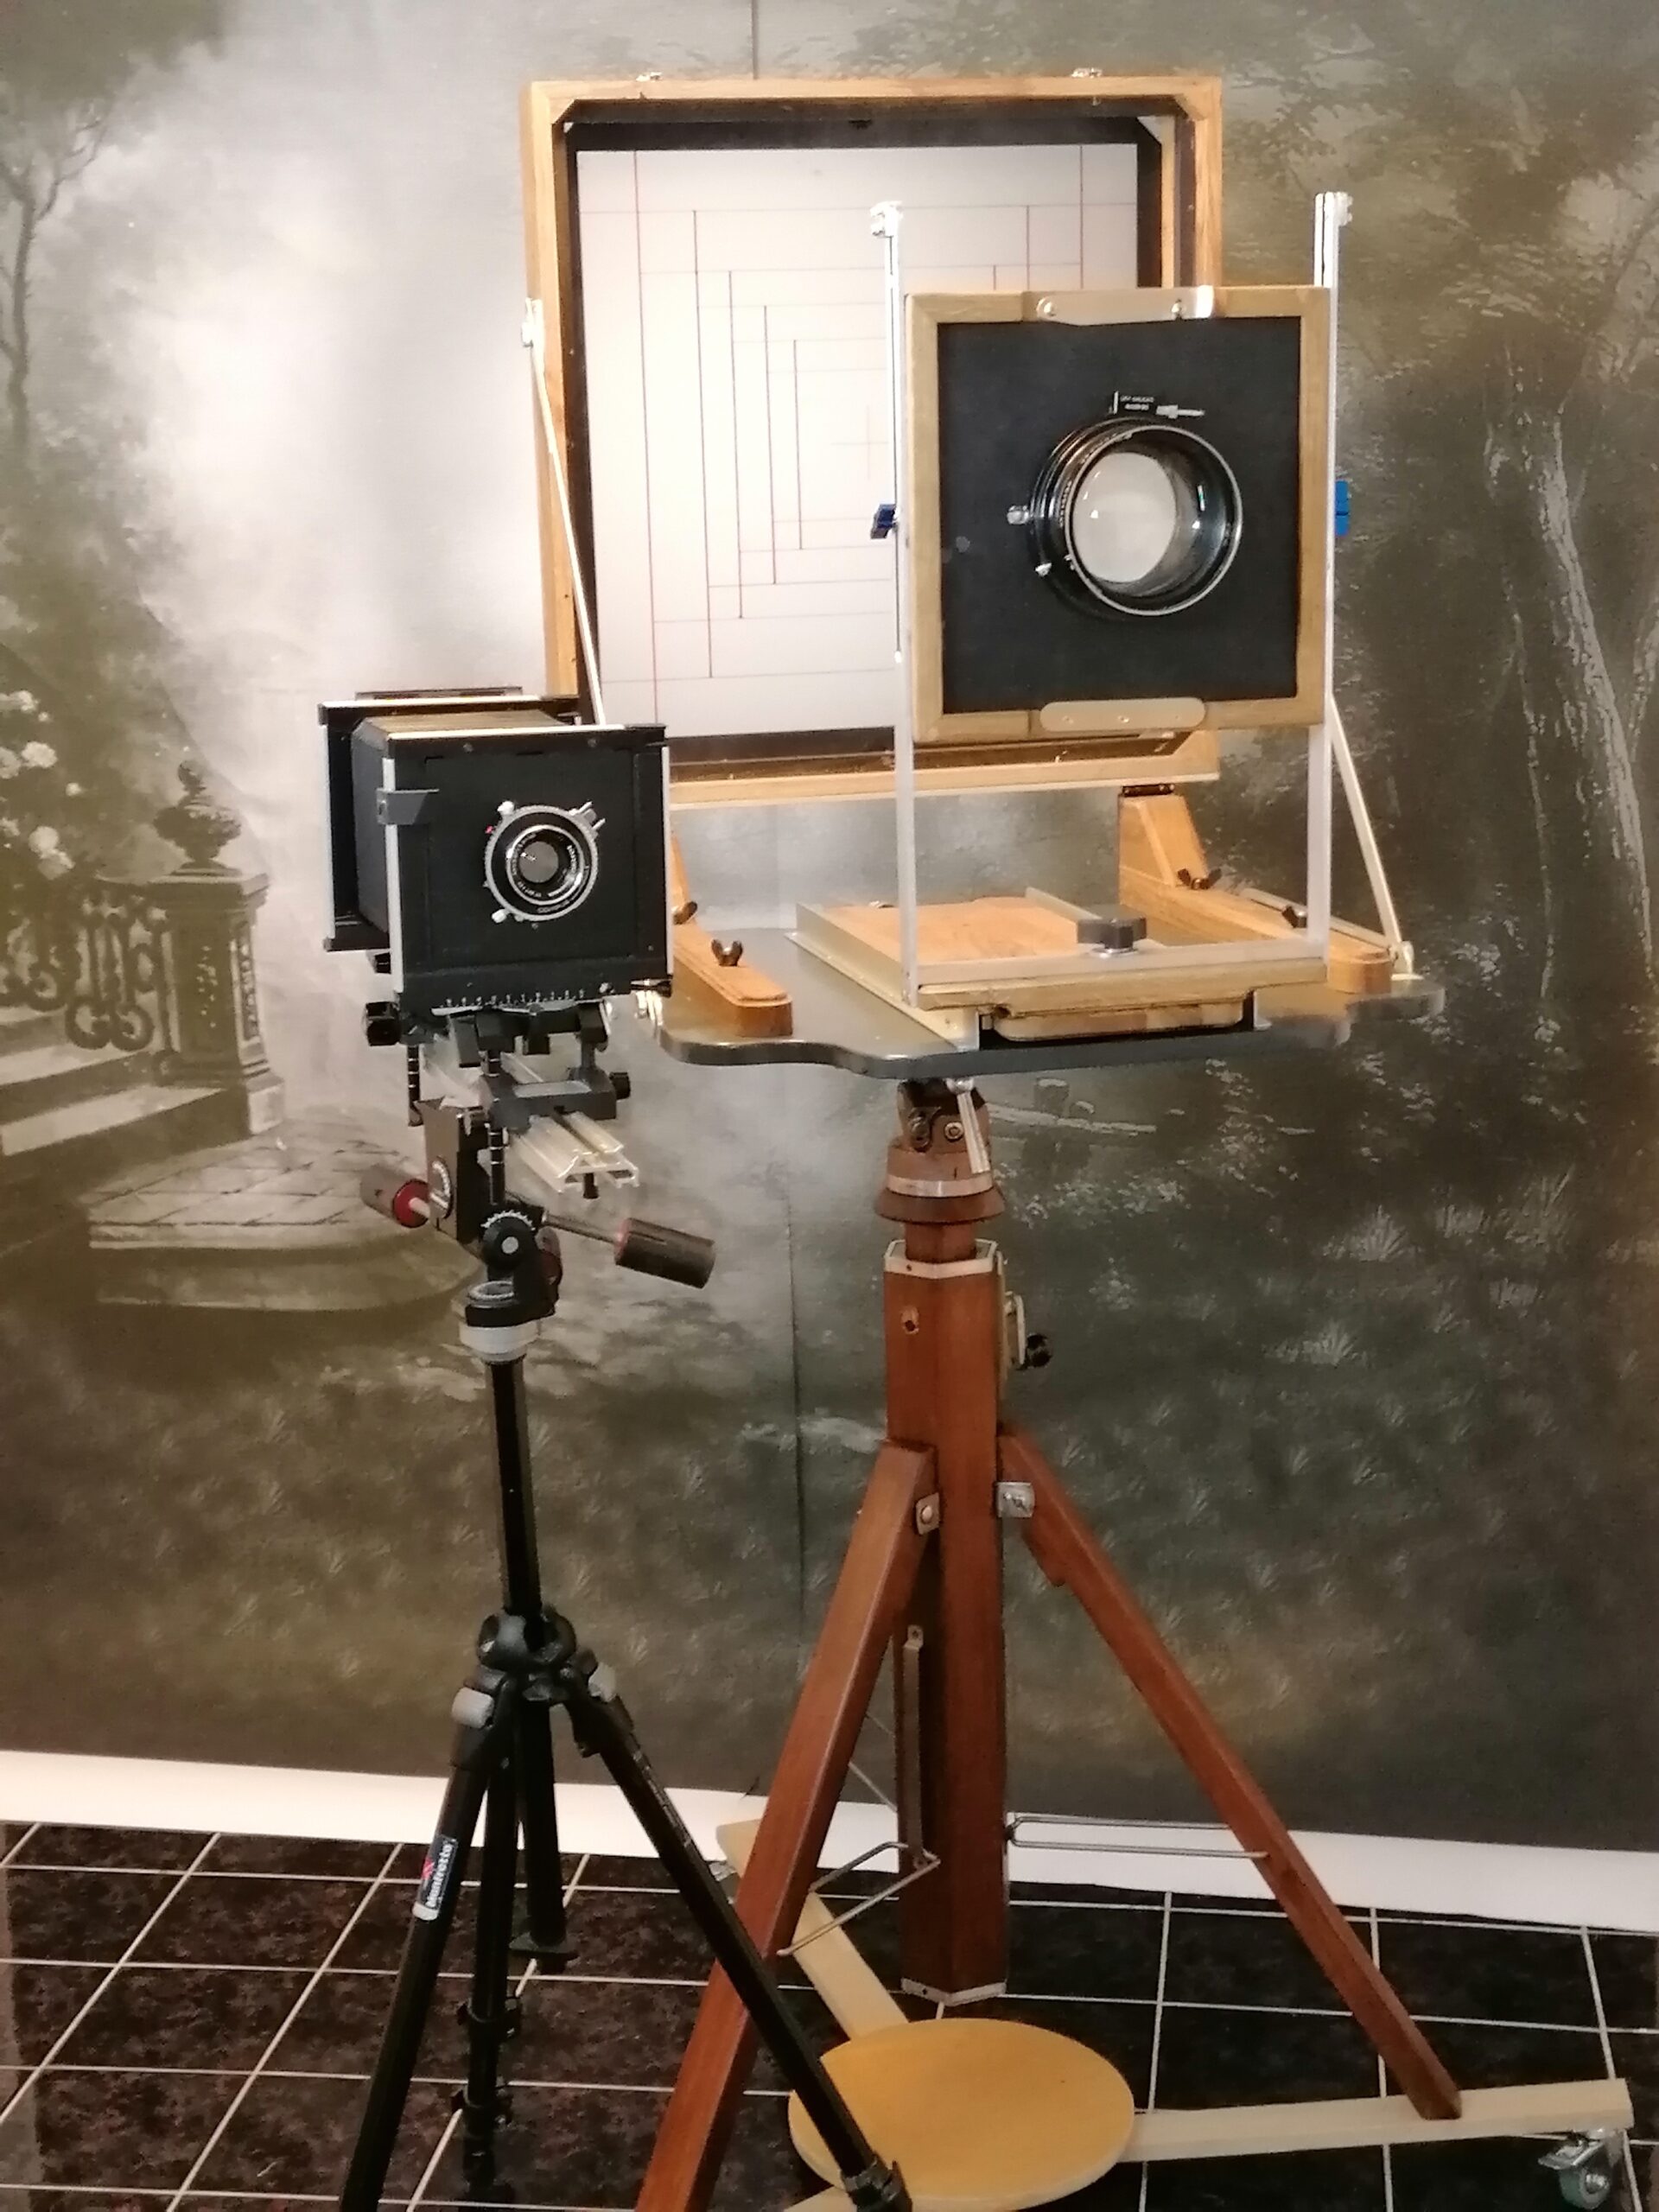
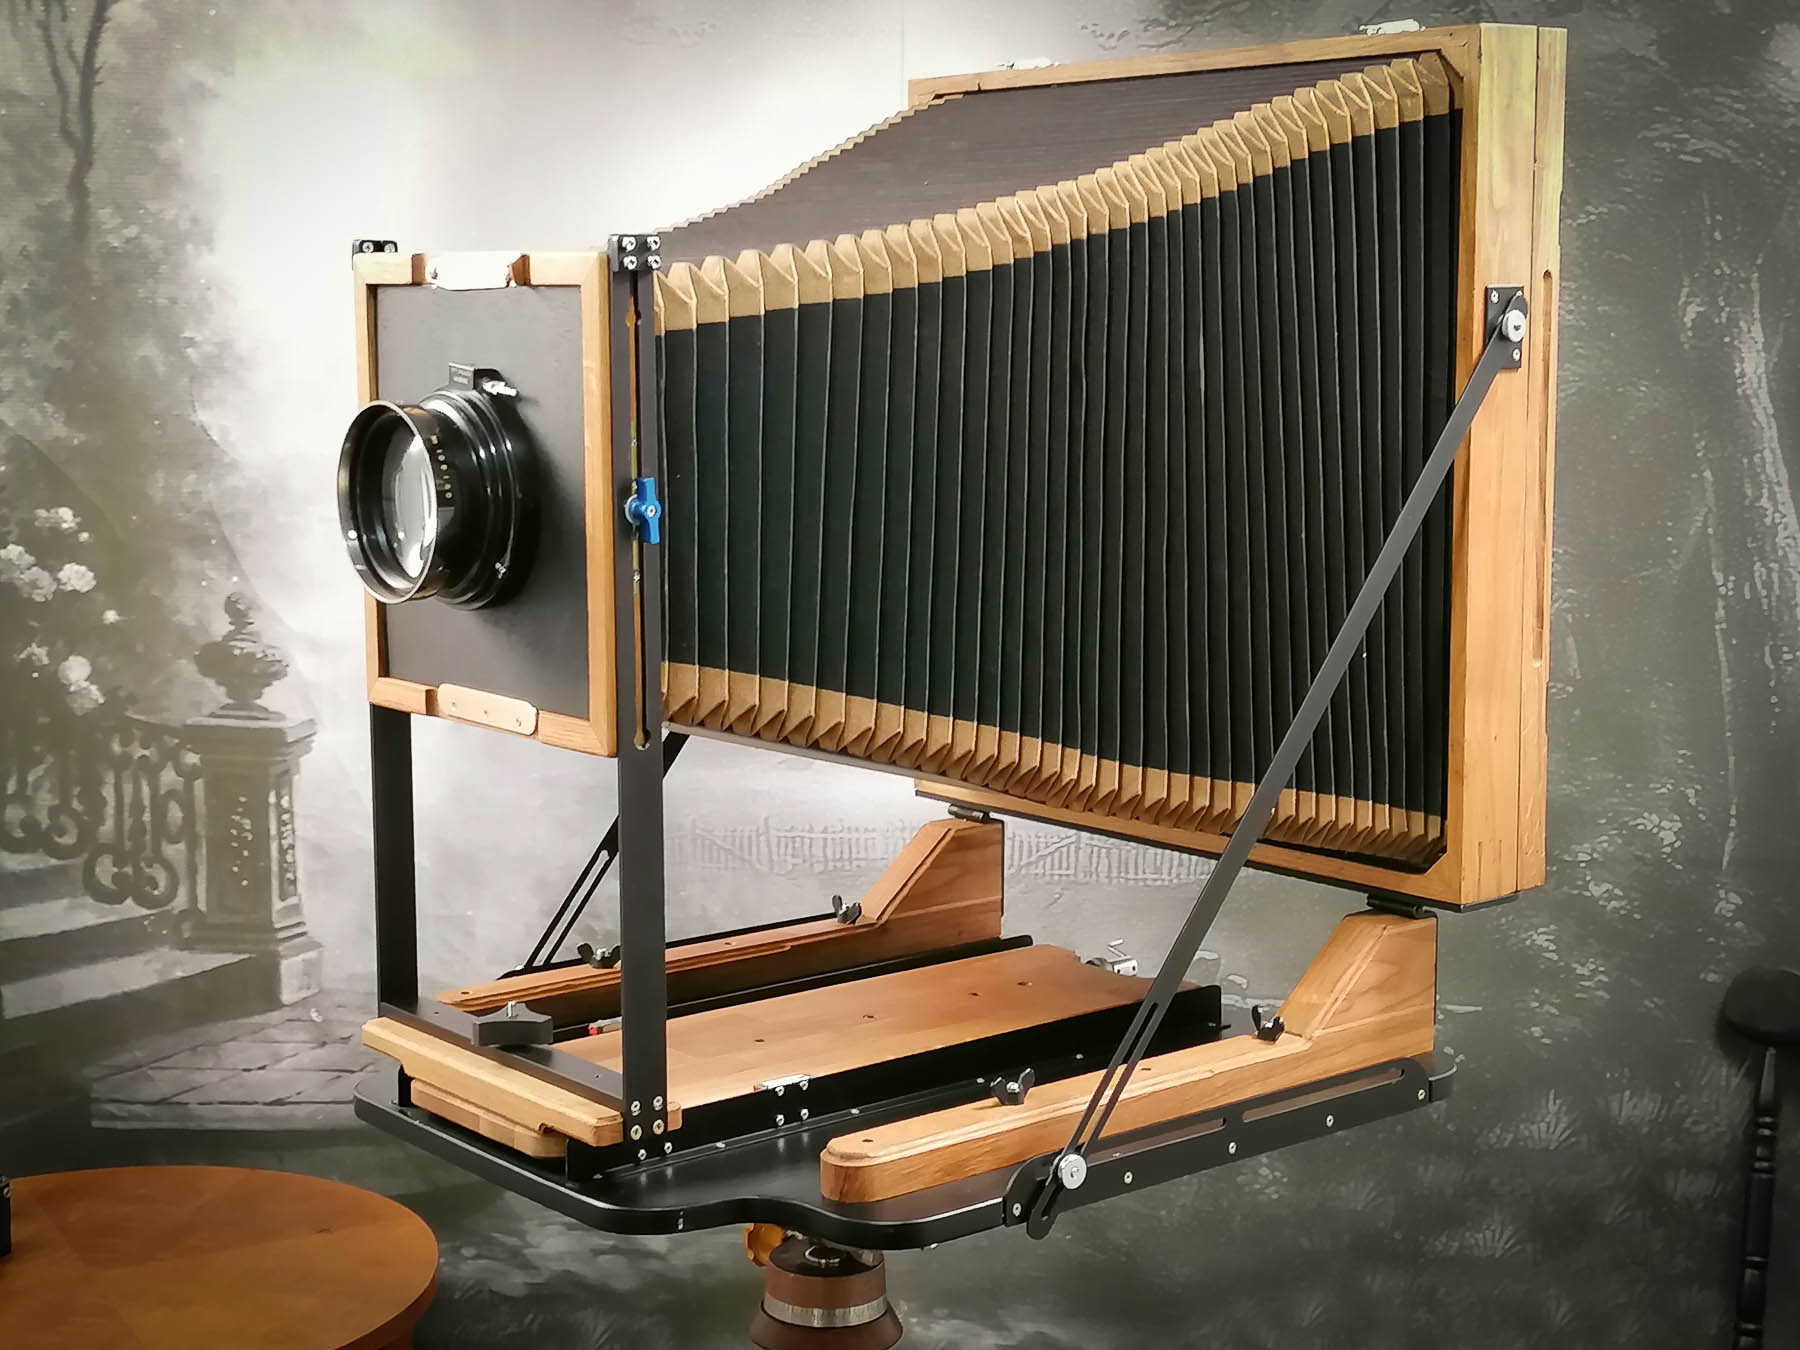
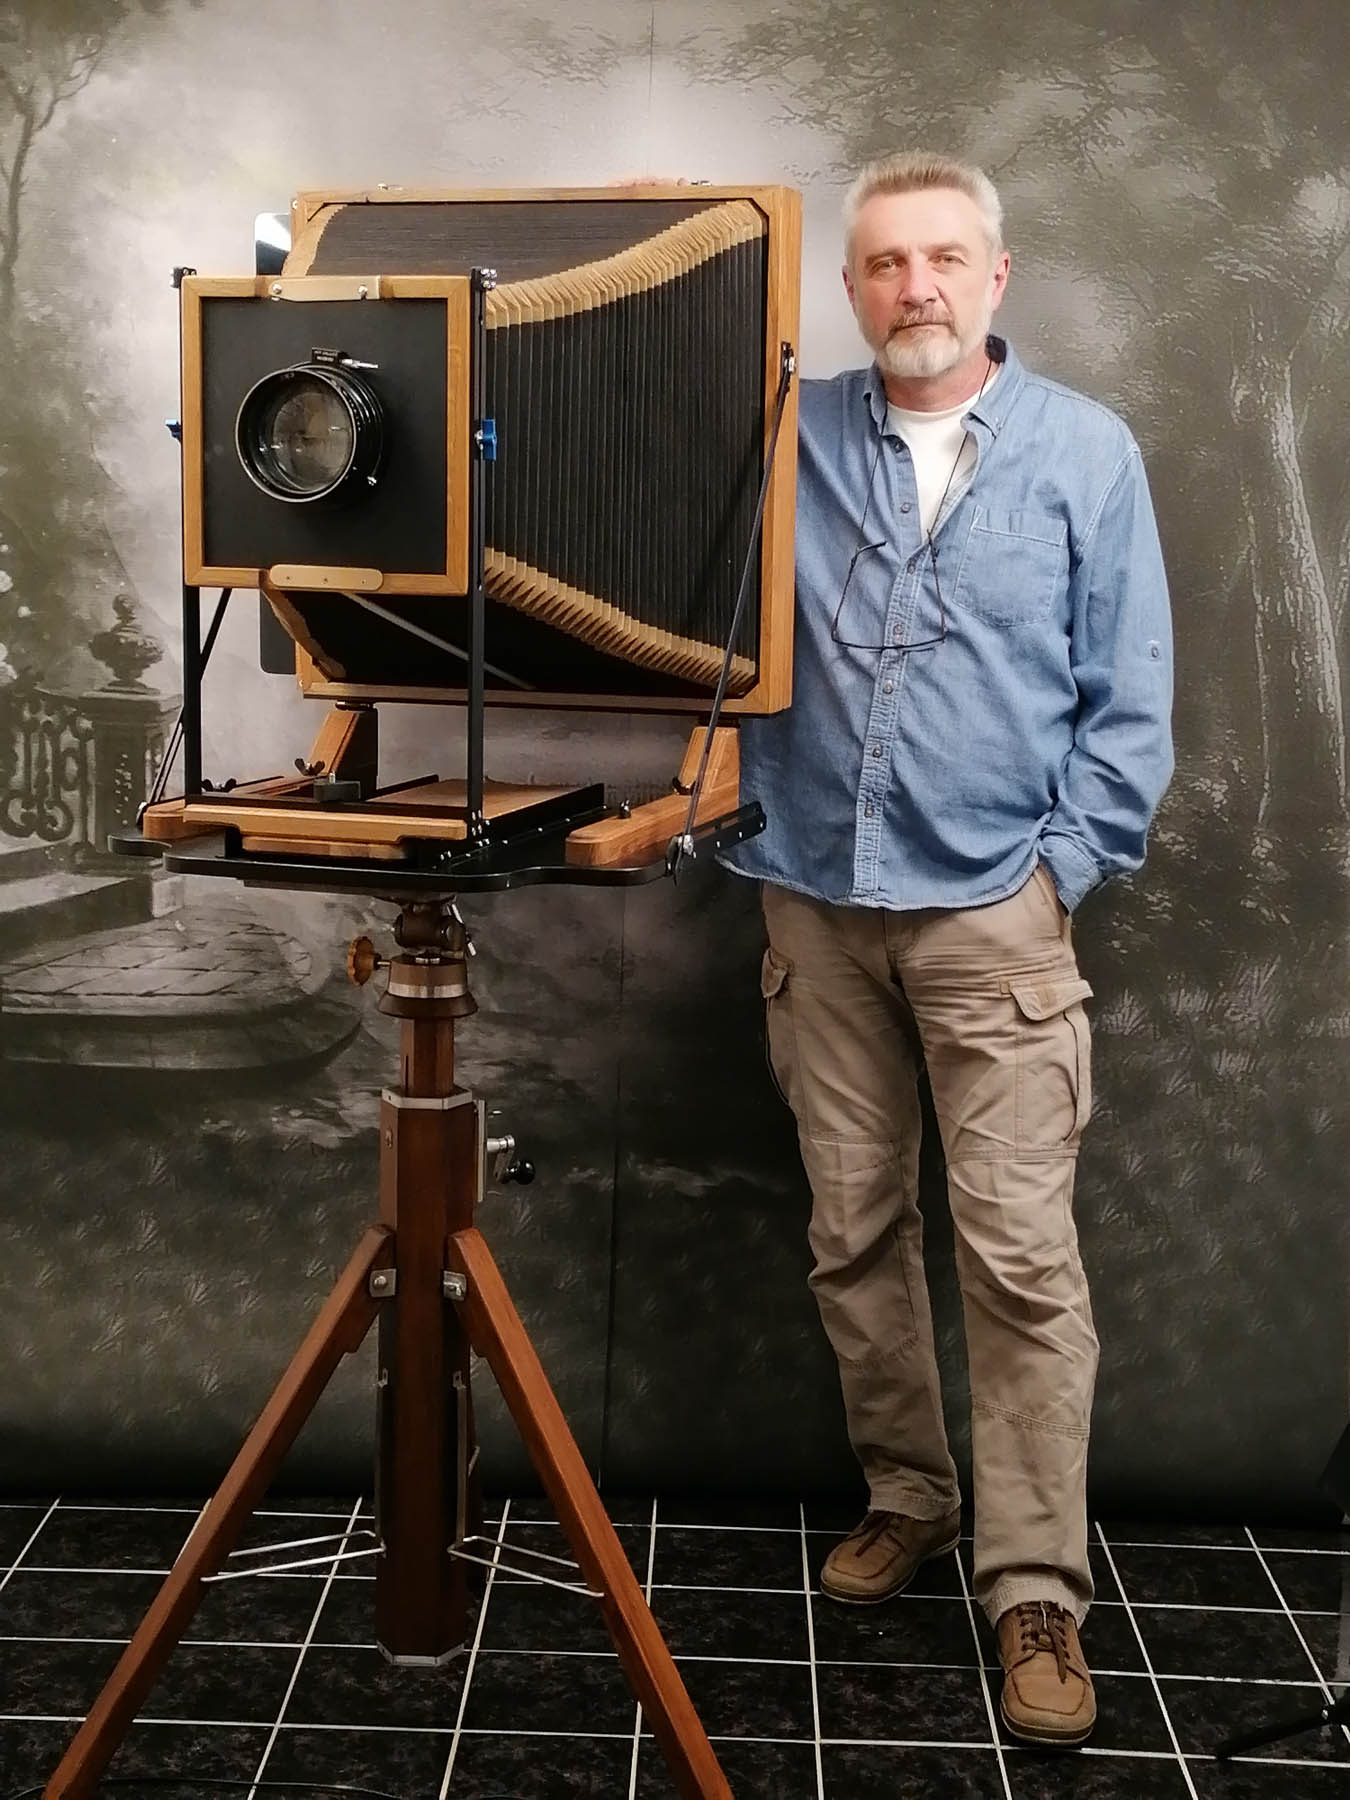
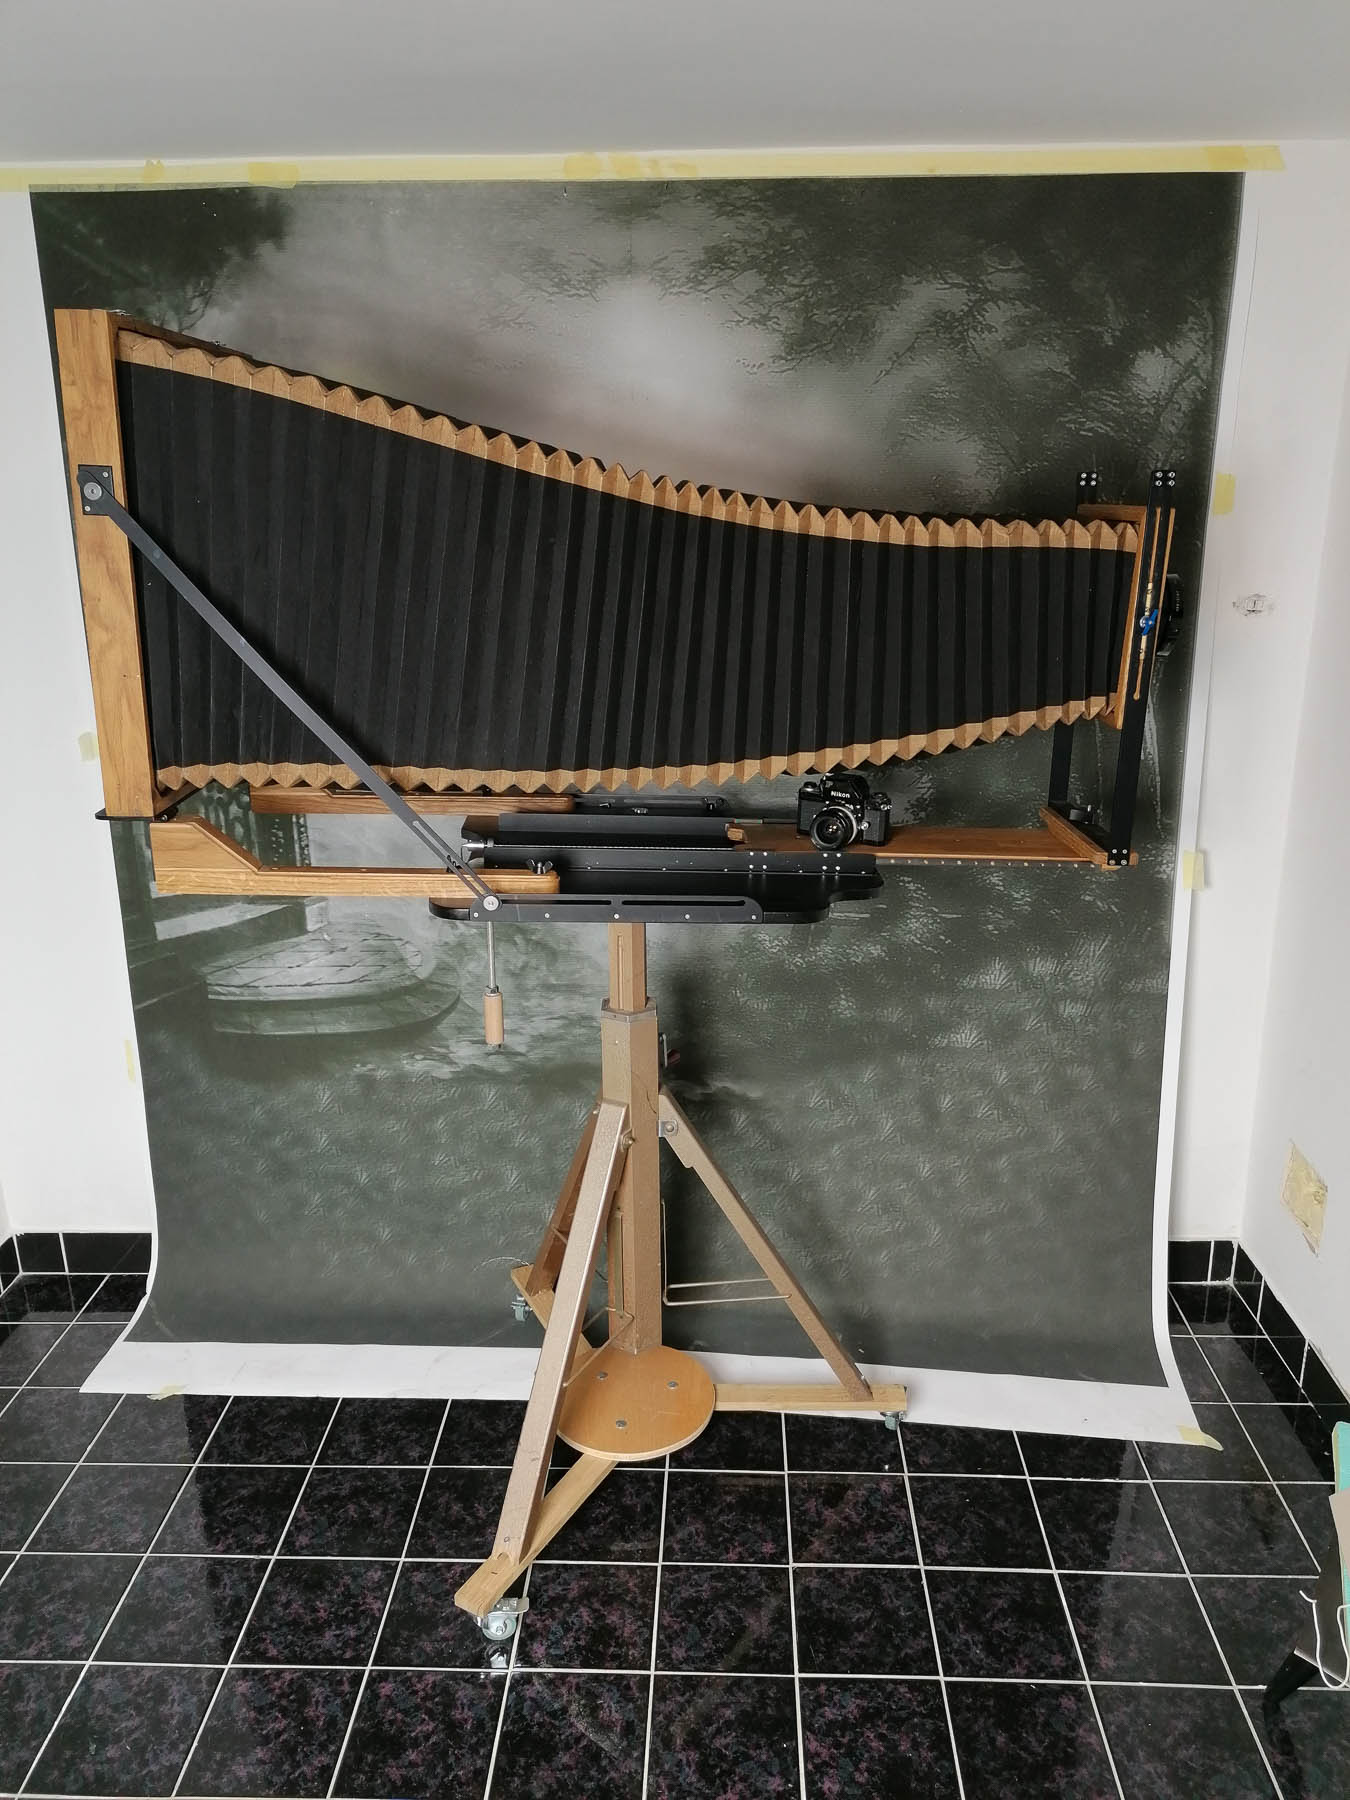
After the mechanical part of the camera was complete, I assembled all the parts to verify that everything worked as intended. The camera can move in all directions, the front and rear standards have large movements, and the cassette and glass fit tightly as they should. The pictures also show the camera extensions. The most significant extension is 1400 mm, and the smallest is 280 mm. In the first picture, the Sinar 4x5 and the camera Klarisa 20x20 were recorded together for size comparison.
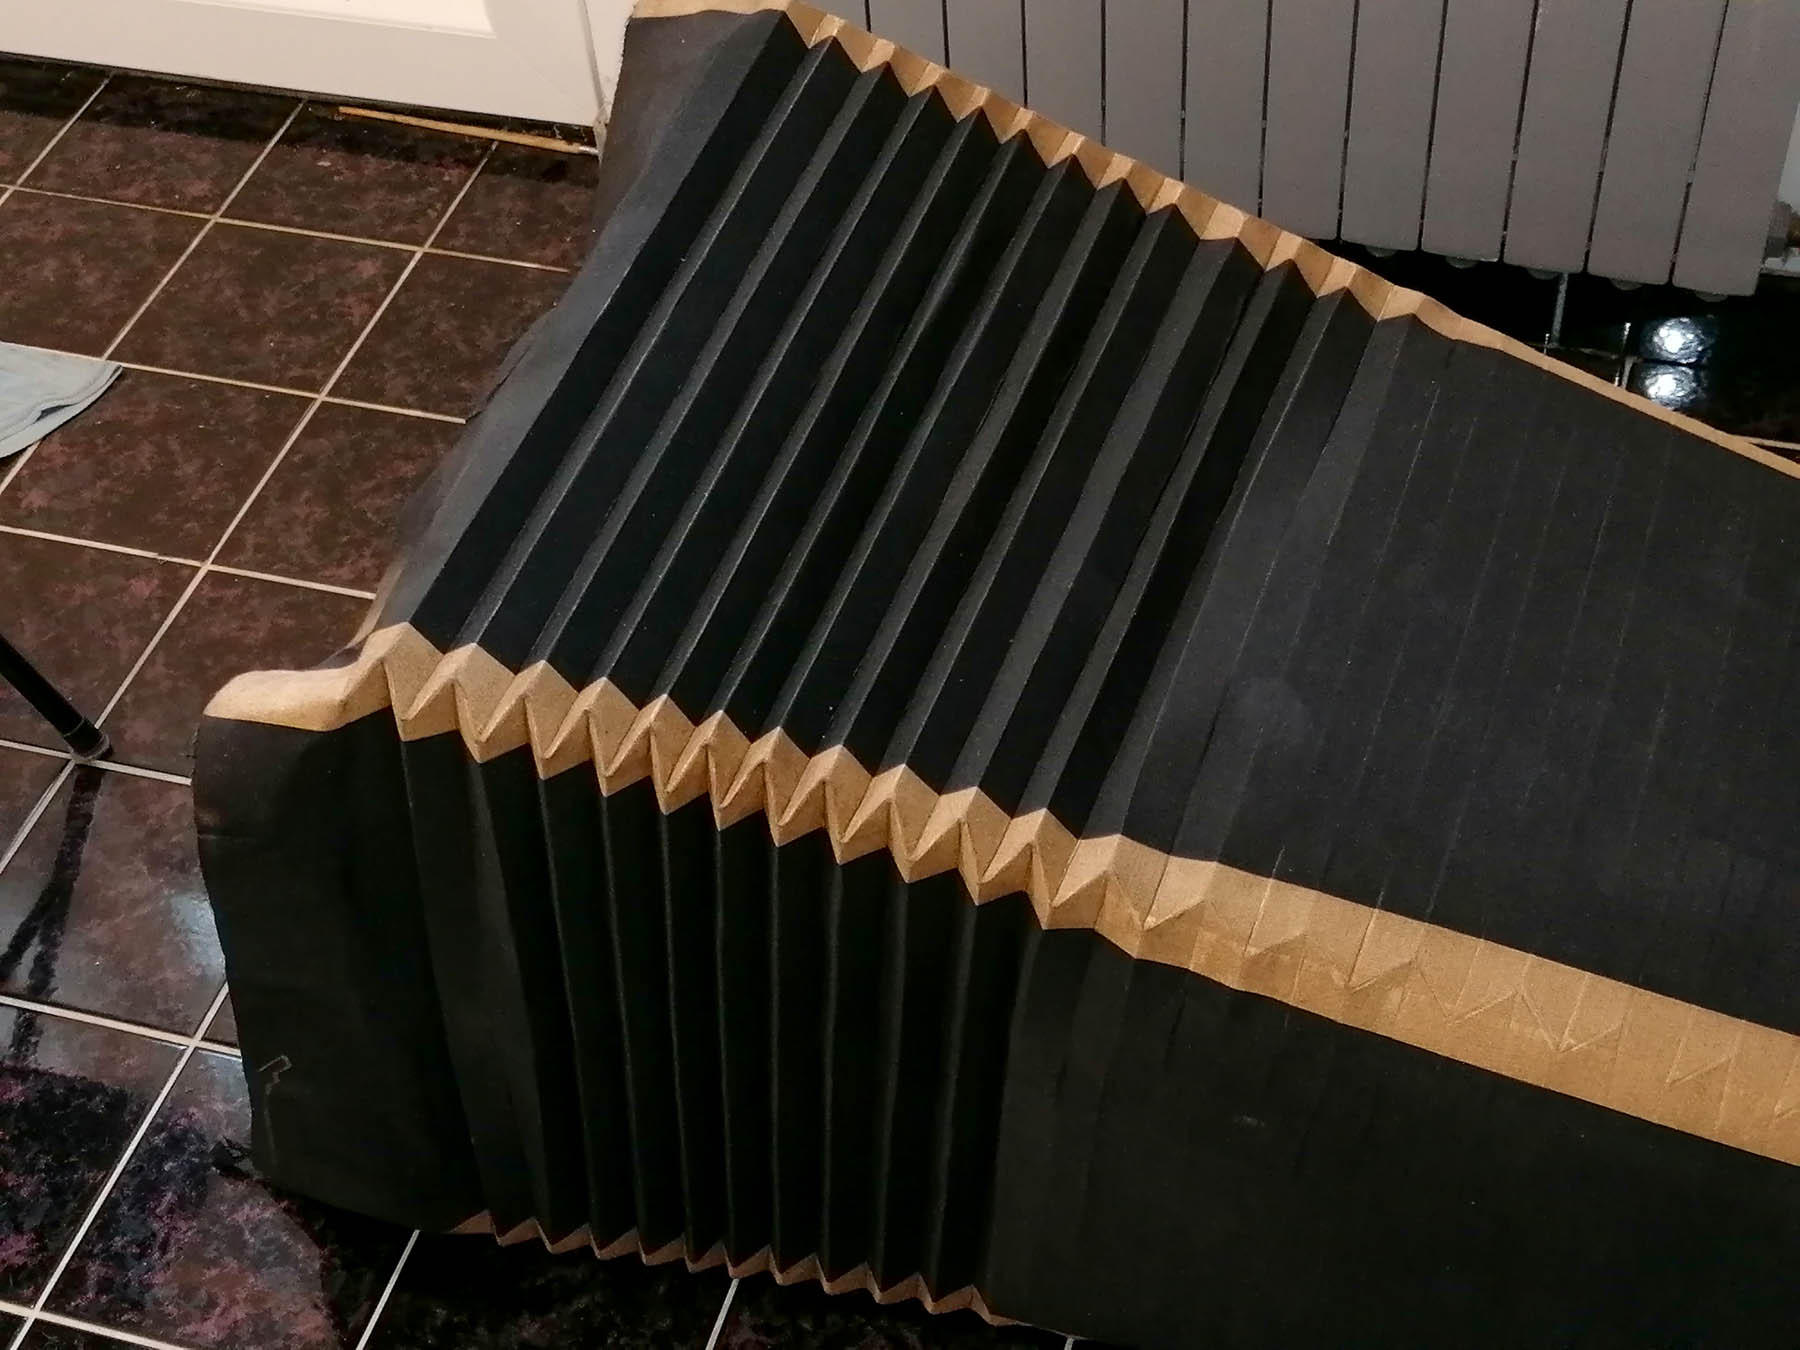
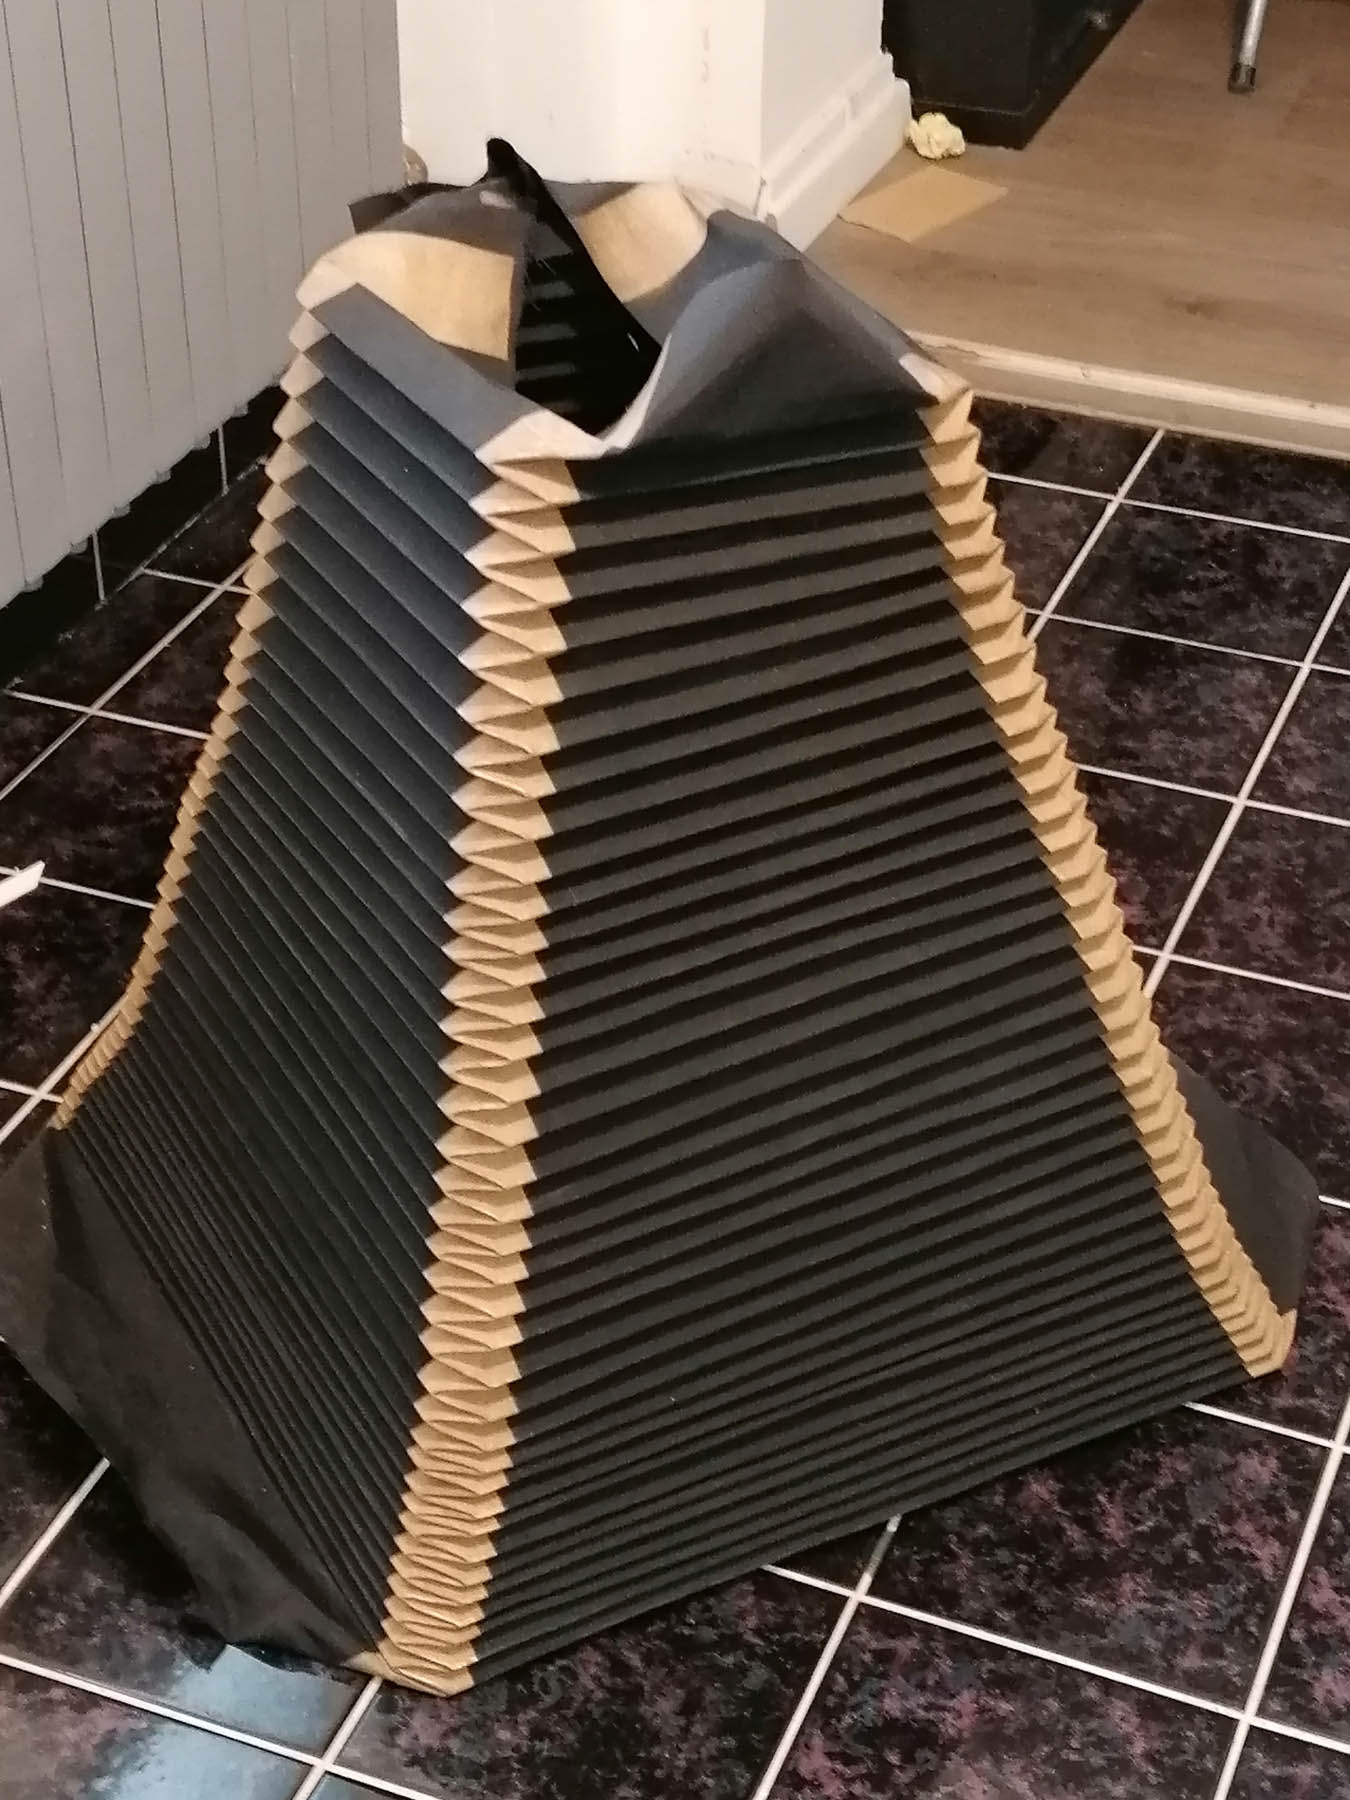
ASEMBLING BELLOWS
The camera below is one of the most challenging components to manufacture. They consist of many parts, and the assembly does not tolerate mistakes. After all, when you work with glues, you do everything - just once - or you must start from the beginning again.
I started by drawing the bellows' shape and size according to the back standard's size. Initially, it was clear that it would be a "big bite."
I printed the drawing on thin, strong cardboard (400g). Since the below are huge, I had to print individual pages on two A0 sheets. So I got eight prints that I should put together on canvas.
After printing, I cut out all the folds and edges of the ribs, which was quite a long process. After cutting, I connect all ribs with adhesive tape. The ribs are connected with adhesive tape, and everything is ready to be transferred to the fabric.
I had two choices for the glue that I could use to glue paper and fabric. Neoprene glue would be best, but it does not allow for mistakes in the positioning of the ribs. When the paper and fabric smeared with neoprene glue are joined together, corrections cannot be made anymore because the paper and fabric cannot be separated.
Another choice was PVA bookbinding glue. It is easy to apply and gives enough time for possible corrections. However, the problem lies in determining the correct glue density for a specific fabric. Namely, if it is too thin, it will pass through the fabric to the other side, leaving unwanted stains. If the glue is too thick, it dries quickly and loses its stickiness. I slightly thinned the glue with water.
But if the devil is in the details!
Before gluing, the fabric should be washed in water and then ironed, as washing alters its dimensions. The fabric is shrinking. Thus, problems arise with the final connection of both ends of the bellows.
I could adjust the ends of the bellows with some struggling and glue them into the final shape.
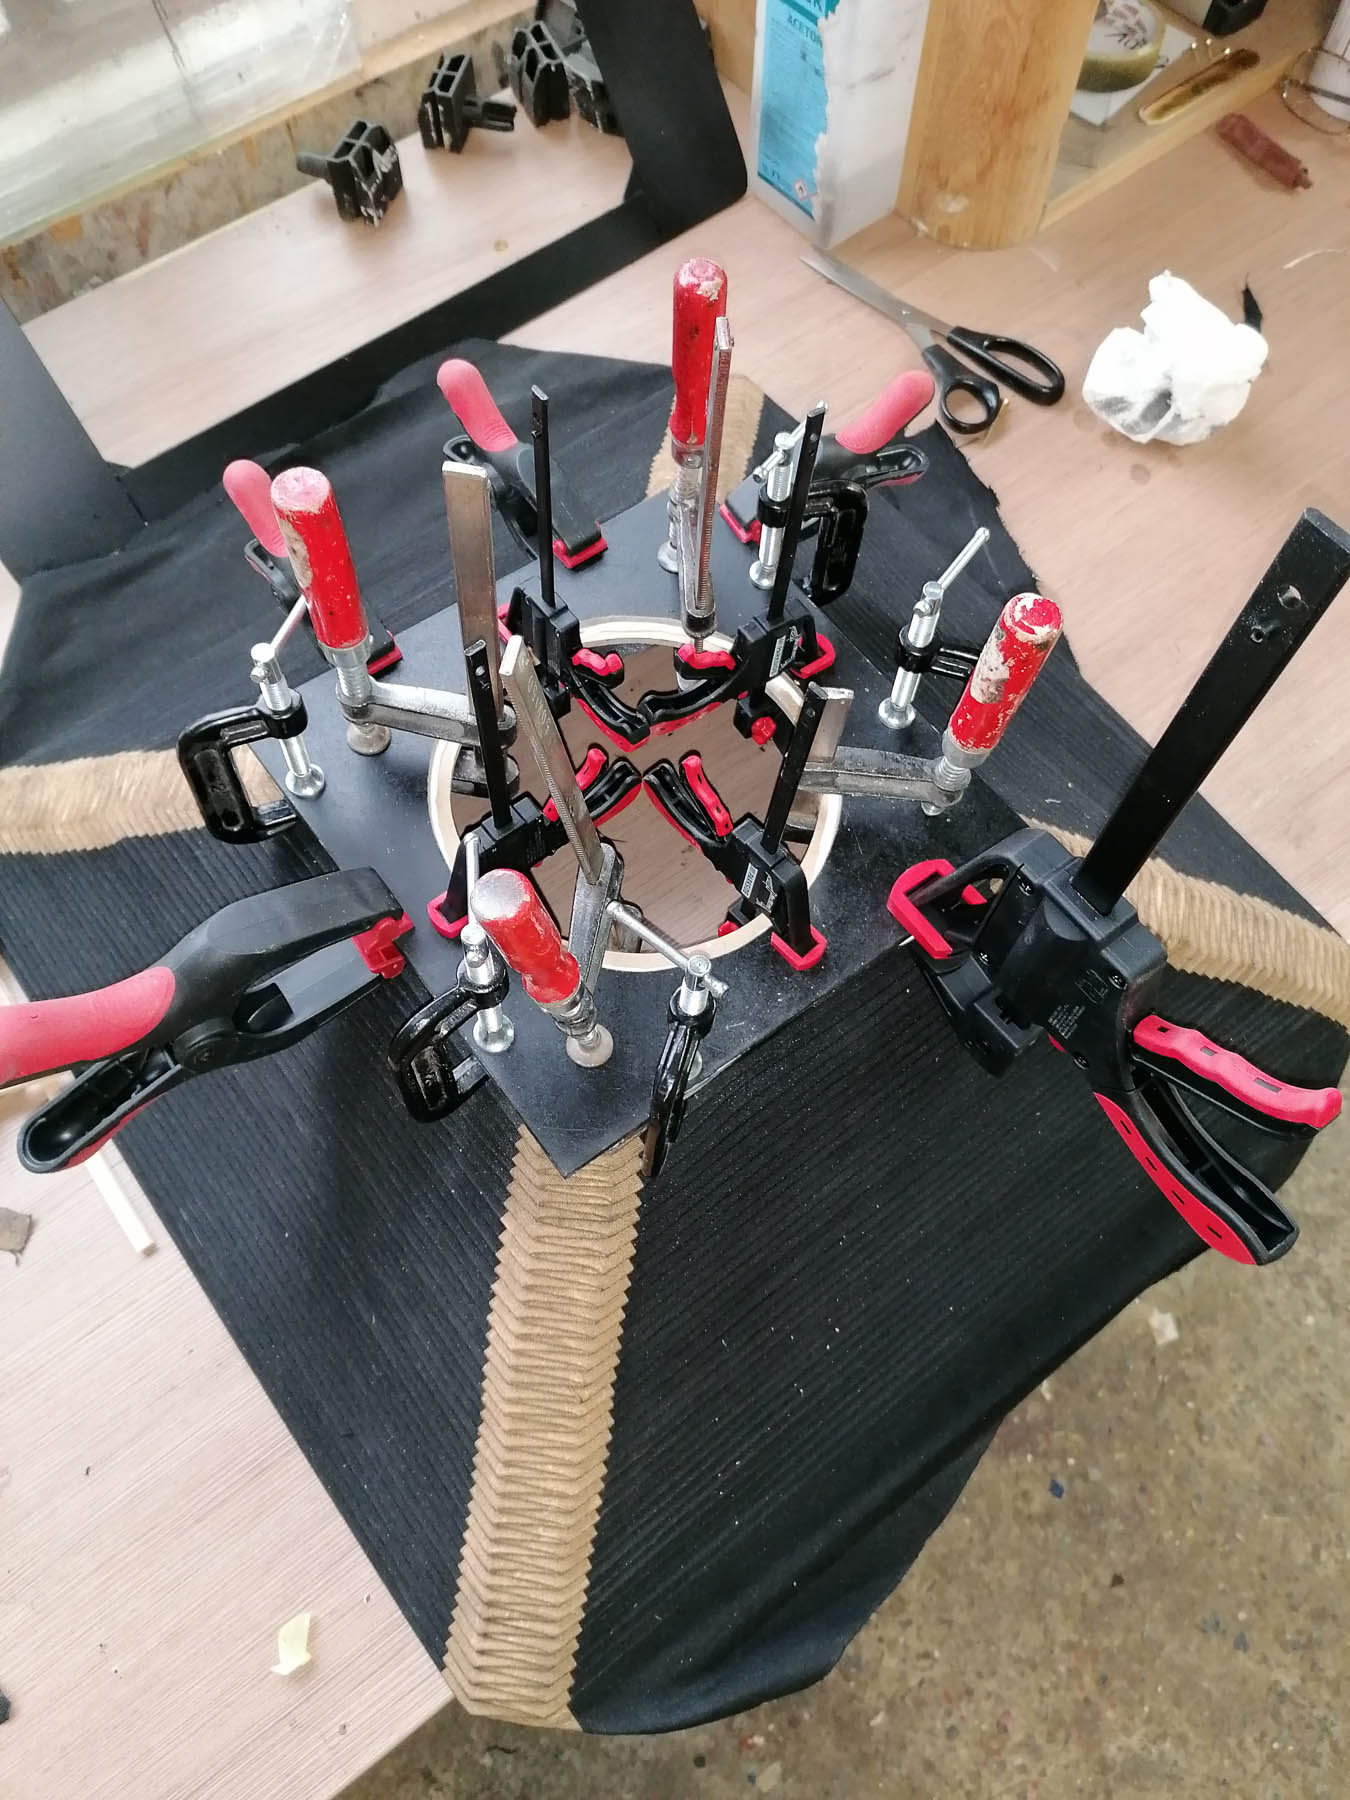
All that remained was to glue the end plates, which fasten the bellows to the camera.
AND FINALLY - HER MAJESTY - THE ULTRA LARGE FORMAT CAMERA - KLARISA 2020
After considerable mental effort and a lot of work, I finally finished the camera. Of course, I immediately tried it and concluded that all that significant effort was worth it.
I could have started by making a more miniature camera, but .... why????
The reason is that all large-format cameras are the same; only the parts of which they are composed are larger or smaller.
That's why I chose what I can't buy, but I can make.
LET'S MOVE ON!